
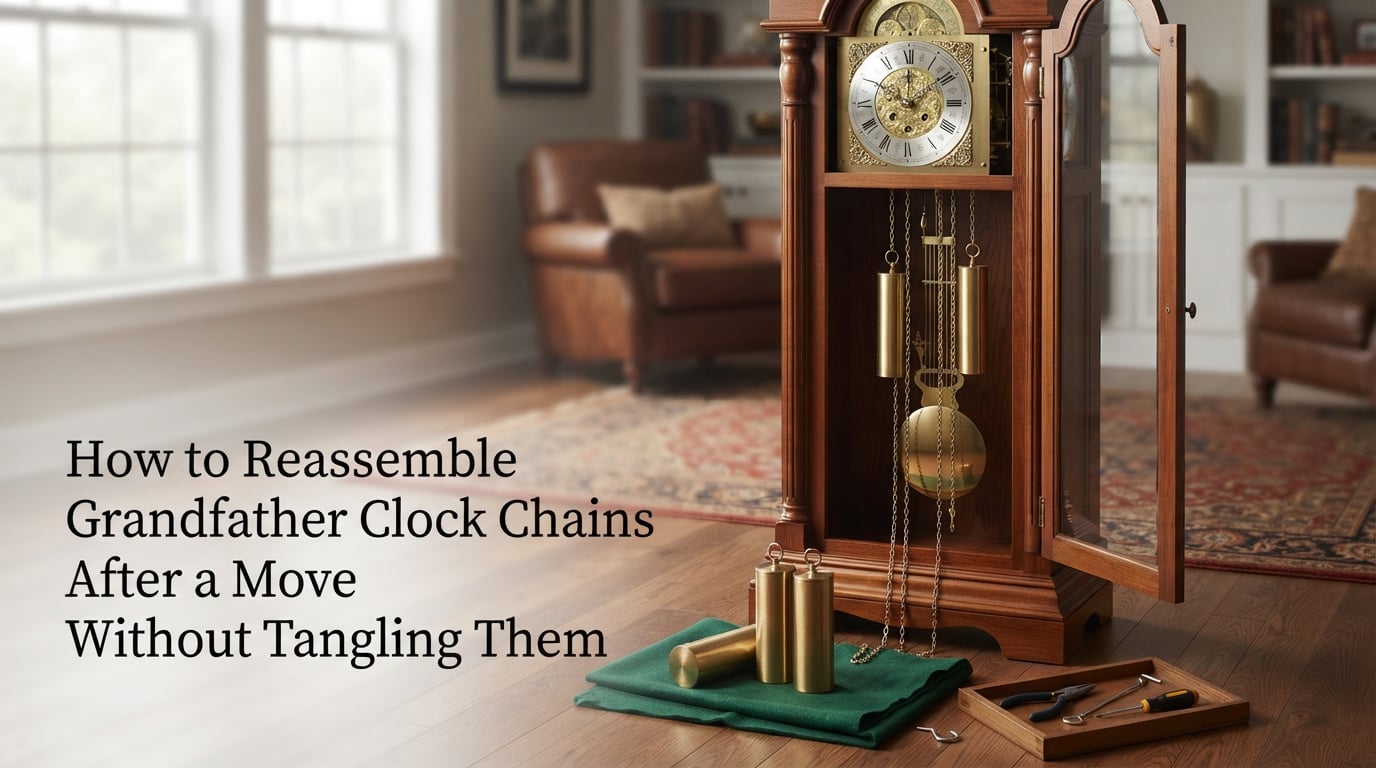
Moving a grandfather clock is one of the most nerve-wracking tasks a homeowner can face. The chains come off the sprockets, weights get mixed up, and suddenly your heirloom looks more like a puzzle than a timepiece. I have helped friends and family reassemble grandfather clock chains after a move more times than I can count, and the process is far more manageable when you follow a clear sequence.
To reassemble grandfather clock chains after a move without tangling them, you need to feed each chain back onto its sprocket using the tab end, turn the movement upside down so gravity helps the chain settle into the grooves, reattach the pendulum to the suspension spring, then hang each weight on its correct chain in the left, center, or right position.
That is the short version. The real challenge is the details: identifying which end of the chain goes where, knowing which weight belongs on which side, and making sure the ratchet mechanism does not lock up on you. I will walk you through every step so your clock runs again without a tangle in sight.
Table of Contents
Understanding Your Grandfather Clock Chain System
Before you touch a single chain, it helps to understand how the pieces fit together. A grandfather clock is a weight-driven machine, and the chains are the link between the weights and the movement. Get this mental picture right, and the reassembly process makes a lot more sense.
Chain-Driven vs Cable-Driven Mechanisms
Most traditional grandfather clocks use one of two systems to raise and lower the weights. Chain-driven clocks use metal chains that loop over toothed wheels called sprockets, while cable-driven clocks use wound cables on drums instead. This guide focuses on chain-driven clocks, which are the type most likely to tangle during a move.
If your clock has visible metal chains hanging down behind the weight shells, you have a chain-driven mechanism. If you see cables or pulleys instead, the reassembly process is different and usually simpler since cables do not slip off sprockets the way chains do.
Tab End vs Hook End: Identifying Chain Parts
Every grandfather clock chain has two distinct ends, and telling them apart is the single most important skill for reassembly. Emperor Clock, one of the most trusted sources for chain-driven clock repair, stresses this distinction because getting it wrong means the chain will not seat properly on the sprocket.
The tab end is the end you feed into the sprocket first. It usually has a flat tab or ring that slides into the chain wheel groove. The hook end is where the weight hangs, and it has a curved hook or loop designed to catch the weight shell. Before you do anything else, examine each chain and identify both ends.
One quick way to tell them apart: the tab end is typically smaller and more rigid, while the hook end has a visible open curve meant to cradle the weight.
How Chains Connect to the Sprocket
Inside the movement, each chain wraps around a toothed sprocket (also called a chain wheel). The teeth on the sprocket interlock with the links of the chain, creating a grip that transfers the weight’s downward pull into rotational force. That rotation is what powers the timekeeping, striking, and chiming functions.
When a chain slips off the sprocket during a move, it loses that grip. Your job is to re-seat it so the teeth catch the links properly. Gravity is your best friend here, which is why many clock repair experts recommend working with the movement turned upside down during re-threading.
Tools and Materials You Will Need
You do not need a professional workshop to reassemble your clock chains. Here is everything I recommend gathering before you start:
Soft cotton gloves to protect the clock case finish and keep oils off the chains
Needle-nose pliers or tweezers for untangling and manipulating chain links
Knitting needles or chopsticks for guiding chains back onto sprockets in tight spaces
A small flashlight to see into the movement cavity
Masking tape and a marker to label weights and their positions
Zip ties or string to bundle loose chains during transport and storage
A bubble level to check that the clock case is plumb after reassembly
A soft cloth to lay weights on and protect surfaces
If you have these items ready, you will not need to stop mid-process to hunt for something. That matters because every time you walk away from a half-threaded chain, you risk creating a new tangle.
How to Reassemble Grandfather Clock Chains After a Move
This is the core process. Follow these steps in order, and do not skip ahead. I have seen people jump straight to hanging weights only to find the chain was threaded wrong the entire time.
Step 1: Prepare Your Work Area
Clear the space around the clock completely. You need room to kneel, lay out the weights on a soft cloth, and move freely around the case. Make sure the clock is positioned in its final spot because leveling happens later in the process.
Put on your cotton gloves. Open the front door of the clock and remove any packing material, foam blocks, or bubble wrap that was stuffed inside during the move. Look up into the movement cavity with your flashlight and take note of where each chain currently sits.
Step 2: Untangle the Chains Before Anything Else
This is the step that trips people up the most. If your chains are knotted together from the move, you must untangle them before attempting to thread them back onto the sprockets. As one NAWCC forum member wisely put it, if you have to pull hard on a chain, something is wrong.
Use your needle-nose pliers or tweezers to gently work apart any knots. Work from the outside of the tangle inward, loosening one link at a time. Patience is the key here, and rushing will only make the knot tighter. Lay each untangled chain out flat and straight on a soft cloth.
If a chain is wrapped around itself multiple times, try suspending it from the hook end and letting it hang free. Gravity often helps straighten minor twists without any pulling at all.
Step 3: Identify Each Chain End
Now pick up each chain and identify the tab end and the hook end. The tab end goes to the sprocket, and the hook end receives the weight. This distinction is non-negotiable, so take your time confirming which is which on every chain.
If you have three chains (typical for a chiming grandfather clock), one chain drives the timekeeping function, one drives the strike, and one drives the chime. You do not need to know which is which at this stage because the chain positions are determined by where they physically connect to the movement.
Step 4: Reattach the Chains to the Sprockets
This is the most delicate step. You have two options depending on your comfort level and whether the movement is still mounted in the case.
Option A: Movement stays mounted (most common). Use your knitting needle or chopstick to guide the tab end of the chain onto the sprocket from below. Feed the tab end up into the groove of the chain wheel, then gently pull from the other side until several links have caught the teeth. The chain should hang in a continuous loop over the sprocket with both ends pointing down.
Option B: Remove the movement (easier but more involved). If the chains will not cooperate while the movement is mounted, you can remove the entire movement assembly from the case. Turn it upside down so gravity pulls the chain into the sprocket groove as you feed it in. This is the method Emperor Clock recommends for stubborn chains, and it works because the weight of the chain helps seat it properly.
Whichever method you choose, check the ratchet mechanism after threading. Spin the sprocket gently by hand in the direction the weight would pull it. The ratchet should click freely in one direction and lock in the other. If it does not click, the chain may be seated incorrectly.
Step 5: Reattach the Pendulum
With the chains in place, turn your attention to the pendulum. Locate the suspension spring at the top of the pendulum assembly inside the movement. The pendulum hooks onto this spring through a small slot.
Hold the pendulum rod steady and guide the hook at its top into the suspension spring slot. Lower it gently until it hangs freely. The pendulum should swing without rubbing against the case sides or chime rods. Give it a gentle push to confirm it swings smoothly.
Do not force the pendulum into place. If it resists, check that the suspension spring is not bent or damaged from the move. A damaged spring needs replacement before the clock can run accurately.
Step 6: Position the Weights Correctly
This step causes more post-move problems than any other. Grandfather clocks typically use three weights, and each one has a specific position. Getting this wrong means your clock may run but not chime or strike properly.
Here is the standard weight placement for a three-weight chiming grandfather clock, facing the clock from the front:
Right weight (facing the clock): Powers the timekeeping function. This is usually the lightest weight.
Center weight: Powers the strike (hour count). This is typically a medium weight.
Left weight (facing the clock): Powers the chime (melody). This is usually the heaviest weight since it does the most work.
If your weights are not labeled, weigh them on a kitchen scale. The heaviest goes on the left, the lightest on the right, and the remaining one in the center. If you only have two weights (a non-chiming clock), the heavier one goes on the left for the strike and the lighter one on the right for timekeeping.
Hang each weight by its hook end on the corresponding chain. Lower it gently and make sure it hangs straight without touching the case interior.
Step 7: Start the Clock and Adjust
Now comes the rewarding part. Gently pull each chain down to raise the corresponding weight to near the top of its travel. Do not pull the chain beyond the movement or you risk pulling the chain off the sprocket again.
Check that the clock case is level using your bubble level. Adjust the leveling feet at the base until the case is plumb. An unlevel clock will not keep accurate time because the pendulum swing becomes uneven.
Start the pendulum by pushing it gently to one side. Listen for an even tick-tock rhythm. If the tick sounds uneven (a galloping beat), the clock is out of beat. Most modern grandfather clocks have a beat adjustment mechanism accessible through the dial or the pendulum crutch.
Set the time by moving only the minute hand clockwise. Let the clock run for a full 24 hours, then check the time against a reliable source. Adjust the pendulum nut slightly to fine-tune the rate: turn it clockwise to speed the clock up and counterclockwise to slow it down.
Troubleshooting Common Post-Move Clock Problems
Even with careful reassembly, things can go wrong. Here are the most common post-move issues and how to fix them.
The clock runs but does not chime. Check that the chime weight is on the correct chain (left side, facing the clock, and the heaviest). Also confirm the chime selection lever is set correctly and the silence lever is not engaged. If the chime rods are bent from the move, they may need gentle realignment.
The chains slipped off again after a few days. This usually means the chain was not fully seated on the sprocket teeth during reassembly. Re-thread the chain, making sure at least five or six links have caught the sprocket before you hang the weight. Never pull a chain upward without a weight providing downward tension.
The pendulum stops after a few minutes. The clock is likely out of beat or the case is not level. Recheck the level and adjust the beat mechanism. Also check that the pendulum is not rubbing against anything inside the case, and that the weights hang freely without touching the pendulum path.
The clock gains or loses significant time. This is normal for the first week after a move. The movement needs time to settle. Make small adjustments to the pendulum nut every few days until the rate stabilizes. One full turn of the nut typically changes the rate by about one minute per day.
Preventing Chain Tangling on Future Moves
If another move is in your future, you can save yourself a lot of trouble with a few simple steps during disassembly. The key is keeping the chains under control before they ever leave the clock.
Before removing the weights, pull each chain down so the weight sits at its lowest point. Then remove the weights one at a time and immediately bundle each chain loosely with a zip tie. Label each zip tie with the weight position (left, center, right) using your masking tape.
Never let the chains dangle freely during transport. Loose chains are the number one cause of tangling. Bundle them, secure them to the inside of the case with string, and keep the clock upright during the entire move.
When to Call a Professional Clock Repair Service
If your clock is a valuable antique, has a complex tubular bell chime system, or the movement appears damaged from the move, it is worth calling a professional. A certified clockmaker can reassemble the mechanism, clean worn parts, and ensure the movement runs at factory specification.
I always recommend professional help for clocks over 75 years old or those with sentimental value that exceeds their replacement cost. The peace of mind is worth it, and a professional can spot damage you might miss.
FAQs
How do I put the chain back on my grandfather clock?
To put a chain back on your grandfather clock, identify the tab end (the flat end) and feed it into the groove on the sprocket from below. Use a knitting needle or chopstick to guide it into place. Pull gently from the other side until several links catch the sprocket teeth. For stubborn chains, remove the movement and turn it upside down so gravity helps seat the chain.
How to put a grandfather clock back together after moving?
Start by untangling all chains and feeding them back onto their sprockets. Reattach the pendulum to the suspension spring. Then hang each weight on its correct chain: heaviest on the left for the chime, medium in the center for the strike, and lightest on the right for timekeeping. Level the case, start the pendulum, and adjust the beat.
Why are grandfather clocks not popular anymore?
Grandfather clocks declined in popularity as homes shifted toward smaller living spaces and digital timekeeping. Modern apartments rarely have floor space or ceiling height for a six-foot tall clock, and quartz and smart devices made mechanical timekeeping feel unnecessary. However, collector interest remains strong for well-preserved antique and heirloom clocks.
How often do you pull the chains on a grandfather clock?
Most chain-driven grandfather clocks are designed as 8-day movements, meaning you pull the chains to wind the weights back up once per week. Pull each chain straight down until the weight reaches near the top of the case. Avoid pulling beyond the movement or yanking at an angle, which can cause the chain to slip off the sprocket.
Which weight goes where on a grandfather clock?
For a three-weight chiming grandfather clock facing you, the heaviest weight goes on the left to power the chime, the medium weight goes in the center to power the strike, and the lightest weight goes on the right to power the timekeeping. If unsure, weigh each weight on a scale and sort from heaviest to lightest left to right.
Conclusion
Learning how to reassemble grandfather clock chains after a move is not about special skills or expensive tools. It is about following the right sequence: untangle first, identify the tab and hook ends, thread the chains onto the sprockets with patience, reattach the pendulum, and place each weight in its correct left-center-right position.
Take your time with each step. A grandfather clock is built to run for generations, and a careful reassembly ensures yours keeps ticking for many more. If you hit a snag, refer back to the troubleshooting section, and remember that professional help is always an option for valuable or antique pieces.