
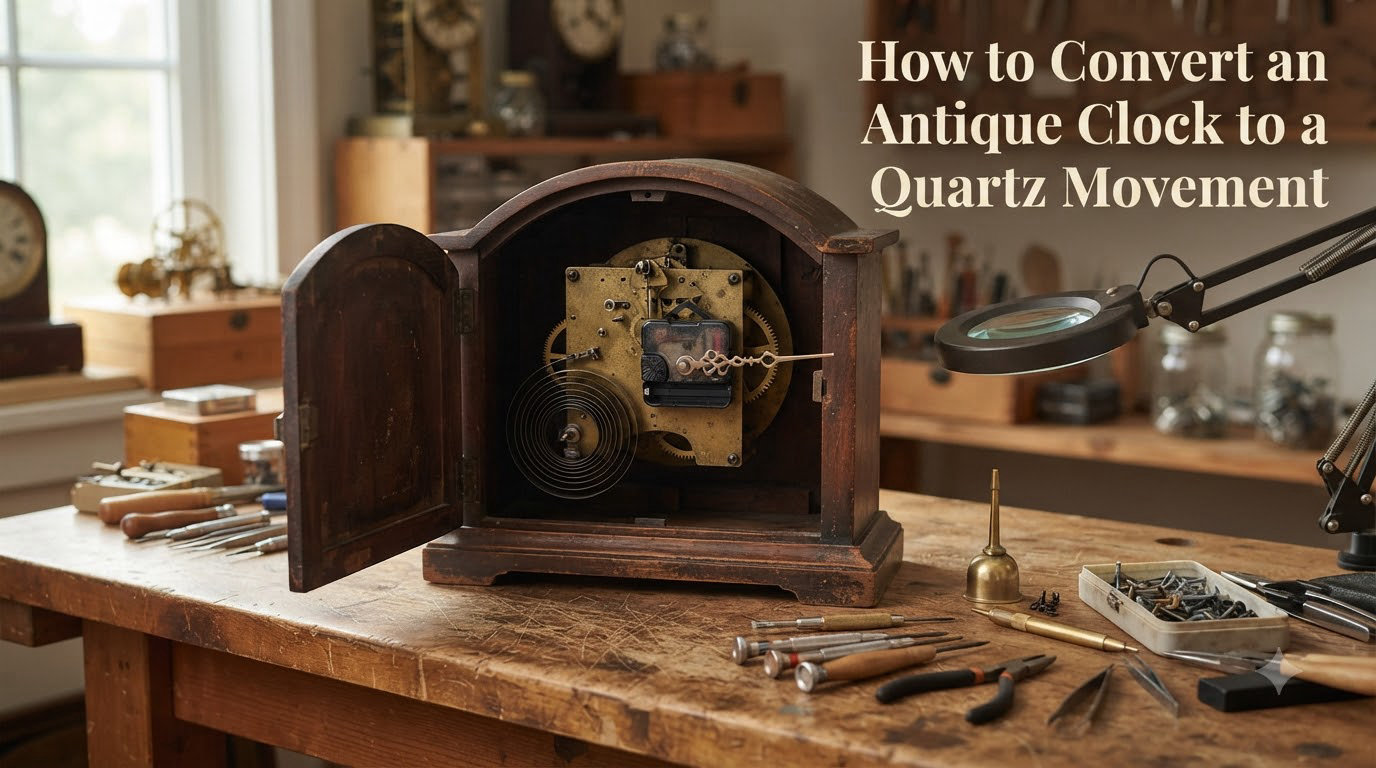
Converting an antique clock to a quartz movement is one of the most practical ways to bring a treasured timepiece back into daily service. I have helped friends convert everything from small mantel clocks to full-size grandfather clocks, and the process is far less intimidating than most people expect. In this guide, I will walk you through every step of the conversion, from deciding whether quartz is right for your clock to fine-tuning the pendulum after installation.
By the time you finish reading, you will know exactly which tools to gather, how to choose a movement that fits your clock, and how to handle the trickiest parts of the job, including hand compatibility and chime selection. Whether you are a first-time converter or restoring your third clock this year, this guide will save you hours of trial and error.
Table of Contents
Is a Quartz Conversion Right for Your Antique Clock?
A quartz conversion is not the right choice for every clock, and getting this decision right matters more than the conversion itself. If your clock is a rare or high-value antique, I always recommend pausing before swapping the movement. Heavy mechanical movements in good working order still carry value to collectors, and once you remove the original, that value drops noticeably.
Conversion makes the most sense when your clock is hard to keep running, has a damaged movement that costs more to repair than replace, or simply needs a fresh chapter as a decorative piece. I have converted clocks for people who travel frequently, families who inherited a non-functional heirloom, and collectors who wanted a working display piece without the hassle of winding.
For common mantel clocks, wall clocks, and lower-value grandfather clocks, a quartz conversion is almost always a sensible upgrade. For rare movements, signed high-end clocks, or pieces you suspect may be worth significant money, get a professional appraisal first. The same forum members who champion conversions also remind newcomers that converting a clean original will not increase its value.
Tools and Materials You Will Need
Before you touch a single screw, gather everything on this checklist. Nothing derails a conversion faster than stopping halfway through to hunt for a missing tool.
- Phillips and flathead screwdrivers in small sizes
- Needle-nose pliers for reaching inside narrow cases
- A clock hand puller or forked hand lever (this is the one specialist tool you cannot skip)
- Digital calipers for measuring shaft diameter and hand height
- A soft cloth and a padded work surface to protect the dial
- Masking tape and a marker for labelling parts
- New quartz movement with matching dial nuts and mounting hardware
- Replacement hands if your originals do not fit
- Fresh AA or C battery (depending on the movement)
- Small plastic bags for screws and hardware
Many of these tools come in a beginner clock repair kit if you want to buy everything at once. Expect to spend around thirty dollars on the basic tool kit and another thirty to one hundred fifty dollars on the quartz movement itself, depending on whether you want chiming or a simple time-only setup.
Choosing the Right Quartz Movement for Your Clock
The single biggest decision in this project is picking the correct quartz movement. Get this wrong and nothing else will go smoothly. There are three measurements you must confirm before you buy anything: shaft diameter, shaft length, and hand height.
Shaft diameter is the most common point of failure. Most quartz movements use a standard 5/16 inch (about 8 mm) shaft, but some European clocks use metric threading. Measure the hour tube on your old movement with digital calipers before you order. Shaft length is the second key factor. Tall case clocks and grandfather clocks typically need an extended shaft, often one and a half inches or longer, so the hands clear the dial.
Hand height is what separates a quick swap from a frustrating afternoon. The hand height is the distance from the dial face to the bottom of the hand. Your new movement must be tall enough to clear the dial thickness, and your hands must clear the glass. If you are reusing the original hands, you need a movement that puts the hand at the same height as the old movement did.
For chiming clocks, look for movements with Westminster, Bim-Bam, or Whittington strike options. These usually cost more and require a separate chime box. If your clock has a moon dial, choose a movement with a moon phase feature or be prepared to leave that dial inactive. For grandfather clocks, choose a high-torque movement rated for the weight of your original hands, particularly if they are decorative or oversized.
Step-by-Step Conversion Process
Once you have your movement and tools ready, the actual conversion is a methodical process. Take your time with each step and resist the urge to skip ahead. I usually budget two hours for a straightforward clock and a full afternoon for a grandfather clock with chiming.
Step 1: Document and Photograph Everything
Move the clock to a padded work surface and take at least ten photos from different angles. Photograph the dial, hands, movement, pendulums, weights, and any chimes. This is your insurance policy if you forget which wire goes where. I also keep a small notebook beside me and sketch the position of every screw and bracket as I remove it.
Step 2: Remove the Hands and Dial
Use the hand puller to grip the hour hand and pull it straight up. Do not twist or pry. The hands are press-fit onto the shaft and will come off with firm, even pressure. Repeat for the minute hand and any second hand. Place them in a small dish so they do not roll away.
With the hands off, unscrew the dial nuts that hold the dial in place. There are usually two or three small nuts located near the center. Lift the dial carefully off the movement and set it face-down on a soft cloth. Inspect the dial for any cracks or loose numerals before you proceed.
Step 3: Remove the Old Mechanical Movement
Disconnect the pendulum, weights, and any chime wires. If the clock is a weight-driven movement, lower the weights gently with both hands before you detach any chains or cables. Mark each connection point with a small piece of masking tape so reassembly is straightforward.
Unbolt the movement from the back plate or mounting bracket. Most movements are held by two to four screws. Keep those screws in a labelled bag. Lift the movement out of the case and set it aside. You now have a clean canvas for the quartz movement.
Step 4: Mount the New Quartz Movement
Position the quartz movement on the existing mounting bracket. If the original bracket does not fit the new movement, most quartz kits come with a universal bracket that adapts to common clock cases. Secure the movement with the screws provided, but do not fully tighten yet. You may need to adjust the position slightly to align the shaft with the dial center.
Check that the shaft sits squarely in the middle of the dial opening. A movement that is even slightly off-center will create visible hand alignment issues once you install the hands. Once the shaft is centered, fully tighten the mounting screws.
Step 5: Reattach the Dial
Slide the dial back over the new shaft, taking care not to scratch the dial face against the shaft threads. Some clockmakers recommend slipping a small piece of paper or plastic over the shaft as a protector at this stage. Replace the dial nuts and tighten them just until they are snug. Over-tightening will crack the dial, and I have seen this happen more than once.
Step 6: Install New Hands
Press the hour hand onto the shaft first, then the minute hand, then the second hand if your movement has one. Each hand should sit in the correct 12:00 position, with a small gap between each layer so they do not bind. The hour hand is typically the shortest, the minute hand is longer, and the second hand is the thinnest.
If you are reusing the original hands, confirm they fit the new shaft before pressing them on. Hands that are even slightly loose will slip on the shaft and cause inaccurate timekeeping. If they do not fit, source replacement hands from a clock parts supplier rather than forcing them.
Step 7: Connect Power and Test
Insert the battery and listen for the tick. The hands should begin moving immediately. Set the time by rotating the time-set knob on the back of the movement until the clock reads the correct time. Listen for any grinding, ticking irregularities, or irregular hand movement.
Let the clock run for at least an hour before you declare it done. Many quartz movements stabilize after a few hours of operation, and minor issues like hand drag often resolve themselves once the gears are fully lubricated by the movement’s internal oil.
How to Keep Your Original Clock Hands
Hand compatibility is the single most common frustration in clock conversion forums. The honest answer is that original hands often do not fit a quartz movement, and forcing them almost always damages the hands or the movement. The good news is that many original hands can be adapted with the right approach.
First, measure the hand hole diameter and compare it to the new shaft diameter. If the original hand hole is slightly larger than the new shaft, you can sometimes add a small bushing or wrap the shaft with a thin layer of PTFE tape to take up the slack. If the hand hole is smaller, you can ream it out carefully with a hand pin vise and small drill bit.
For decorative hands with ornate centers, the central pipe is usually a separate piece. Replacing just the pipe allows you to keep the decorative hand while matching it to the new shaft. If this is beyond your comfort level, replacement hands are available in styles that closely mimic the originals.
One forum regular summed it up well: “Using the original hands is pretty tricky due to fit issues, but the original dial almost always goes back on.” Plan on replacing the hands but keeping the dial in most cases.
Pendulum and Weight Considerations
For pendulum clocks, the stock quartz pendulum is usually shorter and lighter than the original. This affects both the look and the timekeeping. A shorter pendulum means a faster swing, which the quartz movement compensates for internally, but the visual effect is noticeably different.
If you want to keep the original pendulum, you can mount it on the wall behind the clock purely for decoration. Some converters install a small hook behind the case so the pendulum hangs in roughly the right position. The pendulum no longer drives the clock, but it preserves the classic look.
For grandfather clocks with weight-driven aesthetics, the original weights hang from chains or cables that are no longer functional. The standard solution is to use decorative fake weights, which are hollow replicas that simply hang in place without powering anything. This trick gives you the grandfather clock look without requiring the heavy mechanical movement.
To adjust pendulum timing if you are using the quartz pendulum, raise the pendulum bob to speed the clock up, and lower it to slow it down. A small adjustment of one-sixteenth of an inch changes the rate by about one minute per day. Most quartz movements carry a small lever that adjusts the rate more precisely without moving the bob.
Chime Selection: Westminster, Bim-Bam, and Silent Options
If your clock originally chimed, you can preserve that character with a quartz movement that includes chime functionality. The most common options are Westminster (the four-note melody most people associate with grandfather clocks), Bim-Bam (two-tone strike on the hour), Whittington, and St. Michael.
Westminster chimes sound every quarter hour and play the full melody on the hour. It is the most popular choice but also the loudest. Bim-Bam is more subtle and works well for clocks in bedrooms or offices. Most quartz chime movements let you switch between modes or turn the chime off entirely with a small switch.
For mantel clocks and wall clocks, the same chime options are available in smaller movements. The price difference is modest, usually under twenty dollars, so I recommend buying the chiming version unless you specifically want silence. The ambient sound of a working chime is one of the most satisfying parts of a converted clock.
Testing, Fine-Tuning, and Troubleshooting
After the conversion, leave the clock running for twenty-four hours and check the time against your phone or another reliable clock. A quartz movement kept in good condition should hold time within a few seconds per week. If it is losing or gaining minutes per day, the first place to check is the rate adjustment switch on the back of the movement.
Common issues and quick fixes:
- Hand dragging or stuttering: Usually means the hands are too close together. Pull the hands off and re-install with a clear gap between each layer.
- Chime not sounding: Confirm the chime switch is on, the battery is fresh, and the chime volume is not set to silent.
- Pendulum not swinging: The quartz pendulum must be loosely attached. If it is too tight against the case, it will not swing freely.
- Hands slipping: The hand hole is too loose for the shaft. Add a small bushing or replace the hand.
- Irregular ticking: Almost always a power issue. Replace the battery and inspect the contacts for corrosion.
If problems persist after these checks, remove the movement and inspect for any plastic shipping tabs that may still be in place. Many new movements ship with tabs that prevent the hands from turning during transport, and forgetting to remove them is a common beginner mistake.
Conversion vs Repair vs Replacement: A Cost Comparison
Before you commit to converting, it helps to compare the three paths in front of you. A professional mechanical repair typically runs two hundred to six hundred dollars for a mantel clock, and four hundred to fifteen hundred for a grandfather clock. A quartz conversion usually costs between thirty and one hundred fifty dollars in parts, plus a few hours of your time. A full replacement clock can cost anywhere from fifty dollars for a basic mantel to several thousand for a high-end grandfather clock.
Repair is the right choice if your clock is a rare or valuable antique with a sound original movement. Conversion is the right choice if the movement is unrepairable, the clock has sentimental value but limited market value, or you simply want a low-maintenance display piece. Replacement is the right choice if the case itself is damaged or unappealing.
For most everyday antique clocks, the math favors conversion. You get a working timepiece, preserved aesthetics, and decades of maintenance-free operation. The trade-off is that you lose any collector value tied to the original movement, which is why a quick appraisal before conversion is always worth the effort.
Frequently Asked Questions
Do it yourself clock conversion kit: do they exist?
Yes, beginner-friendly clock conversion kits are widely available. A basic kit includes a quartz movement, mounting hardware, dial nuts, and sometimes replacement hands. Most kits cost between thirty and sixty dollars and include written instructions. For more complex clocks, you may need to source the movement separately from the hands and dial hardware.
What are the disadvantages of quartz clocks?
The main disadvantages of quartz clocks are the loss of collector value associated with original mechanical movements, the need for periodic battery replacement, and the absence of the traditional winding ritual that many antique clock owners enjoy. Quartz movements also lack the ambient ticking and chime character of a finely tuned mechanical movement.
How to change a quartz clock mechanism?
To change a quartz clock mechanism, remove the clock hands with a hand puller, unscrew the dial nuts, lift the dial away, and unbolt the old movement from its mounting bracket. Mount the new quartz movement to the bracket, reattach the dial, install the new hands at the correct 12:00 position, and insert a fresh battery. The full process usually takes between one and two hours for a mantel clock.
Do you raise or lower the pendulum to adjust timing?
To make a pendulum clock run faster, raise the pendulum bob slightly. To slow the clock down, lower the bob. A small adjustment of one-sixteenth of an inch changes the rate by about one minute per day. Most quartz movements also have a small rate adjustment switch on the back for more precise calibration without moving the bob.
Is it okay to move clock hands backwards?
Moving clock hands backwards on a quartz movement is generally safe for short adjustments, but it is not recommended for setting the time. Instead, use the time-set knob on the back of the movement, which advances the hands forward without putting stress on the gears. Repeatedly forcing the hands backwards can wear the mechanism or cause hand slippage over time.
Can I keep the original hands when converting to quartz?
Yes, in many cases you can keep the original hands, but they must fit the new shaft. Original hands from a mechanical movement are often a different size than the quartz shaft, so they may need a bushing or light reaming of the hand hole. If the hands are incompatible or you want to preserve them as backups, replacement hands are available in styles that closely match the originals.
Will converting a grandfather clock to quartz affect its value?
Converting a grandfather clock to quartz will generally reduce its collector value, especially if the original movement is signed, in good condition, or made by a notable maker. For clocks you intend to keep and use, the conversion is worth the trade-off. For clocks that may have significant resale value, consult a professional appraiser before converting.
Final Thoughts on Converting an Antique Clock to Quartz
Converting an antique clock to a quartz movement is a genuinely rewarding project that breathes new life into a treasured timepiece. With the right tools, a careful approach, and a willingness to take your time with the hand fitting and dial alignment, you can complete the conversion in an afternoon and enjoy a working clock for years to come. The process is approachable for beginners, the parts are widely available, and the result is a low-maintenance antique that keeps accurate time without the daily winding routine.
For most clocks in your collection, a quartz conversion is the most practical path forward. Just remember to appraise valuable pieces first, document everything before you start, and reach out to the clock community if you hit a snag. Happy converting!