
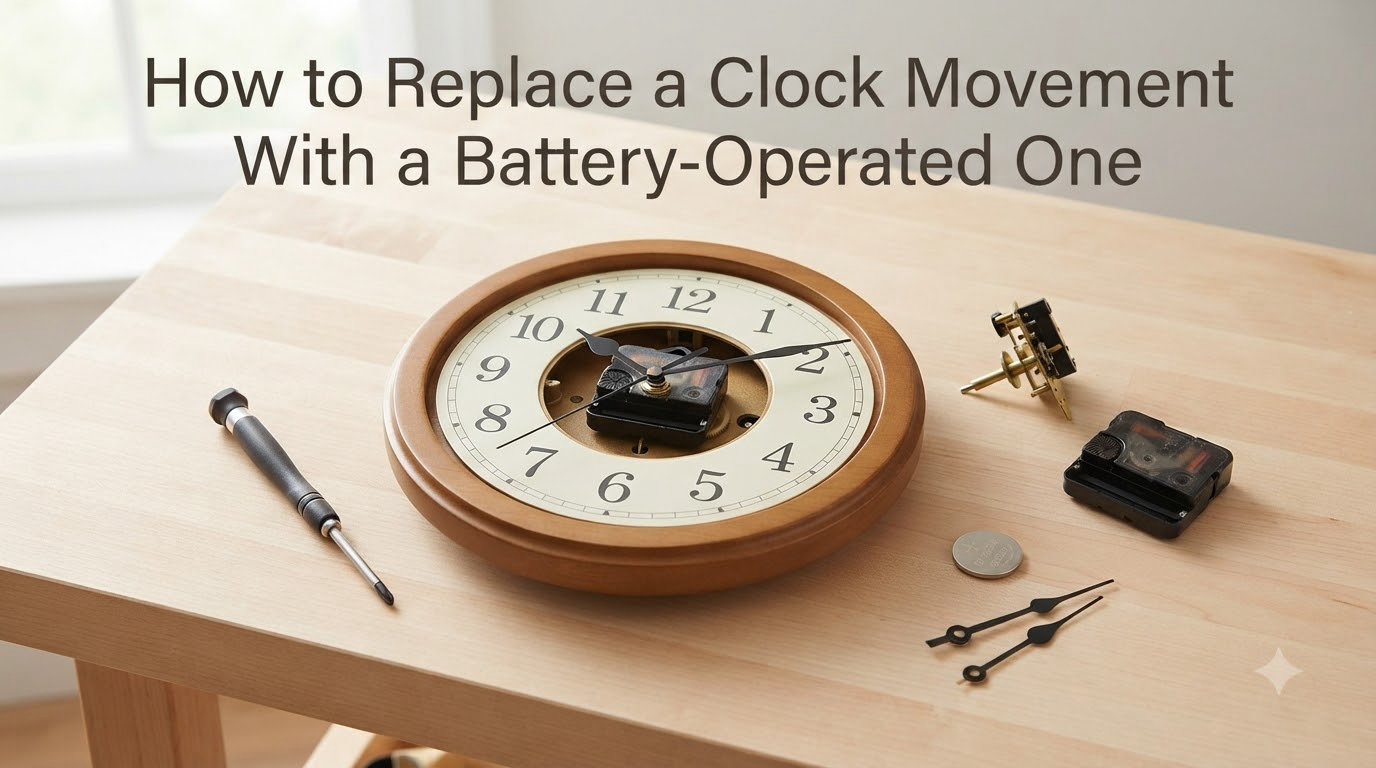
Replacing a clock movement with a battery-operated one is one of the most rewarding DIY repairs you can tackle in a single afternoon. I have replaced dozens of movements on wall clocks, mantel pieces, and even a stubborn old kitchen clock that stopped ticking in 2023. This guide walks you through the exact process I use, from gathering tools to setting the time on the new movement. If your battery clock has stopped working and you want to skip the cost of a whole new timepiece, you are in the right place.
A clock movement is the internal mechanism that drives the hands of an analog clock. When that mechanism fails, the hands freeze and your clock becomes a wall decoration. A new battery-operated quartz movement costs a fraction of a replacement clock and installs in under 30 minutes with basic tools. The job suits beginners, but the small parts and precise measurements reward patience.
Table of Contents
Tools and Materials You Will Need
Gathering everything before you start prevents the classic mistake of stopping mid-project to hunt for a screwdriver. I lay out my tools on a clean towel so nothing rolls off the workbench.
Essential tools:
- Needle-nose pliers (small)
- Phillips and flathead screwdrivers (small to medium)
- Adjustable wrench or 11mm socket wrench
- Wire cutters (for removing wire clips on some movements)
- Calipers or a precise ruler (for shaft length measurement)
- Soft cloth or towel to protect the clock face
Replacement parts:
- New battery-operated quartz clock movement (matched to shaft length)
- One AA alkaline battery (most common) or C battery for high-torque units
- Optional: new clock hands if the old ones are bent or corroded
Buy a movement with a longer shaft rather than a shorter one. You can always trim excess with pliers, but you cannot extend a too-short shaft. I keep a spare high-torque movement on hand for clocks with hands longer than 9 inches.
Choose the Right Replacement Movement
Picking the correct movement saves you from repeating the job next month. Three specifications matter: shaft length, movement type, and torque rating.
Shaft length is the distance from the movement body to the tip of the threaded shaft that holds the hands. Measure the old shaft with calipers from base to tip, including the threaded portion. Standard lengths run from 7/16 inch to 1-1/8 inch. Clockworks, clock parts suppliers, and most hardware stores stock common sizes.
Step vs sweeping movements describes how the second hand moves. A step movement ticks once per second with the familiar tick-tock sound. A sweeping movement glides smoothly and runs quieter. Sweeping movements cost slightly more but feel premium on a living room wall clock.
High-torque movements handle heavier or longer hands. If your clock hands exceed 9 inches or feel heavy in your hand, buy a high-torque unit. Standard movements struggle with long hands and stall frequently. Forum users on r/clocks consistently report that high-torque movements outlast standard ones on large wall clocks.
Remove the Old Clock Movement
Removal is the most delicate part of the job. Clock hands bend easily, and a slipped plier can scratch the dial. Work slowly and never force a stuck component.
Step 1: Remove the battery. Take out the old battery and set it aside. This stops the movement from advancing while you work.
Step 2: Remove the clock hands. Grip the second hand at its base with needle-nose pliers and rock it gently side to side while pulling straight up. The hands press-fit onto the shaft and pop off with light pressure. Repeat with the minute hand, then the hour hand. Never pull at an angle, or you will bend the hands or damage the shaft.
Step 3: Remove the mounting nut. A small hex nut threads onto the shaft from the front of the dial. Hold the shaft still from the back with pliers while you turn the nut counter-clockwise with a wrench or socket. Some clocks use a knurled collar nut that turns by hand.
Step 4: Release the movement from the back. The movement body sits behind the dial and is held by one of three methods: a threaded nut on the shaft, two small screws through the dial, or wire clips gripping the back. Unscrew or unclip whatever you find, then slide the old movement out the back.
Set every part in order on your workbench. Photograph the layout with your phone before you remove anything. I have lost more than one washer to a quick cleanup that I now regret.
Install the New Battery Clock Movement
Installation reverses removal with two key checks. Confirm shaft length and hand alignment before you commit.
Step 1: Test-fit the new movement. Slide the new movement through the back of the dial until the shaft pokes through the front. The shaft should extend far enough for the hands and a small clearance gap above the dial. If the shaft is too long, mark the excess and trim with a hacksaw, then file the cut smooth.
Step 2: Secure the movement. Reattach whatever held the old movement in place: hex nut, screws, or wire clips. Tighten finger-tight plus a quarter turn with a wrench. Overtightening cracks the dial on porcelain and ceramic clocks.
Step 3: Press on the hands. Slide the hour hand onto the shaft first, then the minute hand, then the second hand. Each hand has a small press-fit bushing that grips the shaft. Push straight down with steady pressure until the hand seats fully against the dial. Keep a tiny gap between each hand and the dial so they spin freely without catching.
Step 4: Verify hand alignment. All three hands should point to 12 when at rest and clear each other as they rotate. If the minute hand hits the hour hand, you have a bent hand or a wrong-size bushing. Stop and correct it before inserting the battery.
Test the Clock and Set the Time
The final test tells you whether the job worked. Insert the battery and watch the hands respond.
Insert one AA battery into the new movement with the positive terminal facing out. The second hand should begin stepping within two seconds. If nothing moves, check the battery orientation and confirm the shaft clears all three hand bushings.
Set the time by rotating the minute hand clockwise until the clock reads the correct hour and minute. Do not turn the hands backwards on a step movement, as this can damage the internal gears on some models. On sweeping movements, you can rotate hands freely in either direction.
Let the clock run for 10 to 15 minutes and watch for smooth motion. A healthy movement ticks once per second without hesitation or stutter. If the second hand stalls, your torque rating is too low for the hand weight, or the hands are binding against each other.
Troubleshooting Common Movement Problems
Even a careful install can run into trouble. These are the issues I see most often on forums and in my own work.
Clock runs slow or stops after a few hours: Battery is weak or the wrong type. Use a fresh alkaline AA battery from a name brand. Rechargeable batteries deliver lower voltage and confuse quartz movements.
Second hand stalls or jumps: Hands are too heavy for a standard movement, or hands are rubbing each other. Upgrade to a high-torque movement or trim the hand bushings to add clearance.
Hands will not stay on the shaft: The bushing is worn, or the shaft diameter is wrong. Most movements use a 5/16 inch shaft, but some European clocks use a smaller diameter. Match the bushing to the shaft, not the hand.
Movement hums but hands do not move: A gear slipped inside the movement during shipping. Return it for a replacement rather than opening the case.
FAQ
Can you replace the mechanism on a battery operated clock?
Yes, you can replace the mechanism on a battery operated clock with a new quartz movement. Most battery-operated clocks use a standard threaded shaft movement that is interchangeable across brands. Match the shaft length, hand style, and torque rating for a successful swap.
How do I change an electric clock to battery operated?
To convert an electric clock to battery, remove the electric motor and plug from the back of the clock, then install a battery-operated quartz movement matched to the shaft length. You will need to remove the power cord and cap any hole in the clock case. Most electric clock conversions take under an hour.
How do I change a clock movement?
To change a clock movement, first remove the hands by gently pulling them with needle-nose pliers. Unscrew the mounting nut holding the shaft to the dial, slide the old movement out the back, and slide the new movement in. Secure it with the nut, press on the hands, and insert a battery to test.
How to fix a battery operated clock that stopped working?
To fix a battery operated clock that stopped working, first replace the battery. If it still does not run, remove the movement, install a new quartz battery movement matched to the shaft length, and reset the hands. Most stopped battery clocks come back to life with a fresh movement.
Final Thoughts
Learning how to replace a clock movement with a battery-operated one saves money and keeps beloved clocks ticking for another decade. The process boils down to three choices: match the shaft length, pick the right torque, and handle the hands gently. Start with a simple wall clock to build confidence, then tackle mantel clocks and pendulum conversions once you have the feel for the parts.
Take your time on hand removal, measure twice before buying, and keep a spare high-torque movement in your drawer. Your clocks will thank you, and your walls will keep telling time well into 2026 and beyond.