
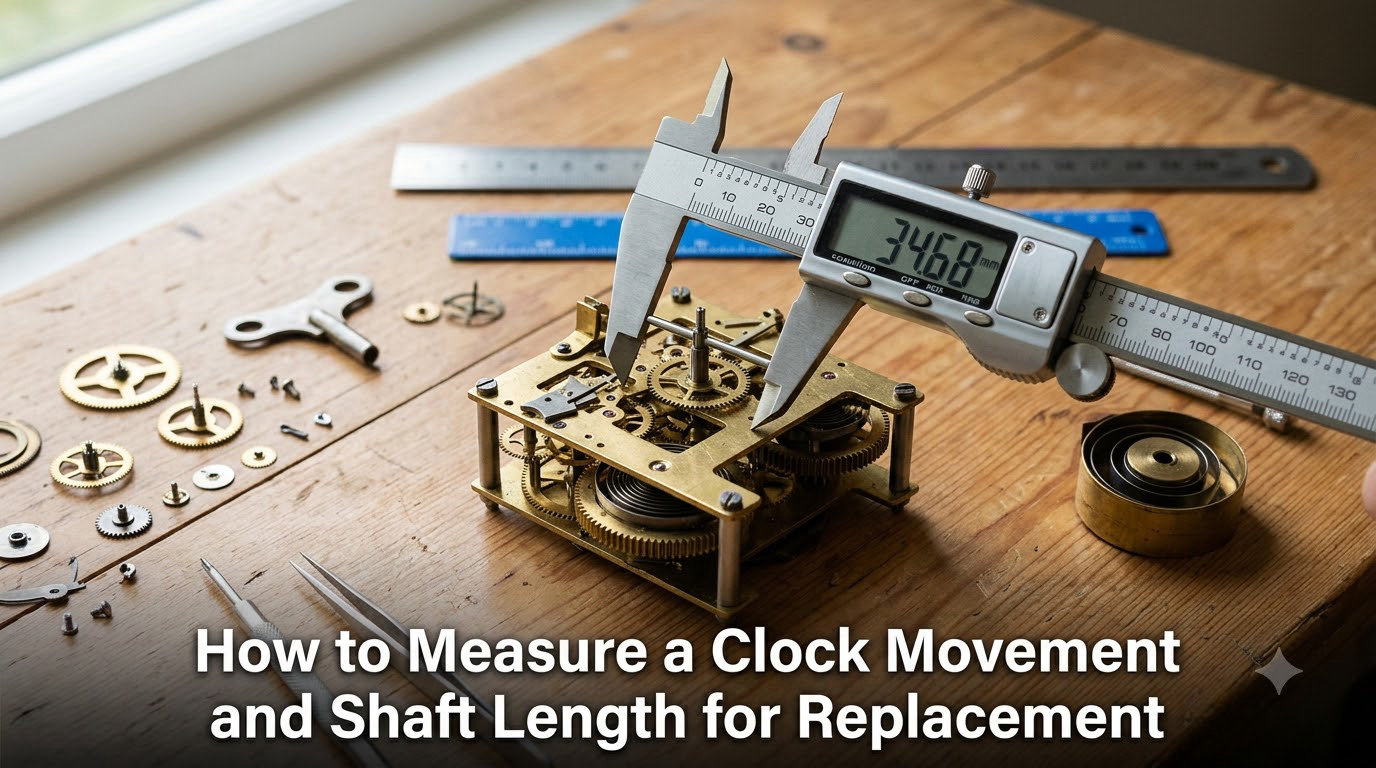
Replacing a quartz clock movement should take about 15 minutes, but only if you ordered the right shaft length. I learned this the hard way when my first replacement arrived with a threaded post too short to pass through a 3/4-inch wooden dial.
The movement sat on my workbench for two weeks while I waited for the correct part. The real problem? I had only measured the total shaft length and completely ignored the threaded portion, which is the dimension that actually determines whether the movement fits your dial.
Most guides tell you to “measure the shaft” without explaining that two separate numbers matter. The threaded portion length controls whether the movement mounts securely through your clock face. The total shaft length controls whether your hands have enough clearance to spin without rubbing.
In this guide on how to measure a clock movement and shaft length for replacement, I’ll walk you through the exact process I use every time. I’ll cover the tools, the step-by-step measurement method, common mistakes DIYers make, shimming techniques, and special considerations for vintage clocks.
Whether you’re fixing a kitchen wall clock, finishing a custom wood clock project, or restoring a family heirloom, getting these numbers right the first time will save you money, return shipping headaches, and weeks of waiting.
Table of Contents
Tools You Need to Measure a Clock Movement
You only need a few basic tools, and you probably already have most of them in your toolbox. Digital calipers are the single most accurate instrument for this job, and professional clockmakers rely on them exclusively for shaft measurement.
Here is what I keep in my clock repair kit:
Digital caliper — the depth gauge function is ideal for measuring the threaded portion from inside the hex nut; look for one that reads in both inches and millimeters
Ruler with a true zero point — meaning the measurement starts exactly at the edge of the ruler with no gap; this serves as a backup if you don’t have calipers
Needle-nose pliers — for loosening and removing the small hex nut that secures the movement to the dial
Small flathead screwdriver — for gently prying off tight push-on hands without bending them
Pen and paper — to record both measurements before you order, because trust me, you will forget the numbers by the time you reach the checkout page
If you don’t have a caliper, a zero-point ruler works as a solid backup. Slide the shaft flat against the zero mark and read the length where it meets the movement housing. You won’t get hundredths-of-an-inch precision, but most replacement movements come in standard sizes like 5/16, 7/16, 11/16, and 3/4 inch, so close measurements are usually good enough.
Every experienced DIYer I’ve talked to on clock restoration forums recommends investing in calipers. A basic digital pair costs less than a single wrong-size movement order, and it will serve you for years of clock projects.
Understanding Clock Movement Shaft Measurements
A clock movement shaft is the threaded metal post that extends from the front of the motor housing through your clock dial. It holds the hex nut, the hour hand, the minute hand, and sometimes a sweep second hand. Understanding its anatomy is essential before you touch a measuring tool.
The shaft has two distinct zones, and you need both measurements to order the correct replacement. Confusing the two is the number one reason people end up with movements that don’t fit.
Total Shaft Length vs Threaded Portion
The threaded portion is the section of the shaft with screw threads cut into it. This part passes through the dial face and accepts the hex nut that locks the movement in place. Measure from the base of the threads, where they meet the smooth collar of the movement housing, to the tip of the shaft.
The total shaft length is the entire protruding post, including the smooth upper section above the threads where the hands mount. This measurement determines how far your hands sit from the dial surface and whether they have enough vertical clearance.
Here is the distinction that trips up most people: you can have a long total shaft with a short threaded portion, or a short total shaft with a long threaded portion. The two are independent dimensions. You absolutely need both numbers written down before you shop for a replacement.
If the threaded portion is too short for your dial thickness, the hex nut won’t engage and the movement will pull right back out. If the total shaft is too long, you’ll see an ugly gap between the dial face and the mounting nut.
Shaft Diameter Explained: 5/16 vs 3/8
Most modern quartz movements use either a 5/16-inch (8mm) or 3/8-inch (10mm) threaded shaft diameter. The 5/16 size is by far the most common for standard wall clocks, kitchen clocks, and DIY projects. The 3/8 diameter shows up on some older movements and on certain high-torque models designed for heavy hands.
The diameter matters because the hole in your clock dial must match. A 3/8 shaft will not fit through a 5/16 hole without reaming it out with a drill bit. If you’re reusing an existing dial with a pre-drilled hole, always verify the diameter before ordering.
When in doubt, measure the diameter with your caliper. The reading takes five seconds and prevents a frustrating incompatibility.
Quartz vs Mechanical Movements: Key Differences
Quartz movements are battery-powered and account for nearly every modern replacement scenario you’ll encounter. Their shafts follow standardized dimensions, making measurement straightforward using the process in this guide.
Mechanical movements are a completely different category. They are spring-wound, gear-driven mechanisms found in older clocks, grandfather clocks, and high-end timepieces. Their shafts often use non-standard dimensions, proprietary hand-fitting systems, and movement-specific mounting plates that don’t interchange with generic replacements.
If your clock is mechanical, you will likely need to contact the original manufacturer or a specialist clock repair supplier rather than ordering a standard quartz replacement. For the vast majority of readers working with battery-operated wall clocks and DIY builds, you’re dealing with quartz, and the rest of this guide applies directly.
How to Measure Clock Movement Shaft Length for Replacement
Measuring a clock movement shaft comes down to five clear steps: remove the old movement, measure the threaded portion, measure the total shaft length, verify the diameter, and note your hand types. Here is the complete process I use on every clock repair.
Step 1: Remove the Old Movement Safely
Start by removing the clock from the wall and laying it face-down on a soft, padded surface. If your clock has a glass or acrylic front cover, place it on a folded towel to prevent the glass from cracking under pressure.
Take a quick photo of the assembled movement before you start disassembling anything. This gives you a reference for reassembly if you get confused later.
Pull the second hand straight off the tip of the shaft if your clock has one. It slides off with gentle, even pressure. Next, remove the minute hand. Some minute hands are held by a small cap nut threaded onto the very tip of the shaft. Others are push-on types that need careful prying with a small flathead screwdriver.
Use needle-nose pliers to loosen and remove the hex nut, turning it counterclockwise. Once the nut is off, lift the hour hand free and gently push the movement housing out through the back of the dial.
Step 2: Measure the Threaded Portion
This is the measurement that matters most for proper fitment. The threaded portion must be long enough to pass completely through your dial material and still leave enough thread sticking out the front for the hex nut to grab securely.
Using your caliper’s depth gauge, measure from the flat mounting surface of the movement housing, where it contacts the back of the dial, to the tip of the shaft. This distance is your threaded portion length.
Write this number down immediately. Standard threaded lengths you’ll encounter when shopping include 5/16, 7/16, 11/16, and 3/4 inch. For clock dials thicker than 1 inch, you’ll need to seek out a long-shaft movement, which can be harder to find from standard retailers.
The threaded portion should be at least 1/16 inch longer than your dial thickness. This gives the hex nut enough thread to bite into without bottoming out against the shaft collar.
Step 3: Measure the Total Shaft Length
Now measure from the movement housing to the very tip of the shaft, including the smooth unthreaded section above the threads. This is your total shaft length.
The total length must be long enough to accommodate your hands with proper vertical clearance. If it’s too short, the minute hand will scrape against the hour hand as it passes. The smooth upper portion is where the hour hand friction-fits and where the minute hand attaches.
Record this number separately from your threaded portion measurement. You need both to select the correct replacement, and many retailers list movements by total shaft length rather than threaded length.
Step 4: Verify the Shaft Diameter
Measure the outside diameter of the threaded portion using your caliper jaws. The vast majority of quartz movements use 5/16 inch, which equals roughly 8mm. Some high-torque and older models use 3/8 inch, or about 10mm.
This measurement matters because the hole in your dial must accommodate the shaft. If you’re reusing an existing dial with a 5/16-inch hole and accidentally order a 3/8-inch shaft, you’ll need to enlarge the hole with a drill bit.
It takes five seconds to check, and it prevents a common and annoying incompatibility.
Step 5: Check Hand Hole Shapes and Sizes
Before you order a replacement, examine your existing clock hands carefully. Clock hands come with either round or oval mounting holes, and the shaft tips that accept them vary between movement brands and models.
Look at the center hole of both your hour hand and minute hand. Note whether each hole is round or oblong, and use your caliper to measure the hole diameter. Many replacement movements come with a fresh set of matching hands included, which eliminates this problem entirely.
If you want to reuse your original hands for aesthetic reasons, the hand holes must match the new movement’s hand shaft configuration. This is one of the most frequent pain points I see on woodworking and DIY forums. People order a new movement, try to reuse their old hands, and discover the minute hand won’t seat properly because the hole shape is incompatible.
The safest approach for first-timers is to buy a replacement kit that includes the movement plus matching hands. This removes the compatibility guessing game completely.
How to Shim a Clock Movement When the Shaft Is Too Long
If your threaded portion ends up slightly longer than your dial thickness, the movement won’t sit flush against the back of the dial. It will gap away from the surface and feel loose. The fix is simple and costs pennies.
Use shims, which are small washers or spacer rings, placed over the threaded shaft between the movement housing and the back of the dial. Stack nylon washers, metal washers, or purpose-made clock shims until the hex nut tightens snugly against the front of the dial without bottoming out on the shaft collar.
I’ve used everything from clock-specific shim kits to small flat washers from the hardware store drawer. As long as the inner diameter fits over the shaft threads, the shim works perfectly. Place the shims behind the dial where they’re completely invisible from the front.
This technique is especially useful for DIY clock makers working with thinner materials like 1/4-inch plywood, acrylic sheets, or thin metal. You can order a standard 11/16-inch shaft movement and shim it down to fit, rather than hunting for a hard-to-find exact short-shaft model.
Measuring Vintage and Antique Clock Movements
Vintage and antique clocks present challenges that standard replacement guides rarely address. Many older clocks use movement dimensions that simply don’t match today’s standard sizes, and finding a direct drop-in replacement can be difficult.
For American clock movements from the mid-1900s, start by measuring the threaded portion and total shaft exactly as you would for any quartz movement. But also measure the overall movement housing dimensions, including width, height, and depth, plus the distance between any mounting screw holes. Some vintage clocks require a movement that fits a specific internal bracket or mounting frame.
If the movement is mechanical rather than battery-powered, seriously consider whether restoration is a better option than replacement. Mechanical movements often carry sentimental, historical, or collectible value that a quartz swap would diminish or destroy. A professional clock repair service can clean and rebuild the original movement while preserving the clock’s authenticity.
For clocks with unusual shaft lengths, long-shaft quartz movements offering up to 1-1/4 inch of threaded length are available from specialty suppliers. Anything beyond that may require a custom mounting solution or professional fabrication.
Common Mistakes to Avoid When Measuring
I’ve seen the same handful of measurement mistakes trip up DIYers over and over. Here are the five most common errors and how to avoid each one.
Mistake 1: Measuring Only the Total Shaft Length. The single most frequent error is measuring the total shaft while ignoring the threaded portion entirely. If your total shaft is 3/4 inch but the threaded portion is only 1/4 inch, the movement will not secure properly on a 1/2-inch dial. Always measure both dimensions and write them down separately.
Mistake 2: Moving Clock Hands Backwards. Many people try to set the correct time by spinning the hands counterclockwise. On most quartz movements, this damages the internal gear train. Always advance the minute hand clockwise only, or use the setting knob on the back of the movement housing. This question comes up constantly on clock forums, and the answer never changes: forward only.
Mistake 3: Ignoring Glass Front Clearance. If your clock has a glass or acrylic front cover, the total shaft length plus the height of your hands must clear the glass with room to spare. A movement with a long shaft combined with thick, decorative hands can press against the glass and physically stop the clock from running. Always measure the distance from the dial surface to the inside of the glass before finalizing your order.
Mistake 4: Reusing Old Hands Without Checking Compatibility. As covered in Step 5, hand mounting holes vary between round and oval configurations. These shapes are not interchangeable. If your new movement includes hands, use them. If you need your originals for their look or size, verify the hole type and diameter before placing your order.
Mistake 5: Forgetting to Measure Dial Material Thickness. Wood, metal, ceramic, and glass dials all have different thicknesses that directly affect which threaded length you need. A movement that fits a thin sheet-metal dial perfectly won’t work on a 3/4-inch solid wood clock face. Always measure the dial thickness at the shaft hole and compare it to your threaded portion length before ordering.
Choosing the Right Replacement Movement
Once you have all your measurements recorded, selecting the replacement becomes straightforward. Match the threaded portion to your dial thickness, confirm the total shaft accommodates your hands, and verify the diameter fits your existing dial hole.
For standard wall clocks with thin dials under 1/4 inch, a basic quartz movement with a 5/16 or 7/16-inch threaded shaft will work perfectly. For thicker wood clocks or DIY projects, look for movements with 11/16 or 3/4-inch threaded shafts.
If your clock has large hands measuring over 4 inches in length, you need a high-torque movement. Standard quartz movements lack the motor power to drive heavy hands, and the clock will stall, lose time, or stop entirely. High-torque movements have stronger stepper motors and are clearly labeled as such by manufacturers.
Clocks with pendulums require pendulum-compatible movements that include a separate drive mechanism for the swing arm. Similarly, if your clock chimed on the hour, you’ll need a movement with a built-in chime module. These are physically larger than standard movements and require more clearance depth behind the dial.
When in doubt, buy a replacement kit that bundles the movement with a matched set of hands, a hex nut, and a hanger. This is the approach I recommend for anyone doing their first clock movement replacement. It removes the hand-compatibility question completely and gets your clock ticking again with minimal fuss.
FAQs
How to measure clock movement shaft length?
Measure from the flat mounting surface of the movement housing to the tip of the shaft for the total length. Then measure just the threaded portion separately from where the threads begin to the tip. You need both numbers to order the correct replacement movement.
How do I know what size clock mechanism to buy?
Match the threaded portion length to your dial thickness so the threads pass completely through with enough excess for the hex nut. Confirm the total shaft length accommodates your hands, and verify the shaft diameter, usually 5/16 inch, fits your dial hole.
How do you measure a clock face for replacement?
Remove the movement and measure the thickness of the dial material where the shaft passes through. This thickness determines the minimum threaded portion length you need. Also measure the hole diameter to confirm shaft compatibility.
Is it okay to move clock hands backwards?
No. Moving quartz clock hands counterclockwise can damage the internal gearing. Always advance the minute hand clockwise, or use the setting knob on the back of the movement to adjust the time safely.
Wrapping Up
Measuring a clock movement shaft correctly comes down to understanding that two separate dimensions matter: the threaded portion and the total shaft length. Once you know how to measure clock movement shaft length for replacement, ordering the right part becomes a five-minute task instead of a frustrating guessing game.
Remember to remove the old movement carefully, record both measurements with your caliper, check the shaft diameter, and verify hand hole compatibility before you place your order. If your shaft ends up slightly too long for your dial, shimming with small washers is an easy fix that keeps your project moving forward.
Whether you’re repairing a beloved family clock or finishing a custom DIY build, accurate measurements are the foundation of a clean, professional result. Take your time with the calipers, write down every number, and you’ll have your clock ticking again in no time.