
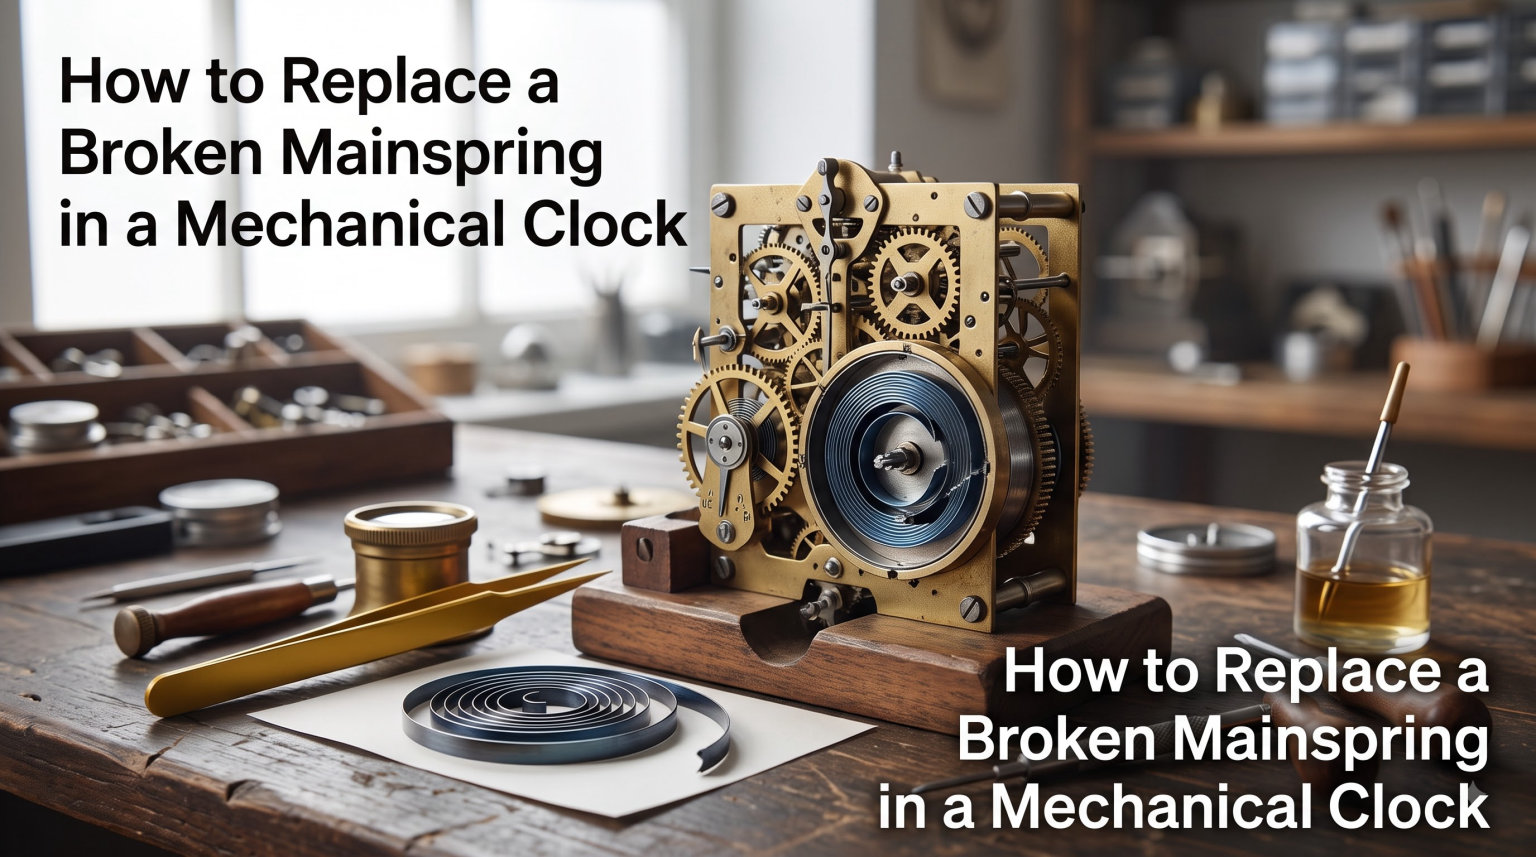
A broken mainspring is one of the most common reasons a mechanical clock suddenly stops running. When that coiled strip of steel inside the barrel snaps, your clock loses its power source entirely. The good news is that you can replace a broken mainspring yourself if you have the right tools, patience, and a healthy respect for the energy stored inside a wound spring.
This guide walks through the complete process of how to replace a broken mainspring in a mechanical clock, from diagnosing the problem to testing your finished repair. I have spent years working on mantle clocks, wall clocks, and vintage timepieces, and I will share what I have learned about doing this safely and correctly.
You will learn how to identify a truly broken spring, let down tension without injury, measure the old spring accurately, and install the replacement so your clock runs again. Whether you own a mantle clock, a bracket clock, or an antique shelf clock, the fundamentals are the same.
Before you begin, understand one thing clearly: a mainspring under tension carries real energy. Forum users on Reddit and the NAWCC message boards frequently share stories of springs releasing violently and causing injuries. I will cover safety first and thoroughly, because it matters more than any single step in the repair.
Table of Contents
What Is a Mainspring and How Does It Work
A mainspring is a long, flat strip of hardened steel coiled inside a cylindrical container called the mainspring barrel. It is the power source for every spring-driven mechanical clock. When you wind the clock, you tighten this spring around a central shaft called the arbor, storing potential energy.
As the spring slowly unwinds, it turns the barrel (or the arbor, depending on the design). That rotational force transfers through the gear train, ultimately moving the hands and driving the escapement at a controlled rate. Without a working mainspring, the entire clock mechanism has no energy to run.
The Barrel and Arbor System
The barrel is the round housing that contains the coiled spring. The arbor is the central post around which the spring wraps. In some clock designs, the barrel itself turns and drives the gear train. In others, the arbor turns while the barrel stays fixed.
One end of the mainspring attaches to the arbor, and the other end hooks onto the inside wall of the barrel. This dual attachment is what allows the spring to store energy when wound and release it gradually as the clock runs.
Hole-End vs Loop-End Mainsprings
Mainsprings come in two main end types, and you need to know which one your clock uses before ordering a replacement. A hole-end mainspring has a small hole at the outer end that hooks onto a pin inside the barrel wall. A loop-end mainspring has a formed loop that catches on a projection inside the barrel.
Most barrel-enclosed springs in mantle clocks and wall clocks use the hole-end design. Open springs that sit on a great wheel (common in some American and German clocks) typically use loop-end ends. I always check the old spring before ordering, because getting this wrong means the new spring will not fit.
How Long Do Mainsprings Last?
A quality mainspring can last 30 years or more under normal conditions. I have opened clocks from the 1980s with springs still in excellent shape. Fatigue, poor lubrication, and over-winding eventually take their toll, and when the metal finally gives way, the spring snaps, often near the outer hooking point.
Signs Your Mainspring Is Broken
The most obvious sign of a broken mainspring is that the winding key suddenly offers no resistance. You turn the key and it spins freely without the familiar tightening feel. This happens because the spring has snapped and can no longer build tension around the arbor.
Another common symptom is a loud snap or crack sound from inside the clock case, followed by the clock stopping immediately. Some clock owners describe hearing a metallic ping or bang, which is the spring releasing its stored energy in one sudden burst.
You might also notice the clock ran perfectly fine one day and was completely dead the next, with no gradual decline in running time. A mainspring failure is abrupt, unlike wear-related issues that develop slowly over months or years.
Broken vs Overwound: Knowing the Difference
Many clock owners assume their clock is overwound when it stops, but a truly overwound clock is rare. In most cases, what people call overwinding is actually a broken mainspring, a lubrication failure, or dirt buildup in the gear train. If the key offers resistance when winding but the clock still does not run, the problem is likely elsewhere in the movement.
If the key spins freely with zero resistance, the spring is almost certainly broken. A spring that is set (permanently deformed from age) will still offer some resistance but may not power the clock for a full running period.
Visual Inspection Cues
If you can safely open the clock case, look for the mainspring barrel or the great wheel assembly. A broken spring may show a visible gap or separation in the coil. In open-spring designs, you might see the end of the spring detached and sticking out from where it should be hooked.
I always recommend confirming the break visually before ordering parts, because other issues can mimic a broken spring. A detached outer hook, a stripped winding ratchet, or a broken click spring can all produce similar symptoms.
Safety Precautions: Read Before You Start
Safety is the single most important part of mainspring replacement. A wound mainspring stores enough energy to cause serious injury. Multiple forum users on Reddit have reported cuts, bruises, and near-misses from springs that released unexpectedly during DIY repair attempts.
The biggest danger comes from removing a spring that is still under tension. Never attempt to pull a wound spring from a clock by force. You must let the tension down first, using a controlled procedure I describe in the step-by-step section below.
Essential Safety Rules
Follow these rules every single time you work with a mainspring, no exceptions:
Wear safety glasses at all times when the spring is accessible. A releasing spring can fling metal fragments.
Wear leather gloves to protect your hands from cuts and pinches.
Always let down the spring tension before removing any spring from the clock.
Never point a spring barrel at your face or anyone else.
Work in a clear, well-lit area with no distractions.
Keep children and pets away from your workbench during the entire process.
Use proper tools, never improvised substitutes, when handling spring tension.
The Let-Down Procedure
The let-down procedure is how you safely release the energy stored in a wound mainspring before you remove it. You use a let-down key or let-down tool to allow the spring to unwind slowly while maintaining control. The click (the small lever that prevents the spring from unwinding) is held out of the way while you let the mainspring push the key backward in your fingers.
I cannot stress this enough: never simply release the click on a wound spring. The barrel will spin violently and can damage the gear train, break teeth, and cause the spring to jump out of the movement. Always maintain resistance on the key or winder as the tension releases.
Handling the Broken Spring
Even a broken spring can retain partial tension, depending on where it snapped. Treat every spring as if it is fully wound until you have confirmed it is completely relaxed. When in doubt, let it down.
If you are removing an open spring (one without a barrel enclosure), wrap it in a heavy towel before extracting it. This is the turban-wrap method that experienced clock repairers use to catch a spring safely if it gets away from you during removal.
Tools Required for Mainspring Replacement
You need a specific set of tools to replace a mainspring safely and accurately. Here is what I keep on my bench for every mainspring job:
Let-down key or let-down tool: For safely releasing spring tension. This is non-negotiable.
Mainspring winder: For safely removing and installing barrel springs. Sizes must match your barrel.
Safety glasses: Impact-rated, worn at all times when the spring is exposed.
Leather gloves: For grip and hand protection.
Vernier caliper or micrometer: For measuring spring width and thickness precisely.
Long-nosed pliers: For handling spring ends and small components.
Small screwdriver set: For removing movement screws and barrel bridges.
Spring hook or bent wire: For catching the spring hole-end during installation.
Cleaning supplies: Lint-free cloth, clock cleaning solution, and pegwood for cleaning the barrel.
Mainspring grease or appropriate clock oil: For lubricating the new spring.
If you do not have a mainspring winder, you can attempt hand installation with pliers and a towel, but it is significantly more dangerous and difficult. I cover winder options in detail later in this guide.
How to Replace a Broken Mainspring in a Mechanical Clock: Step-by-Step Removal
Here is the complete step-by-step removal process for how to replace a broken mainspring in a mechanical clock. Work slowly through each step, and stop if anything feels wrong.
Step 1: Let Down the Remaining Spring Tension
Before touching any screws or removing anything, you must let down whatever tension remains in the spring. Fit your let-down key onto the winding arbor and apply turning pressure in the winding direction. While holding this pressure, use your other hand or a small tool to slide the click (the locking lever) out of the click wheel teeth.
Now slowly let the key rotate backward under spring pressure, maintaining a firm grip. The spring will try to unwind quickly, but your controlled resistance keeps it slow. Repeat this in small increments until the key offers no more resistance at all. Only then is the spring fully let down.
If the spring is already broken, there may be little or no tension to release. Still perform this step to be certain. I never skip it, even when I am confident the spring is snapped.
Step 2: Remove the Movement from the Case
Take the clock out of its case to access the movement. This usually involves removing hand nuts, dial screws, and movement mounting screws. Photograph everything as you disassemble, so you know exactly how it goes back together.
For mantle clocks and shelf clocks, the movement often lifts out as a unit once the hands and dial are removed. For wall clocks and bracket clocks, you may need to remove additional mounting brackets. Keep all screws in a labeled container.
Step 3: Access and Remove the Mainspring Barrel
With the movement out, locate the mainspring barrel. Remove the bridge or plate that holds the barrel in place. Carefully lift the barrel free, keeping it oriented the same way it sat in the movement.
For open springs (great wheel designs without a barrel), you will remove the entire great wheel and arbor assembly. The spring stays attached to the arbor, and you handle the whole unit together.
Step 4: Extract the Broken Spring
For barrel-enclosed springs, you need a mainspring winder that matches your barrel size. Insert the winder arbor, catch the spring end, and wind the broken spring onto the winder core. This keeps the spring under control as it comes out of the barrel.
If you do not have a winder, you can use the pliers-and-towel method. Hold the barrel opening under a heavy towel, grip the outer end of the spring with long-nosed pliers, and carefully pull the spring out in a controlled manner. The towel contains the spring if it slips. This method works but carries more risk.
For open springs, wrap the spring around the arbor with your fingers while wearing gloves, working from the outer end inward. Keep the coil tight and controlled as you remove it from the movement.
Measuring the Old Spring for the Right Replacement
Accurate measurement is the difference between a successful repair and a spring that does not fit. Forum users consistently cite difficulty finding the correct replacement measurements as their top frustration. You need three numbers: width, thickness, and length.
Measuring Width
Use your vernier caliper to measure the width of the spring strip. This is the dimension from one edge of the flat steel to the other. Measure in several places along the spring, because a broken spring may have slight variations. Record the widest consistent measurement.
The width must match the internal height of your barrel. If the new spring is too wide, it will not fit inside the barrel lid. If it is too narrow, the spring can tilt and bind during winding.
Measuring Thickness
Thickness is the most critical measurement and the hardest to get right. Use a micrometer or a precise vernier caliper to measure the thickness of the steel strip. Mainspring thickness typically ranges from 0.30 mm to 0.60 mm depending on clock size.
A spring that is too thick will be too strong and can strip gear teeth or over-power the escapement. A spring that is too thin will not provide enough running time. Forum users note that slightly thicker springs may be needed if the movement is worn and needs extra power to overcome friction.
Measuring Length
For length, lay the broken spring out straight and measure the total length. If the spring broke into multiple pieces, measure each piece and add them together. Keep in mind that some length may have been lost at the break points, so add a small allowance.
The length determines how many turns of power the spring provides, which translates to running time between windings. Too short means less running time. Too long means the spring will bind inside the barrel when fully wound.
Measuring the Barrel (Backup Method)
If the old spring is too damaged to measure reliably, measure the barrel instead. Measure the internal diameter, the barrel width, and the arbor diameter. You can use a mainspring chart (readily available from clock parts suppliers) to calculate the correct spring dimensions from barrel measurements.
I recommend measuring both the spring and the barrel whenever possible. Cross-referencing the two gives you confidence that the replacement will fit properly.
Installing the Replacement Mainspring
Installing the new mainspring is essentially the removal process in reverse, but with added care to get the spring properly lubricated and seated. Start by cleaning the barrel thoroughly with clock cleaning solution and a lint-free cloth.
Using a Mainspring Winder
With a winder sized to your barrel, hook the outer end of the new spring onto the winder arbor. Wind the spring onto the winder core, keeping it under control. Then position the winder over the clean barrel, catch the outer end onto the barrel hook, and release the spring into the barrel in a controlled unwind.
The spring should coil neatly inside the barrel with the outer end securely hooked. The inner end (hole-end) will be accessible for connecting to the arbor when you reassemble the barrel.
Hand Installation Without a Winder
If you do not have a winder, you can install the spring by hand, though it requires patience and steady hands. Hook the outer end into the barrel, then wind the spring into the barrel by pushing it in a coil with your thumbs while wearing gloves. Work gradually, keeping each turn tight against the previous one.
This method is slower and harder to control than using a winder, but it is doable for smaller springs in mantle clocks. For larger springs in grandfather clocks or bracket clocks, I strongly recommend investing in a winder.
Securing the Inner End to the Arbor
Once the spring is coiled in the barrel, insert the arbor and catch the inner hole-end of the spring onto the arbor hook. The arbor should turn smoothly with a slight drag from the spring tension. Replace the barrel cover, making sure the barrel lid snaps or screws into place securely.
Aligning the Barrel Cover (Spiggot)
Many barrels have a locating pin or spiggot on the cover that must align with a corresponding hole or notch in the movement plate. If this alignment is off, the barrel will sit at an angle and the gear train will bind. Check the alignment by rotating the barrel by hand before reassembling the movement plates.
Testing and Alignment After Installation
Before you put the clock back in its case, test the repair on your workbench. Wind the mainspring a few turns and check that the gear train begins to move. You should see the escape wheel advance and hear the familiar tick of the escapement.
Wind the spring to about half its capacity and let the clock run for an hour or two. Listen for any unusual sounds, grinding, or clicking that would indicate a problem. The motion should be smooth and consistent.
Checking Power Delivery
Verify that the mainspring delivers power all the way through the gear train to the escape wheel. If the clock starts but then stops after a short time, the spring may be too weak or there may be friction elsewhere in the movement. Clean and oil the other pivots if needed.
Full Wind Test
Once you are satisfied with the half-wind test, wind the clock fully. Confirm that it runs for the expected duration (typically 8 days for most mantle and wall clocks). If the running time is significantly shorter than expected, the spring may be the wrong length or thickness.
Only after successful bench testing should you reinstall the movement in the clock case and attach the hands. Set the time and let the clock run for a full week to confirm the repair holds.
Lubrication Best Practices
Yes, you absolutely should lubricate a clock mainspring. A dry mainspring rubs against itself with every winding and unwinding cycle, creating friction and wear. Proper lubrication reduces this friction, extends spring life, and helps the clock deliver smooth, consistent power.
What Lubricant to Use
Use a dedicated mainspring grease, not standard clock oil. Mainspring grease is formulated to stay in place on the spring surface and resist being squeezed out under pressure. Apply a thin, even coat to the entire surface of the new spring before or during installation.
If you are winding the spring into the barrel with a winder, you can apply grease to the spring as it winds in. If installing by hand, grease the spring before coiling it into the barrel. A small amount goes a long way. Too much grease attracts dust and creates a sticky mess.
Where and How Much to Apply
Coat both sides of the spring lightly but completely. Focus on the areas where the coils rub against each other, which is essentially the entire spring surface. Avoid getting grease on the barrel teeth or the gear train, where it does not belong and can cause problems.
I use a small brush to spread the grease evenly. After installation, wipe any excess from the outside of the barrel with a clean cloth. The spring should feel slick but not dripping.
Mainspring Winder Options Explained
A mainspring winder is a specialized tool that grips the spring and lets you wind it into or out of a barrel under control. It transforms a dangerous, fiddly job into a manageable one. Two main types are available to clock repairers.
Olie Baker Winders
Olie Baker winders are the professional standard, used by clock repair shops worldwide. They come in multiple sizes to match different barrel diameters. The winder has a crank that coils the spring onto a core, and a release mechanism that lets the spring unwind into the barrel smoothly.
These winders are an investment, typically costing in the range of dedicated clock repair tools, but they make mainspring work dramatically safer and faster. If you plan to work on multiple clocks over time, a set of Olie Baker winders pays for itself.
DIY Winder Alternatives
Some repairers build their own winders using a threaded rod, nuts, and washers as a makeshift core. One competitor article describes building a DIY winder from hardware-store parts. These can work for occasional use, but they lack the precision and safety features of purpose-built winders.
I started with a DIY approach before buying proper winders, and the difference is significant. A purpose-made winder grips the spring reliably and releases it without sudden movements. If you only have one clock to fix, the towel-and-pliers method may be sufficient, but for repeat work, a real winder is worth every penny.
When You Need a Winder vs When You Don’t
You need a winder for any barrel-enclosed mainspring, because there is no safe way to control the spring entering or leaving the barrel without one. For open springs on a great wheel, you can sometimes manage with pliers and gloves, since the spring is more accessible and visible.
Common Mistakes to Avoid
After years of clock repair, I have seen (and made) most of the common mistakes in mainspring replacement. Here are the ones to watch for:
Skipping the let-down step: Removing a wound spring is the fastest way to get hurt. Always let the tension down first.
Ordering the wrong measurements: Measure width, thickness, and length separately and accurately. Guessing leads to springs that do not fit or do not power the clock.
Over-lubricating: Too much grease attracts dust, makes a mess, and can cause the spring to slip inside the barrel. A thin, even coat is all you need.
Forcing the spring into the barrel: If the spring resists going in, something is wrong. Stop and reassess rather than pushing harder.
Mixing up end types: Hole-end and loop-end springs are not interchangeable. Confirm which type your clock uses before ordering.
Reassembling without testing: Always bench-test the movement before putting the clock back in its case. Catching problems at the bench saves disassembly later.
Ignoring the barrel condition: A worn or cracked barrel can damage the new spring. Inspect the barrel for wear, cracks, and smooth hooking points before installing the replacement.
DIY vs Professional Repair: Which Makes Sense
Not every mainspring replacement is a good DIY project. Deciding whether to tackle it yourself or hire a professional depends on your tools, experience, and the value of your clock.
When DIY Makes Sense
If you already have clock repair tools, or you are willing to invest in a spring winder and let-down key, and your clock is a standard mantle or wall clock, DIY is a reasonable choice. The satisfaction of fixing your own clock is genuine, and you learn skills that apply to future repairs.
DIY also makes sense for clocks with modest financial or sentimental value, where the cost of professional repair might exceed the clock’s worth. I started repairing my own clocks for exactly this reason.
When to Call a Professional
Call a professional if your clock is a valuable antique, a complex movement (such as a three-train grandfather clock with chiming), or if you are uncomfortable working with stored spring energy. Professional clock repairers have the tools, experience, and insurance to handle difficult jobs safely.
Professional mainspring replacement typically costs between $150 and $200, based on reports from Reddit users who have used repair services. That price usually includes cleaning and oiling the movement, which is recommended any time you have the movement apart. For a clock you value, that is money well spent.
The Cost-Benefit Question
If your clock is worth less than the repair cost and has no sentimental value, you might wonder if repair is worth it at all. Some modern clock movements are inexpensive enough that replacing the entire movement makes more sense than a mainspring repair. This is especially true for mass-produced clocks from the mid-to-late twentieth century.
For antiques, heirlooms, and quality mechanical clocks, repair almost always makes more sense than replacement. A good mainspring replacement can give your clock another 30 years of reliable service.
FAQs
How do you release an overwound clock spring?
Use a let-down key fitted onto the winding arbor. Turn the key in the winding direction to take pressure off the click, then slide the click out of the click wheel teeth. Slowly let the key rotate backward under spring pressure, maintaining firm control. Repeat in small increments until all tension is released. Never simply release the click, as the spring will unwind violently.
Can you fix a broken clock spring?
A fully broken mainspring cannot be reliably repaired and should be replaced with a new spring of matching dimensions. Attempting to weld or rejoin a snapped spring is dangerous and will fail under tension. However, a detached spring end or a worn hooking point can sometimes be repaired without replacing the entire spring.
Can you repair an overwound clock?
Most clocks described as overwound are not actually overwound at all. The stopping is usually caused by a broken mainspring, dried lubrication, or dirt in the gear train. A proper cleaning and oiling of the movement resolves most of these issues. If the mainspring is truly broken, it must be replaced.
Should you oil a clock mainspring?
Yes, a clock mainspring should be lubricated with a dedicated mainspring grease, not standard clock oil. Apply a thin, even coat to both sides of the spring before or during installation. Proper lubrication reduces friction between coils, extends spring life, and helps the clock deliver consistent power throughout its running period.
What causes a clock mainspring to break?
The most common causes are metal fatigue from decades of use, inadequate lubrication that increases friction and stress, and rust or corrosion that weakens the steel. Springs typically break near the outer hooking point where stress concentrates. Over time, repeated winding and unwinding cycles cause microscopic cracks that eventually lead to sudden failure.
How much does it cost to replace a clock mainspring?
Professional mainspring replacement typically costs between $150 and $200, which usually includes cleaning and oiling the movement. The cost varies based on clock type, your location, and the repairer’s experience. Doing it yourself costs less but requires investing in tools like a spring winder, let-down key, and calipers.
Conclusion
Replacing a broken mainspring in a mechanical clock is a project that rewards patience, careful measurement, and respect for safety. The process comes down to letting down the tension, removing the broken spring, measuring it accurately, installing a properly lubricated replacement, and testing the repair before reassembly.
If you are learning how to replace a broken mainspring in a mechanical clock for the first time, take your time and do not rush any step. Start with a simple mantle clock before attempting complex grandfather movements. And remember that calling a professional is always a valid choice, especially for valuable or complex timepieces.
Your clock kept time for decades on its original spring. With a careful replacement, proper lubrication, and regular maintenance, it can keep ticking for decades more. That is the satisfaction of mechanical clock repair. You are not just fixing a machine. You are keeping a piece of horological history running.