
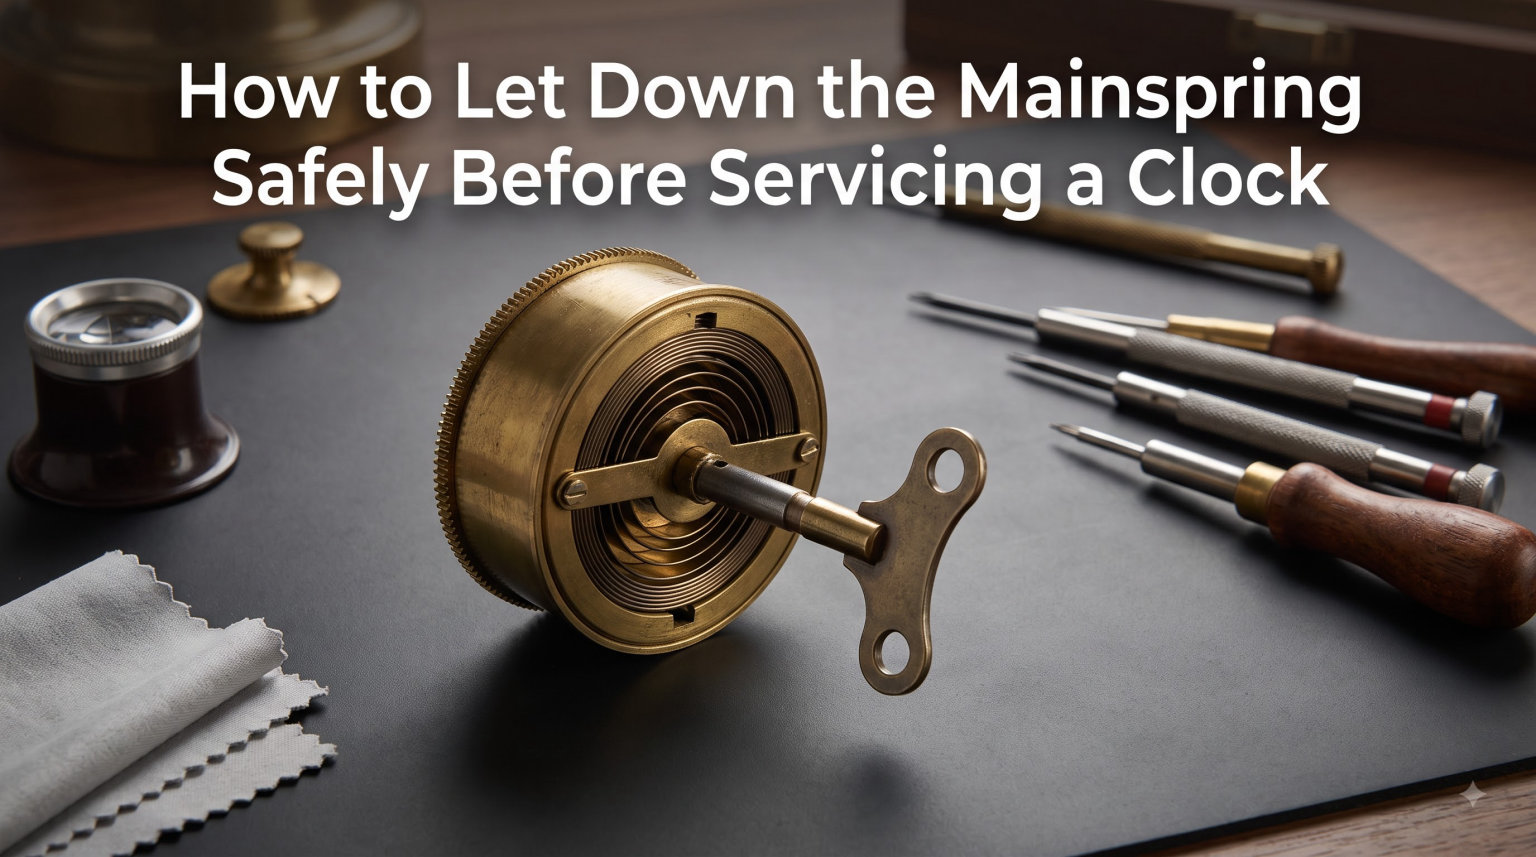
I learned this lesson the hard way. A friend handed me a small tambour mantel clock and said the movement felt “stuck.” Within thirty seconds of opening the back plate, a thin strip of steel uncoiled across my workshop, taking a chunk out of my thumbnail and bending a pivot on the third wheel. That afternoon I read every mainspring guide I could find and started practising on clocks beyond saving. Now, after repairing several hundred movements for our workshop, I want to share what actually works when you need to let down the mainspring safely.
This guide walks through the safety equipment, tools, and techniques we use every day. It also covers improvised methods for beginners who don’t yet own a proper let-down tool. By the end, you’ll know exactly how to release stored mainspring tension without sending a spring fragment into your eye or destroying a gear train.
Table of Contents
Why You Must Let Down the Mainspring Before Any Service Work
A wound mainspring stores real energy. Even a small eight-day movement holds enough force to launch a steel coil across your bench at forty miles per hour. Forum repairers describe bleeding thumbs, lost fillings, and broken pivots when tension releases unexpectedly. The stored energy is what powers the clock, but it is also what makes disassembly dangerous.
When you open a movement with the spring still wound, the click mechanism stays engaged and the arbor cannot rotate freely. The moment you remove the bridge that holds the click, the spring will unload. If anything blocks it (a tool, a finger, a poorly positioned plate), you get damage. Letting down the mainspring before service removes that risk entirely.
Skipping this step also destroys pivots and wheels during disassembly. Repairers regularly see cracked balance staffs and stripped teeth from springs that released mid-rebuild. Taking five extra minutes to release tension protects both you and the clock.
Safety Equipment You Need Before Starting
Personal protection comes first. A mainspring fragment thinner than a paper clip can still cut skin, and old springs sometimes snap into sharp pieces. Before you touch a movement, gather the gear that keeps you safe.
Eye Protection and Gloves
Wear safety glasses rated for impact. Regular prescription glasses don’t qualify. A spring uncoiling under tension sends shards outward, and you only have one pair of eyes.
Use thin nitrile or latex gloves rather than thick leather work gloves. Thick gloves reduce the fine motor control you need to hold a winding key steady, which increases the chance of slipping. Thin gloves protect against spring edges while keeping your fingers nimble enough to disengage the click precisely.
Workspace Setup
Work on a clean, flat surface with good lighting. Cover the bench with a soft cloth or anti-static mat to catch small parts if a spring does escape.
Keep your hands at chest level or below when releasing tension. If a spring fragment does fly, gravity carries it downward, away from your face. A community repairer I trained with learned this after a brass click spring took a chip out of her ceiling tile.
Tools Required for Letting Down the Mainspring
The right tool makes the job controlled and predictable. Trying to release tension with improvised grips is how accidents happen. Here is what a proper setup looks like.
The Mainspring Let-Down Tool
A let-down tool is a square-ended handle that fits the winding arbor. It gives you something solid to grip while you briefly disengage the click. Quality versions have a knurled handle for grip and a square socket sized to the specific movement you service.
Most American clocks take a square that measures roughly 0.115 inches across. German and English clocks vary. Buy a set of interchangeable squares, or get one that matches your most common movement. The tool costs less than a single replacement click spring, which is why every repair bench has one.
Alternative Tools You May Already Own
If you don’t yet own a let-down tool, a properly sized winding key works in a pinch. The key must fit the arbor square snugly without wobble. Loose-fitting keys slip and ruin the square corners, leaving you with a worse problem than a wound spring.
Peg wood is the other essential. This is a tight-grained hardwood dowel, usually boxwood, used to block the escape wheel or pin the click in position. Cut a piece about 1/8 inch square and two inches long. Keep several pieces ready, because you can break them under spring pressure if they’re too thin.
Understanding the Click Mechanism and Mainspring Anatomy
Before you try to let down the mainspring, you need to see how it stays wound. The mainspring lives inside a barrel, which sits on an arbor (a square shaft) that protrudes through the back plate. When you turn the arbor with a key, you wind the spring tighter around the arbor.
A small spring-loaded pawl called the click presses against teeth on the barrel’s outside edge. Every time you wind, the click ratchets over the teeth. As soon as you stop winding, the click catches a tooth and prevents the barrel from spinning backward.
To let down the mainspring, you have to push the click away from those teeth while holding the arbor still. The arbor cannot spin freely under your hand alone, so the spring stays wound. The instant the click clears the teeth, the arbor wants to spin. You control that spin by braking the arbor with the let-down tool.
Find the click before you do anything else. On most movements, it sits near the great wheel, often covered by a thin spring or riveted plate. Look for a small lever that presses against the outer teeth of the mainspring barrel. The click spring behind it provides the pressure that holds the click against the teeth.
How to Let Down the Mainspring Safely: Step-by-Step Procedure
Follow these steps in order. Do not skip the movement removal step, even if you think the click is accessible. Working on a movement still mounted in the case limits your control and risks damage to the dial and hands.
Step 1: Remove the Movement From the Case
Take off the pendulum, hands, and dial if necessary. Most movements slide out of the case after removing two or four mounting screws through the dial. Set the movement on a soft pad on your bench with the back plate facing up.
Check whether your movement is key-wound or has a winding hole through the dial. Key-wound movements always need full removal from the case. Stem-wound movements can sometimes be let down in place, but removal is still safer.
Step 2: Locate the Click and Set Up the Let-Down Tool
Identify the click mechanism and confirm you can reach it. On most American movements, the click is visible on the front plate near the top of the barrel. On many German movements, the click sits on the back plate near the center wheel.
Fit your let-down tool to the winding square. Test that it seats fully without wobble. A loose fit will strip the square, and you’ll spend the next hour trying to extract a damaged arbor.
Step 3: Engage the Winding Square and Disengage the Click
Hold the let-down tool firmly in one hand, applying slight winding pressure to keep the click engaged. With your other hand, use a small screwdriver or peg wood to push the click back, away from the barrel teeth.
Apply only enough pressure to clear the click. The instant the click disengages, the arbor will try to spin backward in your hand. Resist the urge to let go. The let-down tool is there to control this rotation.
Step 4: Allow Controlled Unwinding
Let the spring unwind slowly through the let-down tool. Feel the torque decrease as you rotate the arbor counter to the winding direction. Keep your grip firm but not white-knuckled. Jerky movements cause slips, and slips cause damage.
For an eight-day movement, expect one to four full turns of unwinding. For a one-day movement, expect three to six turns. The spring stops unwinding when stored tension equals the friction in the gear train plus the click spring pressure. When the click re-engages on its own, you’ve reached the safe state.
Step 5: Confirm Full Tension Release
Try turning the let-down tool further in the unwinding direction. If it moves freely without any spring tension, the mainspring is fully let down. If you still feel resistance, the click may have re-engaged mid-process.
Push the click away again and continue unwinding until no tension remains. You should be able to rotate the arbor smoothly in either direction with one finger. That confirms a safe state for disassembly.
Alternative Methods When You Don’t Have a Let-Down Tool
Sometimes you need to let down the mainspring and you don’t own the right tool. Our community has developed two reliable workarounds that use parts most beginners already have.
The Cable Tie Containment Method
Cable ties (zip ties) give you a way to physically bind the spring before you disassemble anything. Thread two or three zip ties around the outside of the mainspring barrel, tighten them until they grip the barrel teeth, and trim the tails. The ties hold the barrel from spinning even with the click removed.
Once the ties are secure, you can remove the click spring and bridge without risk. The spring stays contained because the cable ties physically prevent rotation. This method works especially well on movements where the click is hard to reach or partially seized.
Cut the ties carefully during reassembly. A slipped cutter can scar the plate or the spring itself. Use a flush-cut side cutter and slide a thin piece of cardboard between the tie and the barrel teeth to protect the surface.
Removing the Balance Wheel First
The most beginner-safe method is to take the entire balance assembly out before doing anything else. With no balance wheel, no escape wheel motion occurs, and the gear train cannot advance even if the mainspring is partially released.
Unscrew the balance cock, lift off the balance wheel and hairspring, and set them aside in a safe place. Now even an accidental click disengagement cannot drive the train. You can take your time locating the click and using the let-down tool properly.
Several experienced repairers on watchrepairtalk.com recommend this as their first-line approach for new technicians. It removes the panic factor and lets you focus on technique instead of timing.
Letting Down an Overwound or Stuck Mainspring
An overwound spring is just a fully tensioned spring that has been cranked beyond normal turns. It is no more dangerous than a properly wound one, but it has more stored energy, so the unwinding takes longer and the torque stays higher longer.
If the click refuses to disengage because old lubricant has gummed up the pivot, apply a drop of clock oil to the click pivot and work the click back and forth gently. After a minute, the click should move freely.
For a truly stuck spring where the click moves but the arbor still won’t rotate, suspect a bent click spring or a coil binding situation where one wrap of the mainspring has jumped over another. Stop and assess before forcing anything. Forcing a bound spring can crack the barrel wall.
Place the movement in a padded vise, grip the let-down tool with both hands, and apply slow, even pressure. If the spring still won’t release after thirty seconds of effort, take the movement to a professional. A bound mainspring usually means the clock needs more service than a simple let-down.
Building a DIY Mainspring Let-Down Tool
You can make a serviceable let-down tool from a winding key with a square socket and a piece of wood dowel. Drill a hole in the dowel sized to accept the key handle, then epoxy the handle in place. Wrap the dowel with electrical tape for grip.
The advantage of a homemade tool is that you can size the square precisely to your specific movement. Cut the square from a piece of hardened steel rod, file it to fit the arbor snugly, and braze it into a length of brass tubing for a handle.
Homemade tools work, but they require careful fitting. A loose square will strip the arbor, and a too-tight square will not seat fully. Test the fit on a movement you don’t value before trusting your DIY tool on a treasured clock.
Common Mistakes to Avoid
The single biggest mistake is trying to disassemble before letting down. I see this every month on repair forums. Someone removes a bridge without releasing tension, and the spring pops the bridge across the room along with the third wheel pivot.
The second mistake is using the wrong size let-down tool. A square that’s too small chews up the corners of the arbor, and a square that’s too large won’t fit. Always test fit before applying any unwinding force.
The third mistake is gripping the let-down tool too loosely. If the tool slips while the click is disengaged, the spring spins free and you’re back to square one with a potential injury. Use a knurled tool or wrap the handle for grip.
The fourth mistake is re-engaging the click before the spring has fully unwound. Always let the spring reach its resting state before letting the click drop back into place. Forcing the click back early can bend the click spring.
When to Call a Professional Clockmaker
If the click is inaccessible without removing the dial and you don’t trust your hands around a delicate enamel dial, stop and call a professional. The cost of a dial restoration far exceeds the cost of a service visit.
For movements with very old or set springs, professional service is also wise. Letting down a set spring can cause it to crack, and you need a replacement ready before starting. A clockmaker has the parts on hand and the experience to judge spring condition by feel.
If at any point during the let-down process you feel more force than expected, hear a metallic click that sounds wrong, or see the mainspring visible between barrel coils, set the movement down and call for help. These are signs of a failing spring that needs bench-testing equipment beyond what most home workshops have.
Frequently Asked Questions
How do you release an overwound clock spring?
To release an overwound clock spring, fit a mainspring let-down tool to the winding square, hold the arbor steady, and push the click away from the barrel teeth. Allow the spring to unwind slowly under controlled torque until it reaches its natural resting state. For very high tension, remove the balance wheel first to disable the gear train.
Should you oil a clock mainspring?
Yes, but only with a thin mainspring grease or synthetic clock lubricant designed for coiled springs. Apply it sparingly after cleaning the spring and before reinstallation. Household oils and thick greases collect dust and cause the spring to set prematurely, leading to coil binding.
How do you let down a main spring without a let-down tool?
Use a snug-fitting winding key instead of a let-down tool, or wrap two cable ties around the mainspring barrel to physically prevent rotation. Removing the balance wheel first is the safest beginner method because it disables the gear train entirely. Any of these approaches lets you disassemble the movement without sudden spring release.
Can you repair an overwound clock?
Yes, an overwound clock is repairable. The windings beyond normal do not damage the spring; they just store more energy. Letting down the mainspring safely, lubricating the spring and pivots, and reassembling with proper end-shake adjustments restores normal operation. If the spring shows cracks or set coils, replace it during the service.
Conclusion: Mastering Mainspring Safety
Learning how to let down the mainspring safely is the gateway skill to every other clock repair. With the right safety equipment, a properly fitted let-down tool, and a clear understanding of how the click holds the spring, the procedure becomes routine.
Start on movements beyond saving, practise the controlled unwind, and build confidence before working on heirlooms. Bookmark this guide for 2026 service sessions, share it with fellow clock enthusiasts, and remember that five careful minutes protect both you and the clock.