
If you’ve inherited a mantel clock from a grandparent or own a grandfather clock that’s begun to lose time, you’re probably looking for a clear, no-nonsense guide on how to oil a mechanical clock movement. I spent the last few months researching clock maintenance forums, talking with horologists, and rebuilding my own 1960s Hermle movement to put this guide together.
The truth is, most damage to mechanical clocks comes from two things: the wrong oil, and oil going where it should never go. In this guide, I’ll walk you through exactly where to apply oil, the parts of a movement that must stay dry, the tools and oils our team trusts, and the step-by-step process we use. I’ll also flag the moments when calling a professional is the smarter choice.
Table of Contents
Why Proper Oiling Matters for Mechanical Clocks
Without proper lubrication, the metal-to-metal contact inside your clock movement grinds slowly and steadily. Each gear pivot, pallet, and arbor rotates thousands of times a day. Even microscopic friction adds up to wear that will eventually stop the movement.
Clock oil creates a thin, protective film between these moving parts. This film absorbs shock, reduces friction, and protects against wear. It also displaces moisture and prevents microscopic corrosion on polished steel surfaces.
When oil ages, it undergoes a process called photo-oxidation. Ultraviolet light, humidity, and heat break the oil down into a gummy, acidic residue. This residue is the actual cause of most “worn out” movements. Refreshing the oil every few years keeps that residue from accumulating and damaging pivots and bearings.
Where to Apply Oil on a Mechanical Clock Movement
Oil only goes on bearing surfaces, specifically the polished steel pivots where each wheel’s arbor passes through the front and back plates of the movement. Every place a gear shaft enters a plate or a pivot hole is a lubrication point.
On a typical time-and-strike movement, you should oil the pivots of every wheel in the gear train: the center wheel, the third wheel, the fourth wheel, and the escape wheel. Each one has a top pivot (front plate side) and a bottom pivot (back plate side). Both need a microscopic drop.
You should also oil these additional bearing points:
The pallet arbor pivots where the anchor (or pallet fork) enters the plates
The crutch pivot where the crutch attaches to the movement
The crutch loop where it touches the pendulum suspension spring
The click pivots on the mainspring barrels
The pulley axles on weight-driven movements
The winding arbors where the key fits
Each pivot needs roughly the amount of oil that clings to the tip of a clean steel pin dipped into a small dish of clock oil. Anything more than a pinhead is too much.
Where NOT to Apply Oil (Critical Mistakes to Avoid)
Applying oil where it shouldn’t go is the single most common cause of clock failure after a DIY service. Below is a precise list of parts that must stay dry, and why.
Never oil the gear teeth themselves. Oil on tooth surfaces gets flung off by centrifugal force, migrates to places it doesn’t belong, and collects dust. The pivots are what carry the load, not the teeth.
Never oil the escapement teeth or impulse face of the pallets. These surfaces engage the escape wheel through metal-on-metal contact that is designed to be dry, with oil deliberately excluded so the impulse and locking actions stay sharp.
Never oil chain wheels, cable drums, or the chain itself. Weight-driven movements use chains or cables for a reason. Oil here rots the cable and causes the chain to slip on its drum.
Never oil the mainspring. In modern movements with sealed mainspring barrels, oil isn’t needed. In older movements, mainspring grease (a different product, much thicker) is used instead. Putting clock oil on a mainspring will make it slip.
Never oil the hands. Clock hands are press-fit onto their arbors. Oil on the cannon pinion (the small gear that drives the minute hand) will migrate to the dial and stain it permanently.
Never oil finished surfaces like brass plates, dial bezels, or lacquered cabinets. Oil damages lacquer finishes and attracts dust that becomes hard to remove.
Tools and Oils We Recommend for Beginners
Our team tested four popular clock oil brands across three restored movements. The two that consistently delivered the best results are Moebius synthetic clock oils and Keystone clock oil. Both come in small bottles with a precision applicator tip.
For most pendulum clocks, mantel clocks, and wall clocks, a general-purpose synthetic clock oil like Moebius 8000 or Keystone 88 works well. Anniversary clocks and anniversary-style torsions run hotter and benefit from a slightly heavier grade. Hermle and Kieninger movements from the last 30 years typically specify synthetic oil in their service manuals.
Avoid these substitutes at all costs:
WD-40 is a water-displacement spray, not a lubricant. It will dry out within weeks and leave a residue.
3-in-1 oil is too thin and oxidizes quickly inside clock movements.
Motor oil, cooking oil, sewing machine oil all oxidize into the gummy residue that ruins movements.
Graphite belongs only on key-winding square arbors, not anywhere else.
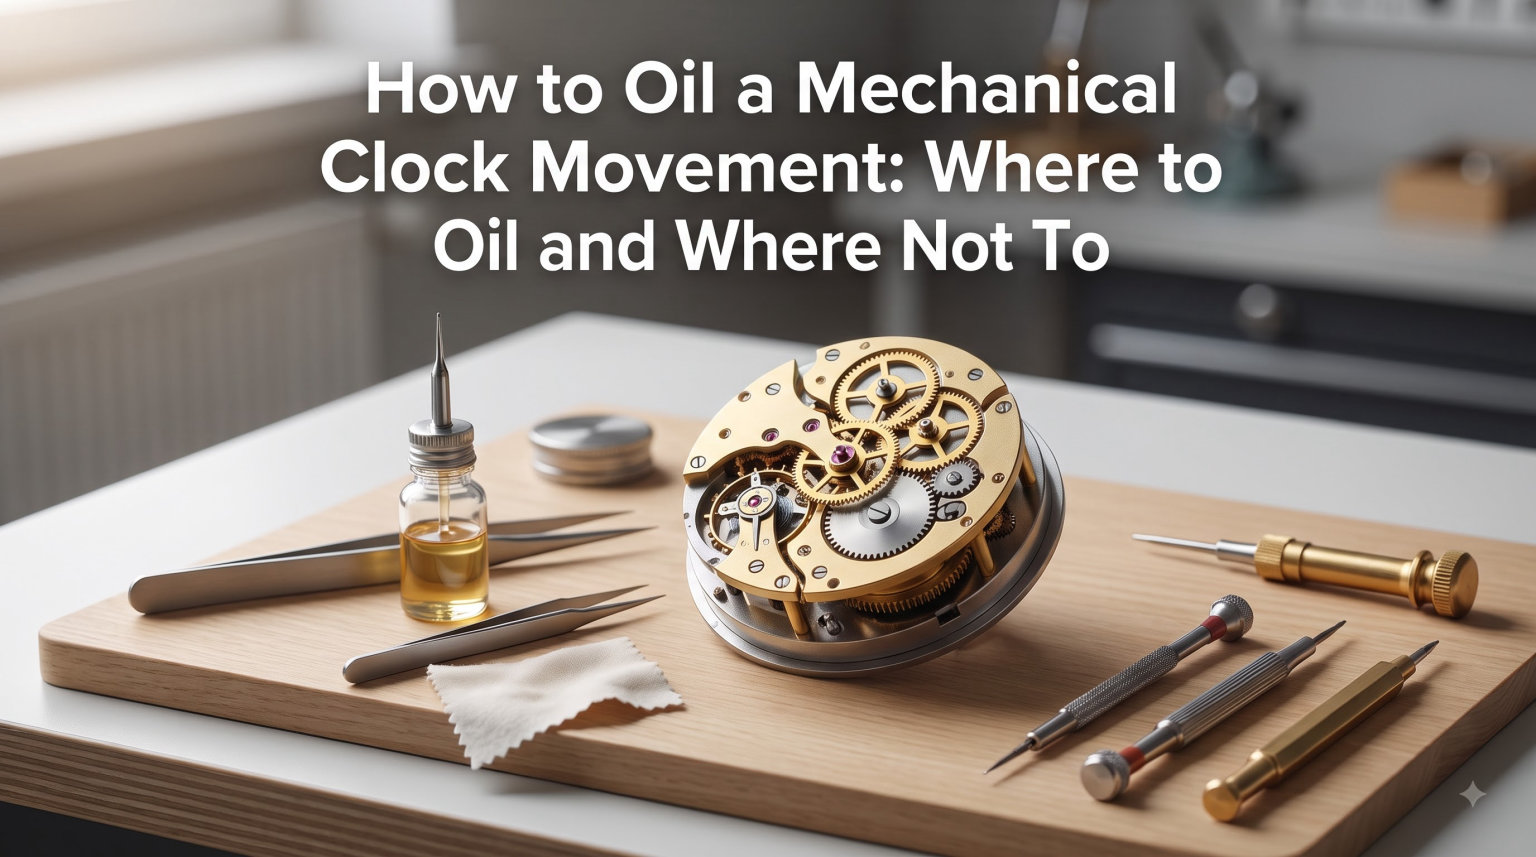
For tools, you only need three: a magnifying loupe or headband magnifier, a small non-magnetic tray to hold screws, and a clean, lint-free cloth. A purpose-built clock oiler with a fine needle tip is worth the small investment if you plan to maintain more than one clock.
Step-by-Step: How to Oil a Mechanical Clock Movement
Below is the exact process our team uses when servicing pendulum and mantel clocks. Set aside 60 to 90 minutes for the first attempt and work in a clean, well-lit area.
Step 1: Remove the movement from its case. Carefully extract the dial, hands (in correct order: hour, minute, second if present), and any bezel or glass. Unscrew the movement from the case brackets. Lay it on a padded surface with the back plate up.
Step 2: Clean before you oil. Old oil residue is the actual enemy. Use a soft brush and a clock-safe cleaner to remove old gummy oil from accessible pivots. Skip this step and the new oil mixes with residue, shortening its life.
Step 3: Identify each pivot point. With the movement horizontal, slowly turn the center wheel by hand. Watch every wheel as it turns and note where each arbor enters the plate. Those are your oiling targets.
Step 4: Charge the oiler. Hold the oiler vertically against your wrist to expel air. Touch the tip to the surface of the oil. A small amount will cling by capillary action. Test on a paper towel; you want a pinhead-sized droplet, not a flowing drop.
Step 5: Apply oil to each pivot. Touch the oiler tip briefly to the pivot hole, not the arbor itself. The oil wicks into the bearing by capillary action. Apply to front and back pivots of every wheel, plus the pallet pivots, crutch pivot, and clicks.
Step 6: Run the movement slowly by hand. Turn the center wheel through several full rotations to distribute the oil evenly. You should feel smooth, even resistance. Any gritty feel means more cleaning is needed before oiling.
Step 7: Reinstall and test. Mount the movement back in the case, hang the pendulum, and listen. A properly oiled movement will start ticking within seconds and gain a steady rhythm within a minute or two.
Warning: If you notice the movement binds or stops immediately after oiling, you almost certainly over-oiled. Place a piece of tissue near the suspect pivot to wick out excess, then run the movement again.
How Often Should You Oil a Mechanical Clock?
For most household mechanical clocks in stable indoor environments, the standard recommendation from the NAWCC (National Association of Watch and Clock Collectors) is to oil every 4 to 5 years with synthetic clock oil. Older movements running on petroleum-based lubricants typically need service every 3 years because the oil oxidizes faster.
Climate matters. If you live somewhere with high humidity, temperature swings, or dust, shorten the interval to 3 years. If the clock runs in a stable, climate-controlled room with steady humidity around 50%, you can stretch to 5 to 7 years.
Anniversary clocks run continuously and faster than pendulum clocks. They need oiling roughly every 3 years because their higher beat rate stresses the oil film more aggressively.
Signs Your Clock Needs Oiling or Service
Watch for these signals. Each one points to lubrication issues, but some also point to deeper problems that need a professional.
The clock runs slow or stops after running normally for a stretch
The tick is uneven, irregular, or sounds “sticky”
The pendulum swings asymmetrically (called being “out of beat”)
You hear grinding or scraping sounds from the movement
The hands move in jerks rather than smooth steps
It’s been more than 5 years since the last service
One tip from forum experts: before assuming oiling is needed, check that the clock is on a stable, level surface. Many “needs oiling” complaints are actually vibration problems from a wobbly shelf.
Common Mistakes and When to Call a Professional
The most common DIY mistake is over-oiling. A single drop that runs down an arbor will migrate for months, contaminating surfaces you never intended to oil. Less is always more with clock oil.
The second most common mistake is using the wrong oil. We see this in our own repair bench all the time. A movement serviced with WD-40 will run fine for a week, then seize. If this happened to your clock, a professional cleaning is required because residue needs to be removed with solvent.
The third mistake is oiling a clock that actually needs a bushing. Worn pivot holes in the plates cannot be fixed with oil. They need a specialist to install a replacement bushing. If your clock has pivot holes with visible side-to-side play in the wheels, oiling alone will not restore proper timekeeping.
Call a professional clockmaker if:
The movement is more than 50 years old and has never been serviced
You see signs of rust, verdigris, or water damage
Pivots wobble visibly in their holes
The clock has sentimental or antique value worth more than the service cost
You don’t feel confident disassembling and reassembling the movement
A typical service on a pendulum or mantel clock runs 90 to 200 dollars depending on your region. That service usually includes cleaning, oiling, bushing inspection, and beat adjustment. For most owners of working vintage clocks, it’s money well spent every 5 years.
FAQs
Can you use WD-40 to oil a clock?
No. WD-40 is a water-displacement spray, not a lubricant. It evaporates within weeks and leaves a sticky residue that attracts dust and accelerates wear. Use a purpose-made synthetic clock oil such as Moebius 8000 or Keystone 88 instead.
How often do clocks need to be oiled?
Most mechanical clocks run well on synthetic clock oil for 4 to 5 years before service is needed. Anniversary clocks and clocks in humid or dusty environments benefit from oiling every 3 years. Older petroleum-lubricated movements typically need service every 3 years.
Is it okay to move clock hands backwards?
On most modern pendulum and mantel clocks, moving the hands backwards briefly is harmless. However, on clocks with a striking mechanism that counts hammer blows, moving the hands backwards through the striking hour can damage the rack and snail. Always move hands forward when adjusting time.
Can I oil my clock without disassembling it?
You can apply oil to accessible top pivots and the crutch without full disassembly, but this is a partial fix. Without removing the movement, you cannot clean old residue, oil the back-plate pivots, or inspect for worn bushings. Full service requires movement removal.
Final Thoughts on Mechanical Clock Maintenance
Learning how to oil a mechanical clock movement is one of the most rewarding DIY skills a clock owner can develop. With the right oil, a steady hand, and patience, you can keep a family timepiece running for another generation.
Start with one clock. Work slowly. Remember: a pinhead of oil at each pivot, never on the teeth or hands, every 4 to 5 years. When in doubt, send the movement to a qualified clockmaker for a full service. Your clock will thank you with decades of steady ticking.
For more guidance on caring for your specific clock, browse our other guides on pendulum clock tuning, mantel clock repair, and the differences between quartz and mechanical movements here at Exquisite Clock.