
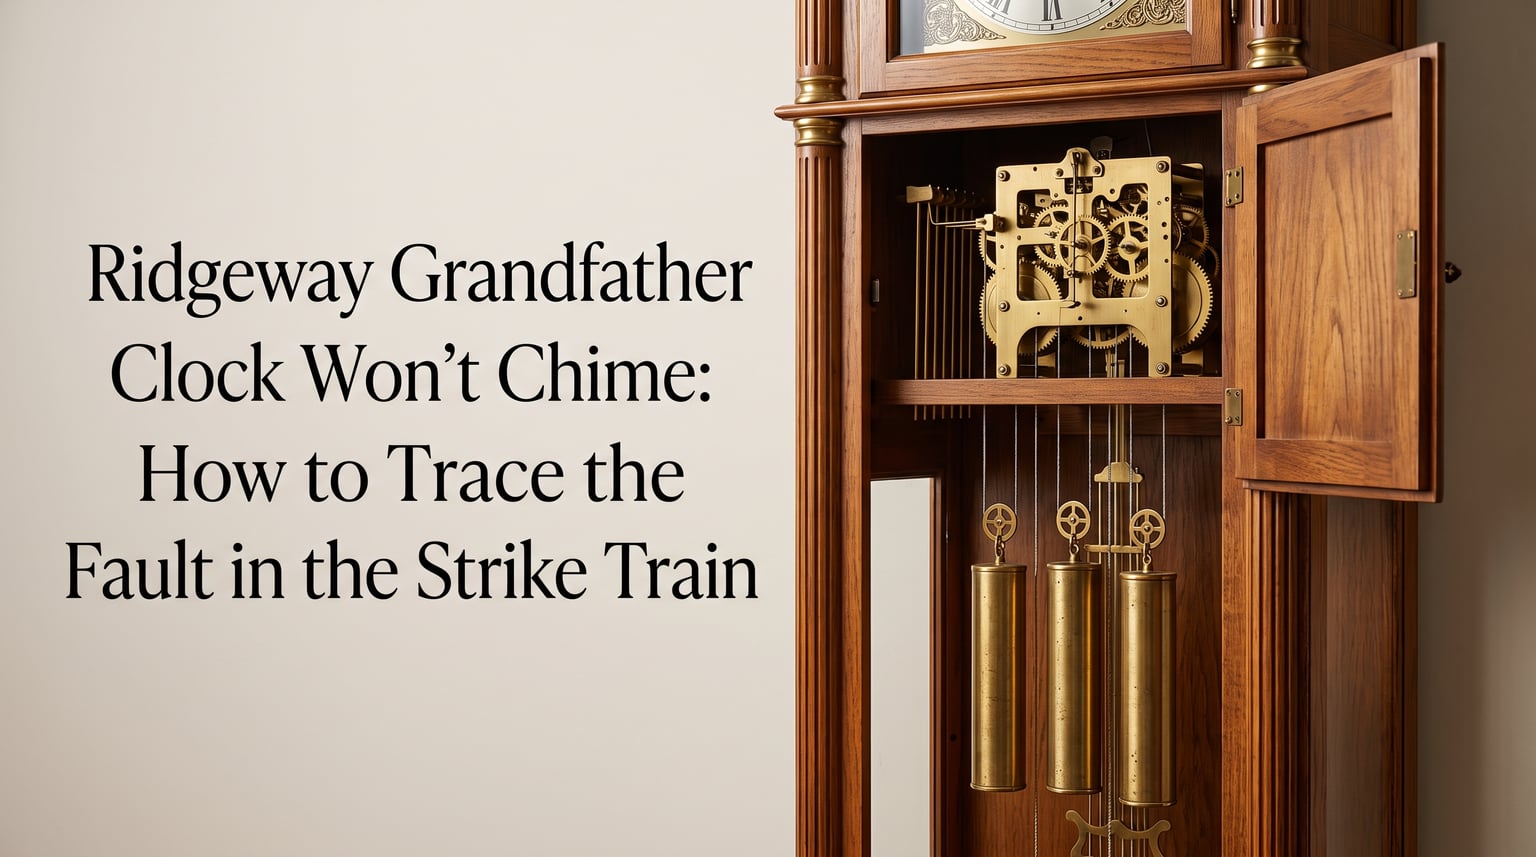
When your Ridgeway grandfather clock stops chiming, the silence can feel almost unsettling. That familiar melody is part of what makes these clocks special, and losing it usually points to a problem in one specific area: the strike train. I have spent years diagnosing clock movement issues, and I can tell you that tracing a strike train fault is far more methodical than most people expect.
A Ridgeway grandfather clock won’t chime when the strike train is experiencing a fault for a handful of common reasons. The good news is that most of these issues are traceable without special tools. This guide walks you through the exact steps I use to diagnose chime failures, from quick checks to detailed mechanical inspection.
You will learn how the strike train works, what causes it to fail, and how to trace the fault step by step. I will also cover hand synchronization, hammer and cable inspection, Ridgeway-specific details, and when you should call a professional rather than continue troubleshooting yourself.
Before you start, know this: the single most common fix takes under five minutes. Many Ridgeway owners solve their chime problem just by repositioning the chime selector lever or swapping the weights. We will cover those quick wins first, then move into deeper strike train diagnostics if the simple fixes do not work.
Table of Contents
Understanding the Strike Train System
The strike train is the gear-driven mechanism inside your grandfather clock responsible for producing the chime melodies and hour strikes. It is completely separate from the time train, which keeps the clock running and the hands moving. Understanding this separation is the foundation of good troubleshooting.
Your Ridgeway clock actually has three independent trains: the time train, the chime train (which plays the melody), and the strike train (which counts the hours). Each train is powered by its own weight and connected to the movement through its own set of gears, pivots, and a cable drum.
Strike train defined: the series of gears, levers, and hammers that convert weight power into the mechanical striking of chime rods or tubes at the correct intervals.
When the strike train is healthy, weight pulls the cable, which turns the cable drum, which rotates the gears, which lifts and releases the hammers in sequence. A fault anywhere along that chain stops the chime. That is why we trace the problem from the power source down to the hammer tips.
The chime train and strike train often share the same set of chime rods or tubes but activate them through different hammers. If your clock plays the melody but does not strike the hour count, the chime train is working but the strike train has a dedicated fault. If neither plays, the problem is usually upstream of both trains.
Common Causes: Why Your Clock Stops Chiming
Here is a quick reference list of the most frequent reasons a Ridgeway grandfather clock won’t chime. I rank these by how often I encounter them in real repairs:
Chime selector in silent mode – The lever is set to silent or caught between positions.
Weights in wrong position – The heaviest weight must power the chime and strike side.
Nighttime shutoff active – The auto-silence feature is blocking chimes during set hours.
Hands out of sync – The chime trigger is not aligned with the correct quarter-hour or hour position.
Jammed chime hammers rack – Hammers are binding against the rods or each other.
Cable off the pulleys or overlapped – The cable has jumped its track or wound incorrectly on the drum.
Packing material still inside – Styrofoam blocks left above cable pulleys from shipping.
Dried or gummed lubricant – Old oil has thickened and is binding the gear pivots.
Broken or bent suspension spring – A mechanical failure in the movement itself.
The first four items on that list account for the vast majority of chime failures I see. If you work through the quick checks below, you have a strong chance of solving the problem before ever opening the clock case.
Initial Checks Before You Trace the Strike Train
Before diving into the mechanical guts of the movement, run through these quick checks. They take ten minutes and resolve a surprising percentage of chime failures on Ridgeway clocks.
1. Check the Chime Selector Lever
Locate the chime selector lever on your clock dial. On most Ridgeway models, it is near the 3 o’clock position and is labeled with options like Westminster, Whittington, St. Michael, or Silent. Make sure the lever is firmly clicked into a melody position, not sitting on Silent and not stuck halfway between two settings.
Chime selector lever defined: the external lever on the clock dial that lets you choose which melody plays or silence the chimes entirely.
A lever caught between positions is one of the most common culprits I find. The mechanism tries to engage two chime sequences at once and ends up doing neither. Push the lever firmly into one melody option and test the clock at the next quarter-hour mark.
2. Verify Weight Position
Ridgeway grandfather clocks use three weights, and each one has a specific job. The heaviest weight always powers the chime and strike side. If your weights got mixed up during a move or cleaning, the chime train may not have enough power to run.
Weight position rule: On most Ridgeway clocks, the heaviest weight goes on the right side (facing the clock), which drives the chime and strike trains. The center weight runs the time train, and the left weight runs the pendulum and timekeeping.
If you are not sure which weight is heaviest, pick up each one. The difference is usually obvious. Swap them into the correct positions and let the clock run for fifteen minutes to see if the chime returns.
3. Check the Nighttime Shutoff Feature
Many Ridgeway clocks built after the 1980s include an automatic nighttime shutoff. This feature silences the chimes between approximately 10:00 PM and 7:00 AM. If your clock only seems to stop chiming during certain hours, this is almost certainly the cause.
Nighttime shutoff defined: an automatic feature that silences chimes during preset hours, usually controlled by a small lever or switch inside the case or on the dial.
Look for a lever marked with a bell icon and a crossed-out bell, or check inside the case near the movement for a small switch. If the shutoff is set incorrectly or the lever is between positions, the clock may stay silent all the time. Move it to the always-chime position and test.
4. Confirm the Pendulum Is Swinging
If the pendulum has stopped, the entire movement halts, including the chime and strike trains. Check that the clock is in beat and the pendulum is swinging evenly. A clock that is not in beat will eventually stop, taking the chimes with it.
Listen for a consistent tick-tock rhythm. If the beat sounds uneven, the crutch may need slight bending to center the impulse. This is a delicate adjustment, so make tiny changes and listen for improvement.
How to Trace the Fault in the Strike Train (Step by Step)
If the quick checks above did not restore your chime, it is time to trace the strike train fault methodically. This is the procedure I use in my workshop. Work through each step in order, because skipping ahead can lead you to the wrong conclusion.
Step 1: Remove the Side and Back Access Panels
Open the side panels of your clock case to expose the movement. Most Ridgeway clocks have removable wooden panels on both sides. Some also have a back panel. Set the panels aside carefully and lay the clock on a stable surface if you need better access.
Use a flashlight to inspect the movement. You are looking for anything obviously wrong: a cable off its pulley, a hammer jammed against a rod, or foreign material inside the movement.
Step 2: Inspect the Cable and Pulley System
Follow each cable from the weight up to its pulley and then to the cable drum on the movement. The cable should run smoothly over the pulley and wind evenly onto the drum without overlapping. If the cable has jumped off the pulley, it can bind the entire train.
Cable pulleys defined: the grooved wheels at the top of the clock case that guide the cables from the weights to the cable drums on the movement.
Look for cable overlap on the drum. If the cable has wound over itself, it creates a thick spot that jams the drum. You may hear a clicking or grinding sound when this happens. Correcting an overlapped cable requires rewinding it manually, which I describe in the cable inspection section below.
Step 3: Check for Packing Material
This step surprises a lot of clock owners. Ridgeway ships clocks with styrofoam blocks above the cable pulleys to protect the movement during transport. If these blocks were never removed, they can press down on the cables and bind the pulleys.
Reach above each pulley and feel for any foam or packing material. Remove anything you find. This is an extremely common cause of chime failure in clocks that were recently moved or are relatively new to the owner.
Step 4: Examine the Chime Hammers Rack
Hammer rack defined: the assembly that holds all the chime hammers in alignment, lifting and releasing them in sequence to strike the chime rods or tubes.
Watch the hammers as the clock attempts to chime. Each hammer should lift cleanly, fall under its own weight, strike the rod briefly, and bounce back. A hammer that stays pressed against the rod will mute the chime. A hammer that does not lift at all indicates a deeper gear or lever problem.
Gently push each hammer away from the rods with a finger and let it fall. It should bounce back cleanly. If a hammer sticks, the pivot may be gummed with old oil, or the hammer tail may be bent and catching on an adjacent part.
Step 5: Test the Strike Train Independently
If the chime melody plays but the hour strike does not, the fault is isolated to the strike train specifically. Advance the minute hand clockwise to the next hour and watch the strike mechanism. Listen for the gathering pallet to lift the rack, which then releases the strike count.
If the rack does not drop or the strike count is wrong, the gathering pallet or rack hook may be worn or misaligned. This is a movement-level repair that typically requires professional service unless you have clock repair experience.
Step 6: Listen for Gear Train Binding
With the clock running, listen carefully near the movement. A healthy strike train produces a smooth, rapid gear sound when it activates. Binding sounds like grinding, clicking, or a gear that starts and stops abruptly.
Binding usually means a pivot is dry or a gear tooth is damaged. If you hear grinding, stop the clock immediately. Running a binding train can strip gear teeth and cause expensive damage. This is the point where I typically recommend professional evaluation.
Step 7: Check the Warning and Rack Mechanism
The warning mechanism is what prevents the strike train from firing at the wrong time. It holds the train until the correct moment, then releases it. If the warning lever is stuck or the warning pin is bent, the strike train will not engage at all.
Look for a small lever that drops into a notch on a gear. This is the warning. It should move freely and drop cleanly into position. If it is stuck, a tiny amount of clock oil on the pivot may free it. Never use household oil, which gums up over time.
Hand Synchronization Procedure
If your clock chimes but at the wrong time, the hands have lost synchronization with the strike train. This happens frequently after a power outage, a move, or when someone pushes the minute hand counter-clockwise. Resynchronizing is straightforward but requires patience.
The key rule: always move the minute hand clockwise, and never force it past resistance. If the clock tries to chime and the hand meets resistance, stop and let the chime complete before continuing.
Resync Procedure
Step 1: Move the minute hand clockwise to the next quarter-hour position. Stop and let the chime play fully. Do not interrupt the melody.
Step 2: Advance to the next quarter-hour. Let each chime sequence complete before moving on.
Step 3: Repeat this process until the minute hand reaches the 12 o’clock position. The clock should strike the hour count.
Step 4: Count the strikes. If the strike count does not match the hour shown on the dial, you need to reposition the hour hand.
Step 5: To reposition the hour hand, gently slip it forward or backward to point at the number that matches the strike count. The hour hand is a friction fit on its shaft, so it moves with gentle pressure. Do not remove the hand entirely.
Step 6: If you need to remove the minute hand for any reason, unscrew the small nut at the center of the dial. Use a pair of needle-nose pliers wrapped in cloth to avoid scratching the dial. Loosen the nut, slide the hand off, make your adjustment, then reseat and retighten.
After resynchronizing, let the clock run for a full twelve-hour cycle to confirm the chime and strike stay aligned. If they drift again, the gathering pallet or rack may be worn, and that indicates a movement-level issue.
Hammer and Cable Inspection
Physical inspection of the hammers and cables catches problems that the operational tests above might miss. This section covers what to look for and how to make minor adjustments safely.
Chime Hammer Adjustment
Each chime hammer should rest about 1/8 inch away from its rod when in the idle position. If a hammer rests directly on the rod, it muting the chime for that note. If it sits too far away, the strike is weak or silent.
Hammer adjustment defined: the process of bending the hammer wire slightly to achieve the correct resting distance from the chime rod or tube.
To adjust a chime hammer, grip the hammer wire near its base with needle-nose pliers and make a tiny bend. Work in very small increments. Bend the wire toward the rod if the strike is too weak, or away if the hammer is resting on the rod. Test after each adjustment by letting the clock chime.
Never bend the hammer at the tip. Always bend near the base of the wire, close to where it mounts on the rack. Bending at the tip fatigues the wire and leads to breakage.
Cable and Pulley Inspection
Inspect each cable along its entire length. Look for fraying, kinks, or corrosion. A fraying cable is a safety hazard and should be replaced immediately. The weight it supports can cause a snapped cable to whip dangerously.
Check that each cable sits in the groove of its pulley. If a cable has jumped the groove, it can ride on the pulley edge or the pulley bracket, creating friction that slows or stops the train. Reseat the cable in the groove and confirm it tracks correctly as the weight moves.
If the cable has overlapped on the drum, you will need to rewind it. Let the weight down slowly to take tension off the cable. Then unwind the overlapped section by hand and rewind it evenly across the drum surface. This takes patience but prevents recurring binding.
Suspension Spring Check
The suspension spring connects the pendulum to the movement. If it is bent, broken, or poorly seated, the pendulum may swing but the movement does not receive proper impulses. This can stop the entire clock, including the chime trains.
Inspect the suspension spring visually. It should be straight, flat, and firmly attached at both ends. If it is broken or bent, it needs replacement. This is a relatively inexpensive part, but installing it requires care and access to the movement.
Chime Rods vs Chime Tubes: What Your Ridgeway Uses
Ridgeway grandfather clocks come with one of two chime systems: chime rods or chime tubes. The type affects how you adjust the hammers and what sounds indicate a problem. Knowing which system your clock uses helps you troubleshoot more effectively.
Chime rods are thin, solid metal rods mounted vertically inside the clock case. They produce a bright, crisp tone. Most Ridgeway clocks from the 1970s onward use chime rods. Hammer adjustment on rods requires a lighter touch because the rods are thin and can be bent if you apply too much force.
Chime tubes are hollow brass cylinders, usually 1 to 1.5 inches in diameter, hanging from the top of the case. They produce a deeper, more resonant tone. These are more common on older or premium Ridgeway models. Hammer adjustment on tubes allows slightly more force because the tubes are sturdier, but the hammers are also heavier.
The diagnostic procedure is the same for both systems. The difference matters when you adjust hammers. Rod hammers need less distance from the resting position, typically 1/8 inch. Tube hammers can rest slightly farther, up to 3/16 inch, because the larger striking surface produces sound from a wider contact range.
If you are replacing chime rods or tubes, you must match the exact specifications for your movement. Incorrect lengths or thicknesses will produce wrong notes. Consult a Ridgeway parts diagram or a professional for replacements.
Ridgeway-Specific Movement Details
Ridgeway has used several movement manufacturers over the decades, and knowing which one is in your clock helps with troubleshooting. The most common Ridgeway movements are made by Hermle, Urgos, and Kieninger. Each has slightly different characteristics.
Hermle movements are the most common in Ridgeway clocks from the 1980s onward. They are reliable but benefit from cleaning and oiling every 3 to 5 years. The chime selector on Hermle movements is typically a lever on the dial face.
Urgos movements appear in many Ridgeway clocks from the 1970s and 1980s. They are well-built but the lubricant tends to dry out faster than on Hermle units. If your Urgos movement has not been serviced in over 10 years, dried oil is a likely cause of chime failure.
Kieninger movements are found in higher-end Ridgeway models. They are precision instruments with tighter tolerances. While this means excellent performance, it also means that small misalignments can cause chime issues that would not affect a looser-tolerance movement.
To identify your movement, look for a stamping on the brass backplate. It will usually show the manufacturer name and a model number. This information is invaluable if you need to order replacement parts or consult a repair professional.
Ridgeway clocks also have specific weight arrangements that differ from other brands. Always check your owner’s manual for the exact weight placement diagram. If you do not have the manual, the general rule is heaviest weight on the right for chime and strike, but some models vary.
Preventing Future Strike Train Problems
Once you have traced and resolved your strike train fault, a simple maintenance routine keeps the chimes running reliably. I recommend the following schedule based on years of clock repair experience.
Every 3 to 5 Years: Professional Cleaning and Oiling
Clock oil does not last forever. Over time it dries out, becomes gummy, and actually creates friction rather than reducing it. A professional cleaning removes old oil and debris from the gear pivots, and fresh oil restores smooth operation.
This is the single most important maintenance task for any mechanical clock. Skipping it is the leading cause of premature movement failure. The cost of cleaning is far less than the cost of replacing or rebuilding a damaged movement.
Annually: Visual Inspection
Once a year, open the side panels and inspect the movement with a flashlight. Check cable condition, hammer alignment, and look for any dust accumulation. A soft artist brush can remove light dust without disassembling anything.
Also verify that the weights are in the correct positions. If anyone has moved the clock or changed the weights, they may have been placed incorrectly without realizing it.
Every Move: Full Recommissioning
Any time you move your Ridgeway clock, even across a room, the movement can be affected. Always remove the pendulum and weights before moving. After resettling the clock, reinstall everything carefully and check the beat, weight positions, and chime selector before starting the clock.
Moving is the most common trigger for hand synchronization loss and cable issues. Take your time during recommissioning to avoid creating new problems.
Ongoing: Proper Operation Habits
Never move the minute hand counter-clockwise. Always advance it clockwise and let each chime sequence complete before continuing. Forcing the hand or interrupting the chime mechanism can bend levers and knock the strike train out of alignment.
Keep the clock case closed during normal operation. Dust and humidity fluctuations inside the case accelerate lubricant degradation and can cause corrosion on steel components like cables and pivots.
When to Stop and Call a Professional
Some strike train faults require professional attention. I recommend calling a clock repair specialist if you encounter any of these situations:
You hear grinding or metal-on-metal sounds from the movement.
The cable has snapped or is visibly fraying.
Gear teeth are visibly damaged or missing.
The warning or rack mechanism is worn and needs replacement parts.
You have traced through every step in this guide and the chime still does not work.
A qualified horologist can disassemble the movement, replace worn components, and restore full function. Attempting complex movement repairs without training risks causing more damage and can turn a repairable problem into one that requires a full movement replacement.
FAQ
Why won’t my Ridgeway grandfather clock chime?
The most common reasons are the chime selector lever set to silent, the weights in the wrong position (the heaviest weight must power the chime side), the nighttime shutoff feature being active, or the hands being out of synchronization with the strike train. Check these four things first before inspecting the movement internally.
How to fix a grandfather clock that doesn’t chime?
Start by confirming the chime selector lever is firmly in a melody position. Verify the heaviest weight is on the right side facing the clock. Check that the nighttime shutoff is disabled. Then advance the minute hand clockwise through each quarter-hour, letting each chime complete, to resynchronize the hands with the strike train.
What makes a grandfather clock stop chiming?
Common causes include the chime selector caught between positions, weights installed incorrectly, packing styrofoam left above the cable pulleys, a jammed hammer rack, cable overlap on the drum, dried lubricant in the gear pivots, or a bent suspension spring. Mechanical wear in the warning or rack mechanism can also stop the chimes entirely.
How to trace fault in strike train?
Work through the train systematically: open the access panels, inspect cables and pulleys for proper tracking, remove any packing material, check the hammer rack for binding, test the strike train independently by advancing to the hour, listen for grinding that indicates gear binding, and examine the warning and rack mechanism for stuck or worn levers.
How do I reset a grandfather clock chime?
Move the minute hand clockwise to the next quarter-hour and let the chime play fully. Repeat this at each quarter-hour position until you reach the 12. Count the hour strikes and compare to the dial. If they do not match, gently slip the friction-fit hour hand to point at the correct hour number.
Why is my grandfather clock chiming wrong?
The hands have likely lost synchronization with the strike train, often after a move or power outage. The chime melody may also be playing at the wrong quarter if the chime selector is between positions. Resynchronize by advancing the minute hand clockwise through each quarter-hour, letting each sequence complete before continuing.
Conclusion
Tracing a fault in the strike train of a Ridgeway grandfather clock that won’t chime is a step-by-step process. Start with the quick checks: chime selector position, weight placement, nighttime shutoff, and pendulum beat. These four checks solve the majority of chime failures in minutes.
If the quick checks do not resolve the issue, move through the seven-step diagnostic procedure to inspect cables, pulleys, packing material, the hammer rack, the strike train independently, gear binding, and the warning mechanism. Each step narrows down the fault location.
Remember to always advance the minute hand clockwise, never use household oil on a clock movement, and stop troubleshooting if you hear grinding or encounter damaged gears. Some repairs require a professional horologist, and calling one early can save your movement from further damage.
Your Ridgeway clock was built to chime for generations. With the right diagnosis and regular maintenance, it will keep filling your home with that familiar melody for years to come.