
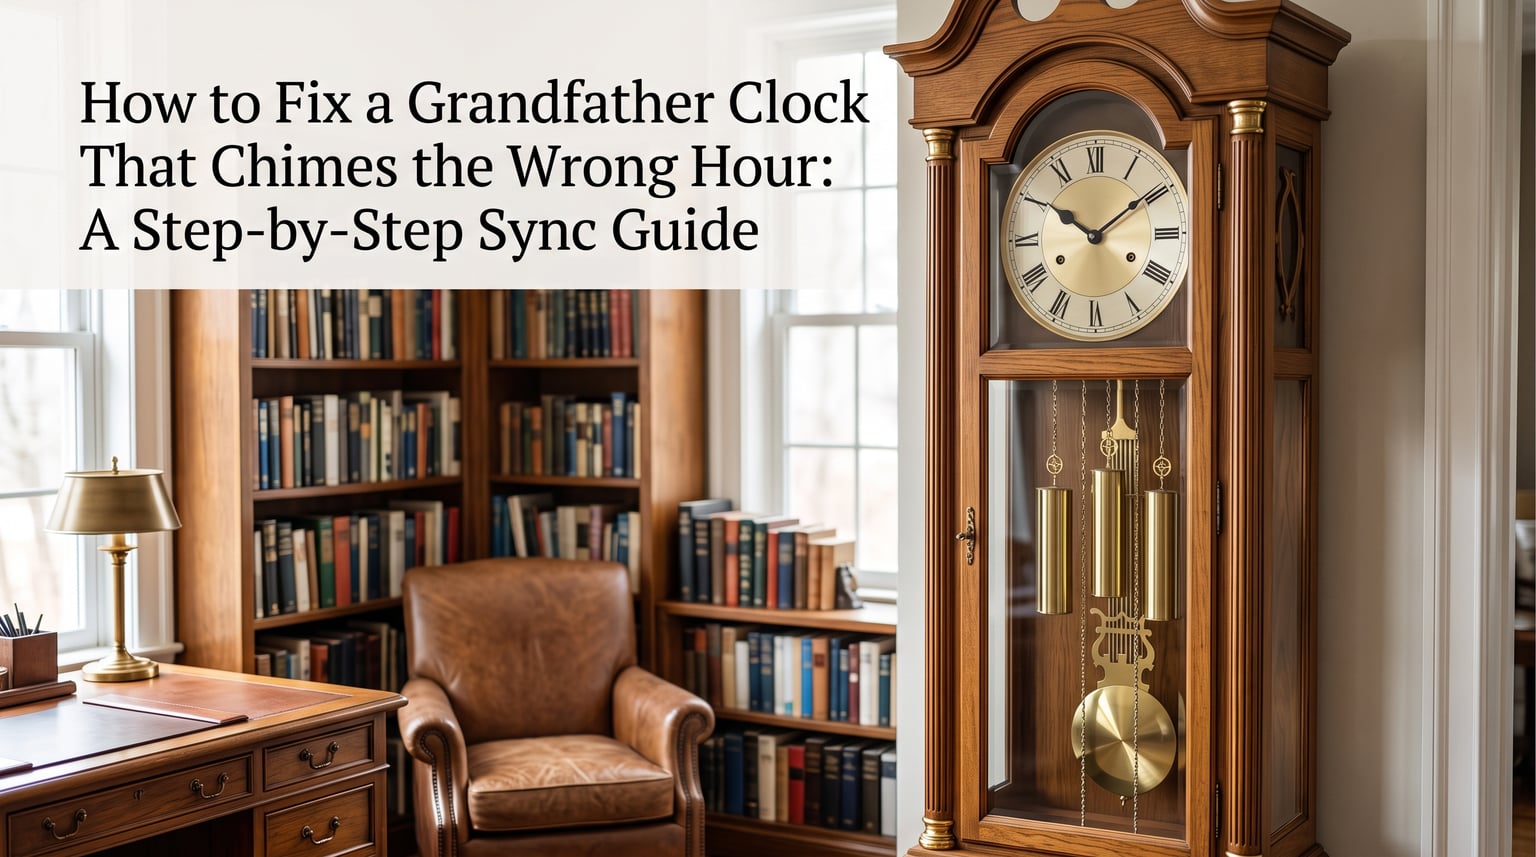
There are few things more frustrating than a grandfather clock that strikes five at noon or chimes the wrong hour every time the strike train fires. The good news is that you can fix grandfather clock chimes wrong hour issues yourself in most cases, without specialty tools or a costly house call from a repair technician. I have helped several clock owners work through this exact problem, and the process comes down to understanding how the hour hand, minute hand, and strike train interact inside the movement.
This step-by-step sync guide walks you through everything you need: how the chime and strike mechanisms actually work, a quick 3-step hour hand adjustment for simple misalignment, and a detailed 5-step process for more stubborn synchronization problems. I will also cover the common causes of chime misalignment, the chime selector lever, brand-specific tips for Howard Miller and Bulova clocks, and a clear threshold for when a job should go to a professional.
By the end, you will know exactly which hand to move, which direction to move it, and where to stop at each quarter hour so your clock keeps perfect count. Updated for 2026, this guide reflects the latest troubleshooting advice from clock repair forums and professional resources.
Table of Contents
How Grandfather Clock Chimes and Strike Mechanisms Work
Grandfather clocks rely on two separate but connected systems inside the movement: the chime train and the strike train. The chime train plays a melody (usually Westminster) at each quarter hour, while the strike train counts out the hours with a series of gong strikes. Both are controlled by cams and levers that read the position of the hands on the dial.
The minute hand attaches to a shaft called the minute hand arbor, and as it rotates it triggers the chime train at the 15, 30, 45, and 60 minute marks. The hour hand, on the other hand, rides on a friction fit sleeve around the same arbor. That friction fit is the key to understanding why chimes fall out of sync and how to fix them.
Because the hour hand is held in place only by friction, it can slip if bumped, moved backward, or grasped while setting the time. When the hour hand shifts position without the internal strike count matching, your clock will strike the wrong number of times. The strike train does not know where the hand points unless you manually align them.
Here are the core terms you need before starting any repair:
- Strike train: The gear train responsible for counting and delivering the hour strikes.
- Chime train: The gear train that plays the quarter-hour melody.
- Friction fit: The press-fit connection that holds the hour hand so it can be repositioned manually without tools.
- Minute hand bushing: The small brass collar on the back of the minute hand that secures it to the arbor; if loose, the hand slips and the count drifts.
- Chime selector lever: The lever near the dial (often labeled) that switches between chime melodies or silences the strike entirely.
Understanding these five components gives you the vocabulary to follow the steps below and to recognize when something deeper has gone wrong inside the movement.
Quick Fix: The 3-Step Hour Hand Adjustment Method
The fastest way to fix grandfather clock chimes wrong hour problems is the count-and-match method, which works when only the hour hand has slipped and the movement itself is functioning correctly. You can complete this in under five minutes.
Step 1: Count the strikes. Wait for the clock to strike the hour (or manually trigger it by advancing the minute hand to 12), then count the exact number of strikes you hear. If it strikes four times, the strike train thinks it is 4:00.
Step 2: Move the hour hand to match. Gently but firmly slide the shorter hour hand along its friction fit sleeve until it points to the number that matches the strike count. If the clock struck four times, push the hour hand until it points at the 4. Never twist or force it; a steady press toward the dial and rotation to the correct number is all it takes.
Step 3: Set the correct time with the minute hand. Now that the hour hand shows the strike count, advance the minute hand clockwise to the actual current time, pausing at each quarter hour to let the chime sequence finish. This prevents the chime train from jamming.
This quick fix resolves the majority of misalignment cases I have encountered. If the clock still chimes wrong after this, the problem is deeper and you will need the full 5-step process below.
How to Fix a Grandfather Clock That Chimes the Wrong Hour: Full 5-Step Sync Process
When the quick fix does not hold, you need a thorough synchronization that accounts for both the chime train and the strike train. This is how to fix a grandfather clock that chimes the wrong hour when simple hour hand repositioning is not enough.
Step 1: Let the clock complete a full hour strike. Never interrupt a clock mid-strike. Allow the current hour count to finish completely so the strike train resets to its starting position. Interrupting a strike is one of the most common ways to throw the count off in the first place.
Step 2: Advance the minute hand clockwise, stopping at each quarter hour. Move the minute hand forward to the nearest 15-minute mark and wait for the chime melody to play fully. Then advance to the next quarter and wait again. Repeat until the minute hand reaches the 12:00 position. This quarter-hour stopping prevents the chime train from rushing ahead and jamming the levers.
Step 3: Allow the hour strike to complete. When the minute hand reaches 12, the strike train will begin its hour count. Stand back and let every strike land. Count them carefully, because this number tells you what the movement believes the hour is.
Step 4: Manually synchronize the hour hand. Once you know the strike count, slide the hour hand on its friction fit sleeve to point at the matching number. If it struck seven times, point the hour hand at the 7. Press it gently but firmly so it seats securely against the dial.
Step 5: Check the minute hand bushing and verify hand clearance. If the minute hand wobbles or has visible play, tighten the brass bushing on the back of the hand by gently squeezing it with pliers wrapped in cloth. Then confirm the hour and minute hands do not touch each other or the dial as they rotate. Hand interference causes drag that can slip the count again.
After completing all five steps, let the clock run for a full 12-hour cycle to confirm the strike count stays accurate through every hour. If it drifts again, the movement likely needs cleaning and oiling, which brings us to causes and professional service below.
Common Causes of Chime Misalignment
Knowing why your clock fell out of sync helps you prevent a repeat. Based on repair forums and my own experience, here are the most frequent causes.
Moving the clock without removing the pendulum and weights. This is the number one culprit reported by owners. The pendulum bob swinging during transport bends or jars the crutch, and the weights strain the cables. Always remove all three weights and the pendulum before relocating a grandfather clock.
Setting the time by moving the minute hand backward. Mechanical clocks are designed to run forward only. Moving the minute hand counterclockwise can flip the chime levers out of sequence and damage the strike train gearing. If you need to go backward, move the minute hand clockwise nearly all the way around instead.
Grasping the hour hand while setting the time. Many owners instinctively grip both hands when moving them. Touching the hour hand at all can shift it on its friction fit sleeve, instantly desynchronizing it from the strike count.
The clock sitting idle too long. When a clock is not wound and runs down, the oil inside the movement thickens and gums up. The chime train is usually the first to stop working because it requires the most torque. Forum users on r/grandfatherclocks consistently report that neglected clocks develop chime problems before anything else.
Hands reinstalled incorrectly after cleaning. If the clock has been serviced and the hands were put back in the wrong order or orientation, the chimes will never align. The minute hand must go on before the hour hand, and the bushing must seat fully.
Bent levers or worn pivot points. Inside the movement, thin wire levers control when the strike fires. If one is bent from age, impact, or a previous repair, the strike can fire early, late, or at the wrong count entirely.
Understanding the Chime Selector Lever
The chime selector lever is a small switch usually located near the 3:00 or 9:00 position on the dial, and many owners overlook it when troubleshooting. Its job is to choose which melody plays (Westminster, Whittington, or St. Michael’s) or to silence the chime entirely.
If the lever is hard to move, do not force it. A stuck chime selector often means the movement needs oiling at the detent spring. Forcing the lever can bend the internal arm and cause the chime train to fire at the wrong quarter.
To use it correctly, move the lever only when the clock is between chime sequences, not during a melody. Shifting the selector mid-chime can leave the movement between two tracks and produce garbled or partial melodies. The lever should click firmly into each position.
If your clock has an auto-night shutoff feature, confirm the lever is not set to silent before assuming the chimes are broken. Many service calls turn out to be a lever bumped into the off position during dusting.
When to Call a Professional Clock Repair Service
Most chime synchronization problems are fixable at home with the steps above. But there is a clear line where a professional clockmaker should take over. Here is how to decide.
Try DIY first if: The hands recently slipped, the clock was just moved, or the strike count is off by a consistent number every hour. These are friction and alignment issues that the manual sync process resolves.
Call a professional if: The strike train does not fire at all, the chime melody plays in the wrong order or at the wrong quarter, the minute hand bushing is cracked, or the movement has not been cleaned and oiled in over five years. These indicate worn or gummed internal components.
Definitely call a professional if: You hear grinding or clicking from inside the movement, a cable or spring is slack or snapped, or the clock was running and suddenly stopped completely after a loud noise. These point to broken gears or springs that require disassembly.
A full movement overhaul typically involves ultrasonic cleaning, new bushings, and fresh oil at the pivot points. Most grandfather clocks benefit from this service every 7 to 10 years. As a general rule, if the problem is inside the sealed movement rather than on the dial, it belongs to a professional.
Prevention and Maintenance Tips to Keep Chimes in Sync
The best repair is the one you never need. A simple maintenance routine keeps the chime train and strike train running in lockstep for years.
Wind the clock on a consistent schedule. Whether your clock runs 8 days or 31 days, wind it on the same day each week or month. Letting the weights fully descend stresses the cables and lets the oil settle unevenly.
Never move the minute hand backward. Always advance clockwise, pausing at each quarter hour. This single habit prevents most chime desynchronization.
Dust the dial and weights monthly. Use a soft brush or compressed air at low pressure. Dust that works into the pivot points accelerates wear and thickens the oil.
Keep the clock level. A grandfather clock must sit perfectly plumb for the pendulum to swing correctly and for the strike levers to trip at the right moment. Check the level every few months, especially if the floor settles seasonally.
Schedule professional cleaning every 7 to 10 years. Old oil turns abrasive and acts like grinding paste on brass pivots. A clean, freshly oiled movement keeps the chime train delivering consistent torque.
Always remove the pendulum and weights before moving. Even moving the clock a few inches across the room can jar the crutch and misalign the chime levers. Take five minutes to remove these components for any relocation.
Watch the weight descent timing. If one weight descends noticeably faster than the others, that train is running too freely or the others are dragging. Uneven descent often precedes chime problems by several weeks, so investigate early.
Brand-Specific Considerations: Howard Miller, Bulova, and More
Different manufacturers use slightly different movements and features, and forum users consistently value brand-specific advice. Here is what to watch for with the most common brands.
Howard Miller: The most popular contemporary brand, Howard Miller clocks typically use reliable Hermle or Kieninger movements. Many include an auto-correction feature that should resync the chimes automatically after a few hours. If auto-correction fails, the manual 5-step process above applies. Howard Miller also uses a chime silencer lever that some owners confuse with a broken strike.
Bulova: Bulova grandfather clocks often use quartz movements on newer models. For quartz versions, chime problems usually stem from weak batteries rather than mechanical misalignment. Replace all batteries with fresh alkaline cells, use the setting knob (not the hands) to set the time, and cycle the reset button to resync the electronics.
Ridgeway and Sligh: These older American brands use mechanical cable-driven movements that are generally straightforward to synchronize manually. Their chime selector levers can stiffen with age, so apply clock oil at the detent if the lever resists.
Vintage and antique clocks: Older clocks may have hand-fitted parts and unique lever configurations. The sync principles remain the same, but these movements benefit most from professional evaluation, especially if previous owners attempted amateur repairs.
Frequently Asked Questions
Why is my grandfather clock chiming the wrong hour?
Your grandfather clock chimes the wrong hour when the hour hand has slipped on its friction fit sleeve so it no longer matches the strike train’s count. This commonly happens after moving the clock, setting the time by gripping both hands, or letting the clock run down and sit idle so the oil gums up.
How do I sync my grandfather clock chimes with the correct time?
Advance the minute hand clockwise to 12, stopping at each quarter hour to let the chime melody finish. Count the strikes, then slide the hour hand on its friction fit sleeve to point at the number matching the strike count. Finally, advance the minute hand clockwise to the real current time, pausing at each quarter.
How do I reset a grandfather clock chime?
Let the clock complete a full hour strike uninterrupted. Then move the hour hand to the number matching the strike count and advance the minute hand clockwise to the correct time, stopping at each quarter hour. For quartz clocks, replace the batteries and press the reset button to resync the electronic chime.
What causes a grandfather clock to chime incorrectly after moving it?
Moving a grandfather clock without removing the pendulum and weights bends the crutch, jars the chime levers, and can shift the hour hand on its friction fit. The strike train then fires at the wrong count because the internal levers and the hands are no longer aligned.
Can I fix a grandfather clock that chimes the wrong hour without a professional?
Yes, in most cases. If the hour hand simply slipped or the clock was recently moved, the manual sync process of counting strikes, repositioning the hour hand, and advancing the minute hand clockwise fixes the problem. You only need a professional if the movement is gummed up, gears are grinding, or the strike train does not fire at all.
Conclusion
A grandfather clock that chimes the wrong hour is almost always a synchronization problem, not a broken one. By counting the strikes, sliding the hour hand to match on its friction fit sleeve, and advancing the minute hand clockwise while pausing at each quarter, you can fix grandfather clock chimes wrong hour issues in a single afternoon.
The key habits that prevent future desync are simple: never move the hands backward, never grip the hour hand while setting the time, always remove the pendulum and weights before relocating, and schedule a professional cleaning every 7 to 10 years. Start with the quick 3-step fix, and if the count drifts again within a day or two, work through the full 5-step process and inspect the minute hand bushing for looseness.
If the strike train does not fire at all or you hear grinding from inside the movement, that is your signal to contact a professional clockmaker. With the steps and prevention routine in this guide, your clock should keep accurate count and fill your home with the right melody at the right hour for years to come.