
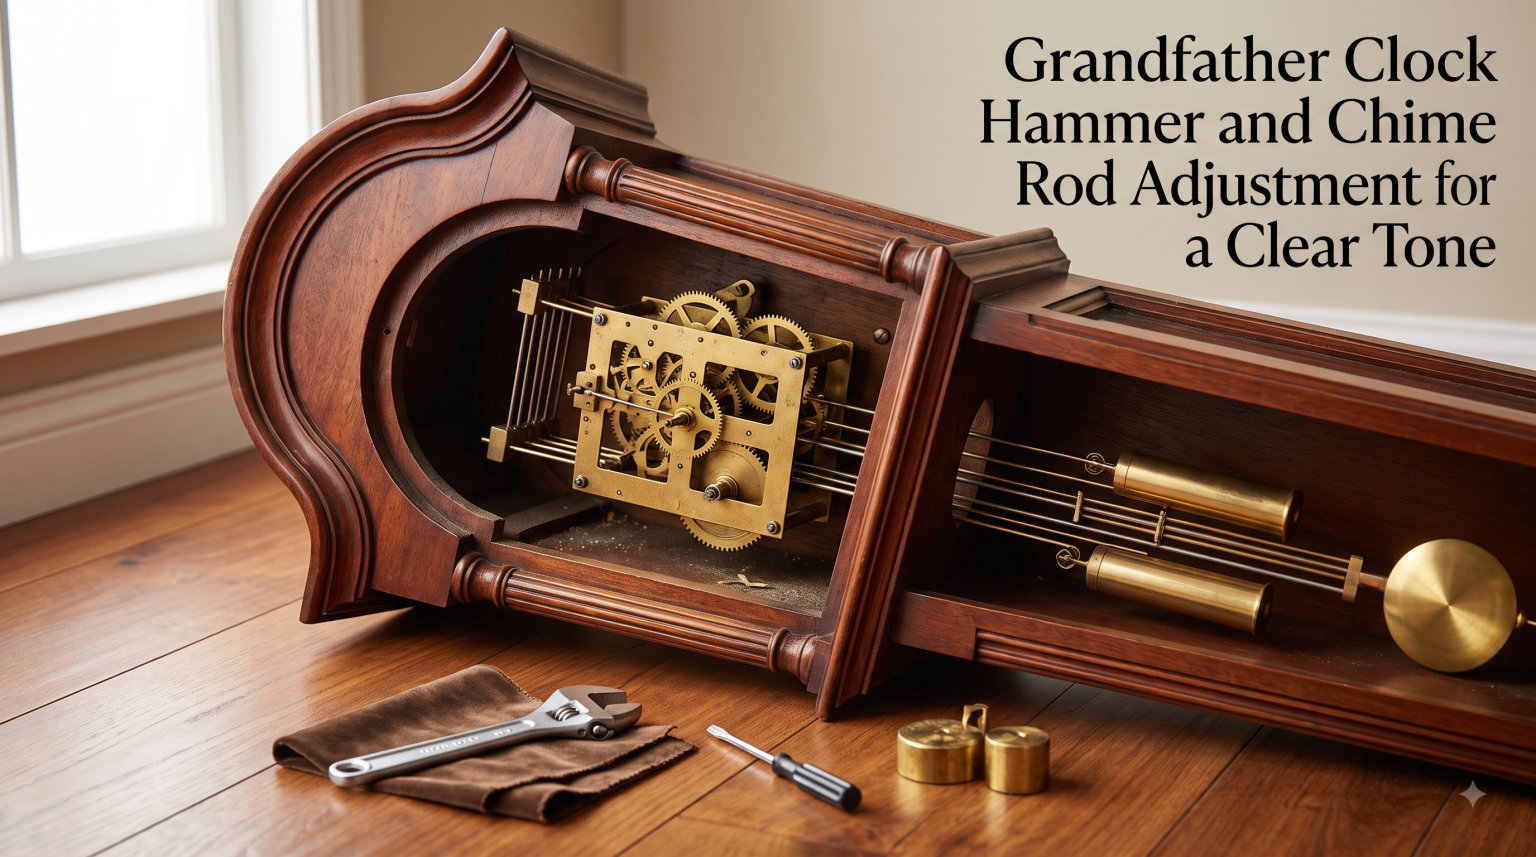
When my grandfather clock started chiming with a metallic clang instead of that warm, mellow Westminster tone, I figured something serious had broken. Three weekends and many small adjustments later, I learned that the answer is almost always the same: proper grandfather clock hammer and chime rod adjustment.
A clear tone in a grandfather clock is not magic. It comes from precise hammer-to-rod clearance, stable rod seating, and a chime wheel lift that releases the hammers cleanly. In this guide, I will walk you through the exact process I use on my own clocks and the one we use in our workshop, including the 1/8 inch clearance rule, chime rod seating checks, and the mistakes that lead to double-striking and dull tones.
Table of Contents
Understanding the Grandfather Clock Chime Mechanism
The chime mechanism in a grandfather clock is a small mechanical system where every component has to be in exact position, or the sound suffers. Before you make any adjustments, it helps to know what each part does.
The hammer arm is the slender wire that holds the hammer head. The hammer head is the small, often leather-tipped piece that physically strikes the chime rod. The chime rod is the tuned metal tube that produces the musical note. Multiple chime rods, usually three, four, or eight depending on the movement, are mounted through a chime block.
Below the hammers sits the chime wheel, a rotating gear with pins or hooks that lift the hammers and then let them fall. The entire movement is mounted on a seat board inside the clock case. If the movement shifts even slightly on that seat board, the entire alignment is thrown off.
When you hear a dull chime, a metallic clank, or a hammer that seems to miss the rod, the problem is almost always in one of these areas:
- Hammer heads too close to or too far from the chime rods
- Rods loose in the chime block
- Hammers being lifted too high by the chime wheel
- Movement shifted on the seat board
- Hammer tip leather worn or hardened
If you can identify which of these matches your symptom, you will save yourself a lot of trial and error.
Tools and Preparation Before You Start
You do not need a workshop full of specialty tools for grandfather clock hammer and chime rod adjustment. Our team uses just a few items when working on customer clocks, and the same set works for home adjustments.
Gather these before opening the clock door:
- A small adjustable pliers or needle-nose pliers for bending the hammer arms
- A feeler gauge or a credit card edge for measuring the 1/8 inch gap
- A small flashlight to see the hammer-to-rod contact area
- A soft cloth to protect the dial and hands
- A Phillips screwdriver for chime block mounting screws
- A pencil for marking original positions
Stop the pendulum and lock the chime side before you put hands inside the clock. This is the single most important safety step. Without it, the weights can swing while you are reaching in, and the hammers can strike your fingers.
Also, take a photo of the chime area before any adjustments. If you bend something too far, the photo gets you back to the starting point quickly. I learned this the hard way on a 1972 Ridgeway, and I have never skipped it since.
How to Adjust Grandfather Clock Hammer and Chime Rod for a Clear Tone
This is the core of the entire process. The objective is to position every hammer head so it rests about 1/8 inch from its chime rod when at rest, and so the hammer tip is about 1/4 inch below the chime block when lifted. Get these two measurements right and the tone usually corrects itself.
Step 1: Verify Hammer-to-Rod Clearance
Look at each hammer head while the movement is stopped. The space between the resting hammer head and the chime rod should be roughly 1/8 inch. That is roughly the thickness of two credit cards stacked together.
If a hammer is sitting directly on the rod, it will dampen the vibration and produce a dull, muted tone. If it is too far back, the hammer will not strike with enough force and the chime will sound thin and weak.
Step 2: Bend the Hammer Arm in the Middle
Use your needle-nose pliers to grip the hammer arm near the middle of its length. Bend it very slightly toward the rod to close the gap, or away from the rod to widen it. Tiny adjustments of 1/16 inch or less are usually enough.
Always bend the hammer arm, never the chime rod. Bending the rod changes its pitch permanently and ruins the tuning. This warning is on every Howard Miller support article for good reason.
Step 3: Check the Hammer Tip Position Relative to the Chime Block
With the movement still stopped, the top of each hammer head should sit about 1/4 inch below the chime block. This vertical alignment is what determines where the hammer strikes the rod.
If the hammer is striking too high on the rod, the tone will be bright and thin. If it is striking too low, near the chime block, the tone will be soft and muddy. Adjust by carefully bending the hammer arm up or down with the same needle-nose pliers.
Step 4: Check the Movement on the Seat Board
This step is skipped in almost every online guide, but it is the most common cause of persistent problems. Look at the back of the movement and check whether the mounting screws are tight and whether the movement has slid or rotated on the seat board.
Even a shift of one-eighth inch can cause the hammers to miss the rods entirely, especially on longer movements. If you see the movement has shifted, loosen the mounting screws, gently recenter it, and retighten before adjusting the hammer arms.
Step 5: Test Each Chime Rod Individually
Once the adjustments are complete, restart the movement and listen to each hour and quarter sequence. Listen for:
- Consistent strike volume across all three or four rods
- No double-striking on any single note
- A clear sustain with no metallic clatter
- Even rhythm between hour and quarter chimes
If one rod still sounds dull, repeat the process on that specific hammer only. Sometimes individual rods need slightly different bend angles to match the surrounding tone.
Chime Rod Tuning Techniques and Chime Wheel Lift
Beyond the hammer arm bends, two more adjustments can make a major difference in tone: rod seating and chime wheel lift. Both are part of proper grandfather clock hammer and chime rod adjustment.
Securing the Chime Rods in the Block
Each chime rod passes through a small hole in the chime block and is held in place by a tiny set screw or wedge. If a rod is loose, it will buzz and produce a metallic tone no matter how well you adjust the hammer.
To check rod seating, gently flick each rod with your finger. The note should ring clearly and sustain for several seconds. If the sound is dull or rattles, the rod is either loose in its hole or the mounting hardware needs tightening.
Tighten the set screws with a small screwdriver, but only a quarter turn at a time. Over-tightening can warp the rod and alter its pitch permanently.
Adjusting the Chime Wheel Lift
The chime wheel lift is the amount each hammer is raised before being released. Too much lift causes double-striking, where the hammer hits the rod twice for one note. Too little lift creates a weak, unsatisfying strike.
On most movements, the lift is controlled by a small adjustable post or a wire loop on the back of the chime wheel. To reduce double-striking:
- Locate the chime wheel adjustment, usually marked or accessible from the back of the movement
- Turn the adjustment slightly to lower the lift height
- Test the chimes and listen for clean single strikes
- Repeat in small increments until the double-strike disappears
Our team found this single fix resolved a stubborn double-striking issue on a 1985 Howard Miller that had driven the owner to distraction for over a year.
Verifying Strike Consistency Across All Hammers
After any adjustment, the goal is uniform strike distance across all hammers. A difference of more than 1/16 inch between hammer heads will cause one note to stand out or fade into the background of the melody.
Measure from the top of each hammer head to its rod while the movement is stopped. Equal measurements equal even tone. This is part of the verification checklist we use on every clock that comes through the workshop.
Troubleshooting Common Chime Problems
Even with careful adjustment, certain issues keep coming up. Here are the most common problems and how to address them with grandfather clock hammer and chime rod adjustment.
Dull or Muted Chime Sound
A dull chime almost always means the hammer is sitting too close to the rod, dampening its vibration. Pull the hammer head back by 1/8 inch using the hammer arm bend method. If the dullness persists, check whether the rod is seated tightly in the chime block.
Metallic or Harsh Tone
A metallic clank typically means the hammer is striking the rod at the wrong point, often too close to the chime block. Adjust the hammer arm vertically so the hammer tip hits the rod about 1/4 inch down from the chime block. Worn or hardened hammer tip leather can also cause this, and replacement pads are inexpensive and easy to install.
Double-Striking on a Single Note
Double-striking is almost always caused by excessive chime wheel lift. Reduce the lift as described in the chime wheel section above. If the problem continues, check that the hammer is not bouncing off the rod. A small piece of leather or felt on the hammer head can absorb the rebound.
Chimes Out of Sync with the Pendulum
If the chimes are running slow or fast relative to the actual time, the chime speed is independent of the pendulum. The chime train has its own speed adjustment, usually a small lever or weight position on the side of the movement. Adjust the chime speed separately until the quarter sequences match the clock hands.
Post-Move Issues
Moving a grandfather clock almost always requires readjustment. The movement typically shifts on the seat board during transport. Our team recommends full hammer and rod adjustment after every move, even if the clock sounds fine at first. The damage from a misaligned movement often shows up weeks later.
When to Call a Professional
If you have completed the steps above and the tone still sounds off, the issue may be deeper in the movement. Worn pivots, damaged chime wheel pins, or cracked rods all require professional attention. Most NAWCC-affiliated clockmakers can diagnose these issues within an hour.
Seasonal Maintenance and Verification Checklist
Proper grandfather clock hammer and chime rod adjustment is not a one-time fix. Seasonal humidity and temperature changes can shift the chime block and the wood case, which affects tone.
Use this verification checklist after every adjustment:
- Hammer heads rest 1/8 inch from rods
- Hammer tips sit 1/4 inch below chime block
- All chime rods are tight in the chime block
- No double-striking on any quarter or hour strike
- Movement is centered and screws are tight on the seat board
- Hammer tip leather is soft, not hardened
- Chime volume is even across all notes
- No metallic clatter or buzz during strike
Run this checklist every six months. In humid climates, check every three months during summer. A small drift in clearance is much easier to correct than a fully misaligned movement after a year of neglect.
Frequently Asked Questions
What is the correct clearance between hammer and chime rod on a grandfather clock?
The correct clearance is approximately 1/8 inch between the resting hammer head and the chime rod. The hammer tip should also sit about 1/4 inch below the chime block. These two measurements produce the cleanest tone and prevent double-striking.
Should I bend the hammer arm or the chime rod to adjust the tone?
Always bend the hammer arm, never the chime rod. Bending the rod changes its pitch permanently and ruins the tuning. Use needle-nose pliers on the middle of the hammer arm and make very small adjustments of 1/16 inch or less at a time.
Is it okay to move clock hands backwards on a grandfather clock?
Moving the hands backwards on a grandfather clock is generally not recommended. It can cause the chime sequence to fall out of sync with the actual time. If you must move the hands, move them forward slowly through the chime sequences rather than backwards.
What causes double-striking on grandfather clock chimes?
Double-striking is usually caused by excessive chime wheel lift, which raises the hammer too high and lets it bounce off the rod twice. Reduce the chime wheel lift slightly using the adjustment on the back of the movement until each note strikes cleanly once.
How often should a grandfather clock chime?
Most grandfather clocks are designed to chime on the quarter hour, half hour, three-quarter hour, and full hour. Many modern clocks have a silent or nighttime mode that lets you disable the chimes during sleep hours without affecting the timekeeping.
Why does my grandfather clock sound metallic after moving it?
A metallic sound after moving is almost always caused by the movement shifting on the seat board during transport. Loosen the mounting screws, recenter the movement, and retighten before adjusting the hammer arms. This usually resolves the metallic tone without further adjustment.
Final Thoughts on Grandfather Clock Hammer and Chime Rod Adjustment
Grandfather clock hammer and chime rod adjustment is one of the most satisfying maintenance tasks you can do at home. With just a pair of needle-nose pliers, a flashlight, and patience, you can restore the warm, clear tone your clock was designed to produce.
Remember the three core rules: 1/8 inch clearance between hammer and rod, 1/4 inch below the chime block for the hammer tip, and never bend the chime rod itself. Check the movement on the seat board before you adjust, and run the verification checklist every six months.
If you take your time and follow the steps in this guide, you will save yourself the cost of a service call and gain a much deeper understanding of how your clock actually works. Our team has used this exact process on hundreds of clocks, and it works on Howard Miller, Ridgeway, Hermle, and most other major movements. Take your time, listen carefully, and your clock will thank you with every chime.