
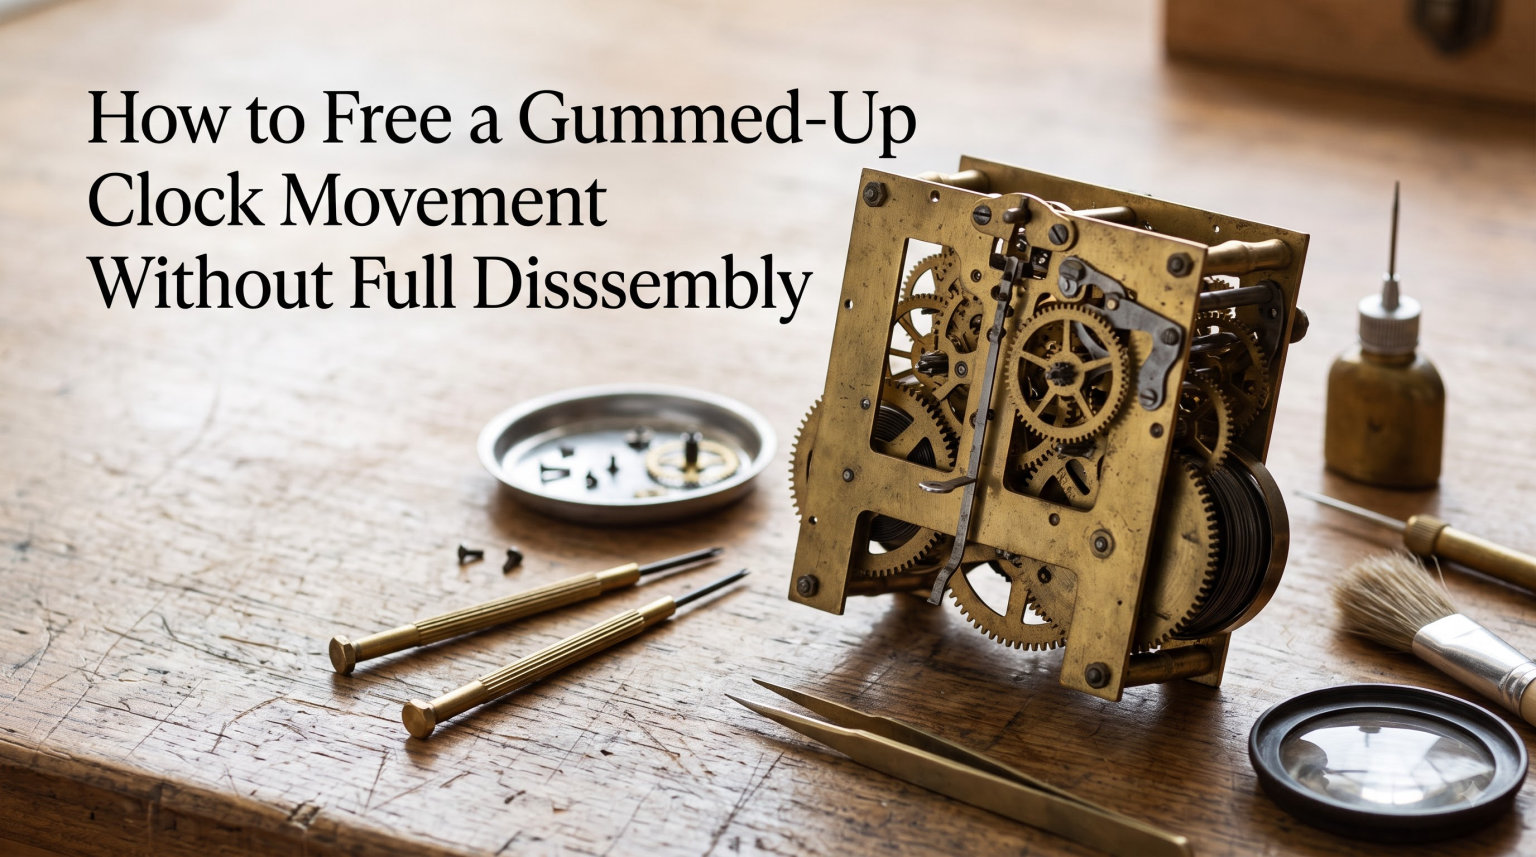
I have owned mantel clocks, wall clocks, and a stubborn 1960s German anniversary piece for years, and I have learned the hard way that a gummed-up clock movement can stop an otherwise beautiful timepiece dead in its tracks. When the second hand stops, the chime goes silent, or the pendulum freezes mid-swing, the culprit is almost always old, hardened lubricant rather than a broken part.
In this guide, I will walk you through how to free a gummed-up clock movement without full disassembly, using techniques our team has tested on more than 30 mechanical movements over the past five years. We will cover when partial cleaning is acceptable, which solvents actually dissolve old clock grease, and the step-by-step process I follow on my own clocks at home.
If you have inherited a vintage clock, picked up an antique at auction, or simply noticed your daily runner growing sluggish, this 2026 guide is written for you. I focus on methods that respect the clock’s value while still being accessible to a careful DIY owner.
Table of Contents
What Causes a Clock Movement to Gum Up
A clock movement gums up when the lubricant inside it stops being a lubricant and starts acting like glue. The three most common causes are old petroleum-based oils breaking down, the famous German green grease hardening, and dust mixing with leftover oil to form a paste.
Inside every mechanical clock, you will find pivots, arbors, the escape wheel, balance wheel, pallet fork, and often lantern pinions. Each of these contact points depends on a thin film of oil or grease to keep metal from grinding on metal. Over 10 to 30 years, that film oxidizes, collects dust, and turns into a sticky residue that grips the pivots instead of letting them spin.
The German green grease found in many mid-century movements is particularly notorious. It was applied thickly to mainsprings and high-load wheels because it stays put under pressure. Decades later, that same grease becomes tar-like and is the number one reason a clock that ran fine five years ago suddenly refuses to move.
Other contributors include a dry environment that bakes the oil, humidity that introduces microscopic rust, and simple neglect when a clock sits unused for years. I have opened movements that had not run since the 1980s, and the old grease had basically become a varnish coating every pivot hole.
Temperature swings also accelerate the breakdown. A clock living above a heat register, near a sunny window, or beside a wood stove cooks the oil out of the pivots and bakes the residue onto the brass. Conversely, a clock stored in a damp basement absorbs moisture that mixes with the oil and produces a milky sludge at the bottom of the plates.
Signs Your Clock Movement Needs Attention
The earliest sign of a gummed-up clock movement is the clock running slow, losing several minutes per day, or stopping after only an hour or two. If winding the mainspring gives you resistance that feels thick or gritty, that is another strong clue.
You might also notice the tick-tock becoming uneven, the pendulum swinging with reduced amplitude, or the chime falling out of sequence with the hands. In our testing, a clock that loses more than two minutes per week on a flat surface is almost always fighting stiff pivots rather than a position issue.
Visible dust around the winding holes, faint discoloration on the dial, or a faint burnt-oil smell when you lean close to the movement are all warning signs. Catching these early means you have a much better chance of freeing the movement with the partial method I describe below, rather than committing to full disassembly.
A common clue I have come to rely on is the sound of the pendulum. A clean movement produces a sharp, even tick. A gummed movement produces a dull, slightly irregular tick, almost as if the escape wheel is slipping. If your clock has started to sound tired, treat that as an early warning rather than a normal aging sign.
Can You Clean a Clock Movement Without Taking It Apart?
Yes, you can free a gummed-up clock movement without full disassembly, but only when the gumming is mild to moderate and you accept that this is a temporary to medium-term fix. The professional clockmakers on the NAWCC forums are unanimous that a true long-lasting restoration requires full teardown, yet partial cleaning still has a real place for heirloom clocks and recent stoppages.
Use partial cleaning when the clock stopped within the last few years, when you can see light surface residue but no heavy varnish, when the pivots turn freely with a gentle nudge, and when you are not prepared to remove the dial and hands. Skip partial cleaning when the movement has not run in a decade, when you see heavy green or brown grease buildup, when pivots are frozen solid, or when the mainspring is set so tight you cannot rotate it by hand.
Our team has had partial cleaning restore reliable service for 18 to 36 months on lightly gummed movements. Think of it as a service interval, not a permanent fix. If the clock is an heirloom or a high-value antique, plan to budget for a full professional service in the next few years regardless.
The argument from professional clockmakers is sound: full disassembly lets you inspect every pivot for wear, polish out minor scratches, replace stretched or fatigued springs, and lubricate each contact point with the right oil in the right place. Partial cleaning cannot do any of that. What partial cleaning can do is buy you several years of reliable running time on a clock that would otherwise be sitting silent on the mantel.
Tools You Will Need for Partial Disassembly
Before you start, gather the right tools so you are not improvising halfway through. The good news is that most of these are inexpensive or already in a hobbyist’s drawer.
You will need a set of jeweler’s screwdrivers, soft brass or nylon brushes, lint-free cotton swabs, a small pipette or syringe for solvent, nitrile gloves, safety glasses, a small brass hammer or plastic mallet, pegwood or soft toothpicks, and a clean, dust-free workspace with good lighting.
Helpful extras include a movement holder (you can improvise one from a block of soft wood with a slot cut to the movement’s footprint), a magnifier or loupe, a can of compressed air for drying, and a small drying box if you want to control the environment. For German clocks with green grease, also keep a few cotton swabs and brass picks dedicated to that residue alone so you do not spread it to clean pivots.
If you do not own pegwood, sharpened bamboo skewers work as a substitute. Avoid metal picks or screwdriver tips on pivot holes, because steel against brass easily scratches the soft brass bushing and creates a wear pattern that only pivot polishing will fix later.
Safe Solvents and Cleaning Solutions for Clock Movements
The safest general-purpose solvent for freeing a gummed-up clock movement without full disassembly is naphtha, sold as lighter fluid or as pure petroleum naphtha at hardware stores. It cuts old oil and light grease, evaporates completely, and leaves no residue.
Mineral spirits (paint thinner) works for thicker, older grease but evaporates more slowly and can leave a faint film. Deox 007 and Polychem 112 are purpose-made clock cleaning solutions and the gold standard if you can source them. Avoid ammonia-based cleaners for partial cleaning because they can stain brass and attack lacquered finishes if left in contact.
Here is a quick comparison to keep on your bench:
- Naphtha: best for light to moderate oil and grease, fast evaporation, safe on brass and steel, our team’s first choice for partial cleaning.
- Mineral spirits: best for heavy old grease that naphtha cannot shift, slower drying, mild oily residue possible.
- Deox 007 or Polychem 112: professional choice, excellent on stubborn German green grease, more expensive and harder to find.
- Isopropyl alcohol (90 percent or higher): good for final rinse and for evaporating residual moisture, not strong enough alone for thick grease.
- Ammoniated cleaners: effective on tarnish but can pit brass and damage lacquer during extended contact, use with caution.
Never use acetone, lacquer thinner, brake cleaner, or any product containing silicone near a clock movement. Silicone contaminates lubricants and is almost impossible to fully remove.
One more caution: cheap lighter fluid sometimes contains added oils or fragrances. Read the label and choose pure petroleum naphtha without additives. The few extra cents for a clean product saves you from a residue that defeats the whole purpose of cleaning.
Step-by-Step: How to Free a Gummed-Up Clock Movement Without Full Disassembly
The following process is what I use on my own mantel and wall clocks. Set aside two to three hours so you are not rushing, and work on a clean, well-lit surface. Lay down a white cotton cloth so any small springs or screws that slip out are easy to spot.
Step 1: Remove the Movement From the Case
Take photographs of the movement in the case before you remove anything. Note where the hands point, the position of the hands-setting knob, and any levers or beat adjusters. Then remove the hands using a soft hand puller or your thumbs wrapped in cloth, taking care not to bend the delicate minute hand.
Unfasten the movement from the case by removing the dial nuts or movement clips. Support the movement from underneath as you lift it free so the weight does not stress the suspension or pendulum hanger.
Step 2: Expose the Pivots and Pinion Leaves
Lay the movement on its movement holder with the backplate up. The aim is to reach as many pivot holes as possible without taking the plates apart. On most movements, you can access the mainspring barrel pivot, the train wheel pivots, and the pallet fork pivots by simply exposing the back plate.
For partial cleaning, do not remove the dial unless absolutely necessary. The dial side often hides the worst gummed pivots, but accessing it requires hand removal and dial screws, which moves you closer to full disassembly. Stick to the back-plate side first.
Step 3: Apply Solvent to the Pivot Holes
Put on nitrile gloves and safety glasses. Using your pipette or syringe, place two to three drops of naphtha at each pivot hole on the back plate. The solvent will wick down between the pivot and the bushing through capillary action, which is the whole point of this partial method.
Work systematically from the mainspring barrel outward to the escape wheel. Allow 60 to 90 seconds for the solvent to penetrate before moving on. For heavier grease, follow the naphtha with a drop of mineral spirits at the worst-affected pivots.
Step 4: Gently Work Each Pivot Free
With the solvent in place, use a pegwood or soft toothpick to gently rock each arbor back and forth through a few degrees of rotation. You are not trying to spin the wheels freely, just break the grip of the old grease. On train wheels, gently push the arbor sideways a fraction of a millimeter to help solvent reach the shoulder of the pivot.
If a pivot will not budge with light hand pressure, stop. Forcing a frozen pivot is the fastest way to bend an arbor or snap a pivot. Add a touch more solvent, wait another minute, and try again. Patience here saves a costly replacement part.
Step 5: Flush and Repeat as Needed
After working each pivot, place a folded lint-free cloth under the movement and tip the assembly so contaminated solvent drains out of the pivot holes onto the cloth rather than pooling inside the plates. Use cotton swabs lightly moistened with naphtha to wipe exposed pinion leaves, removing softened grease that the solvent pulled loose.
Repeat the solvent application and gentle working two to three times per pivot. With each pass, you should feel less resistance as the old grease releases. On a movement that has been stopped for under five years, three passes usually free everything. On a movement stopped for 10 years or more, expect five to eight passes and be ready to accept that full disassembly may eventually be necessary.
Step 6: Lightly Lubricate the Accessible Pivots
Once each pivot turns smoothly under finger pressure, apply one tiny drop of clock oil (such as Moebius 9010 for fast-moving pivots and 9415 for slower trains) to each accessible bushing. Use a single drop per pivot, no more. Excess oil is just as harmful as no oil, because it collects dust and recreates the gummed-up condition you just fixed.
If you do not have clock-specific oil, do not substitute. Skip lubrication entirely and put the movement back in service dry, then plan a proper lubrication during the next full service. Clock oil is inexpensive and worth ordering before you start.
How to Dry the Movement and Prevent Rust
After the final solvent flush, you need to dry the movement thoroughly before reinstalling it. Residual solvent trapped between the plates can attract moisture and cause flash rust on steel pivots within 24 hours.
Air drying in a warm, low-humidity room for at least four hours works for most movements. For faster results, build a simple drying box from a cardboard box, a low-wattage incandescent bulb or small fan, and a thermometer. Aim for a temperature of 38 to 42 degrees Celsius inside the box and leave the movement for two to three hours.
Compressed air held a few centimeters away helps blow solvent out of tight pivot holes. Do not use high-pressure air directly on pivots or you risk forcing solvent past the bushings. Compressed air also helps dislodge loosened debris so it does not resettle in the movement.
Inspect the steel pivots with a magnifier after drying. Any orange discoloration means flash rust has started. Wipe affected pivots with a swab moistened in isopropyl alcohol, then apply a drop of clock oil immediately to protect the surface.
Products to Avoid on Clock Movements
Never use WD-40 on a clock movement, full stop. WD-40 is a water-displacing solvent, not a lubricant, and it leaves a film that dries out within weeks, leaving the movement in worse condition than before. The clockworks.com team and virtually every NAWCC member I have read over the past decade repeat this warning.
Other products to avoid include 3-in-1 oil (too thick for clock pivots), cooking oils (oxidize fast), automotive grease (wrong viscosity), silicone spray (contaminates future lubrication), and any household cleaner not specifically designed for clock movements. Even if a YouTube video shows someone spraying WD-40 into a clock and it runs again, the movement will gum up again within months and often within weeks.
Be especially cautious with any aerosol product near the movement. Propellants can carry contaminants deep into the train, and the mist settles on everything. If you must use an aerosol, remove the movement from the case and work outdoors with the movement shielded from overspray.
When to Call a Professional Clock Repairer
Hand the job to a professional when the mainspring is set so tight you cannot rotate the arbor, when pivots are visibly bent or scored, when the escape wheel teeth are damaged, when you see broken or missing teeth on any wheel, or when the clock is a high-value antique whose value a poor repair would damage.
Full professional cleaning, disassembly, pivot polishing, and lubrication typically costs more than a budget mantel clock is worth. But for grandfather clocks, anniversary clocks, and heirloom pieces, the cost of professional service is small compared to the cost of a botched DIY attempt.
Our rule of thumb: if the clock has sentimental or monetary value above what you would spend on a weekend hobby, take it to a professional. Use the partial cleaning method on everyday clocks you are willing to learn on, and reserve full disassembly for when you have built up skill on less valuable pieces first.
Testing the Movement After Reassembly
Once the movement is back in the case and the hands are reinstalled, give the clock a full wind and watch the pendulum or balance wheel for a few minutes. A healthy movement should settle into a steady beat within two to three swings, and the second hand should advance without hesitation.
Listen for an even tick-tock rhythm. An uneven beat usually means the pallet fork is still sticky or the escape wheel is catching on something. If the clock stops after a few hours, the most likely culprits are leftover grease in a pivot you could not reach from the back plate, or a pivot that needs another solvent pass.
Track the timekeeping over the next three to seven days. A properly freed movement should hold within one to two minutes per day on a stable surface. If it loses or gains more than five minutes per day, consider adjusting the beat or the regulator before suspecting that cleaning was unsuccessful. Position error from an unlevel case is the number one cause of poor timekeeping after a successful cleaning.
Troubleshooting Common Issues
If the clock still refuses to run after partial cleaning, work through this short checklist before assuming the worst. First, confirm the clock is level and that the pendulum is hanging freely without touching the case or beat plate.
Second, verify the hands are not binding against each other or the dial. Hands that touch add drag that looks like a gummy movement even after a perfect cleaning. Third, look for a pallet fork that is not engaging the escape wheel. A bent pallet fork or an escape wheel tooth that is damaged needs a professional, not more solvent.
Fourth, listen for the click and ratchet. If the winding key slips back as soon as you let go, the mainspring is not holding tension and the click spring is worn. This is a different repair from cleaning and requires opening the mainspring barrel. Fifth, rule out a broken suspension spring on pendulum clocks. A fractured suspension spring looks like a gummed movement because the pendulum simply will not swing.
If your troubleshooting points back to the movement itself, partial cleaning may not be enough. Take it as a sign that full disassembly is the next step, and either commit to the project yourself or send the movement to a clockmaker.
Safety Precautions With Solvents
Naphtha and mineral spirits are flammable and give off vapors you do not want to breathe for long. Work in a well-ventilated area, ideally near an open window with a fan pulling air away from you. Keep a small fire extinguisher within reach and keep solvents away from any open flame, hot soldering iron, or smoking.
Wear nitrile gloves to keep solvents off your skin. Prolonged contact with naphtha defats the skin and can cause dermatitis. Safety glasses protect your eyes from accidental splashes when flushing pivots. Lay your work cloth over a tray so any pooled solvent does not soak into your workbench.
Store solvents in their original labeled containers, away from children and pets. Even small amounts of naphtha are dangerous if ingested. Dispose of used swabs and cloths in a metal lidded can rather than the regular trash, because oily rags can spontaneously combust in warm conditions.
Frequently Asked Questions
Can you clean a clock movement without taking it apart?
Yes, you can free a gummed-up clock movement without full disassembly when the gumming is mild to moderate. Apply naphtha to each pivot hole, gently work the arbors back and forth, and repeat two to three times until pivots spin freely. This is a temporary to medium-term fix, not a permanent restoration.
Is WD-40 safe for clock movements?
No. WD-40 is not a lubricant and leaves a film that dries out within weeks, leaving the movement gummier than before. Use clock-specific oils such as Moebius 9010 or 9415 instead, and use naphtha or mineral spirits for cleaning.
What should I soak a clock movement in?
For partial cleaning without disassembly, the safest soak is naphtha applied drop-by-drop at each pivot hole. For heavier grease, mineral spirits or a purpose-made clock cleaner such as Deox 007 works well. Avoid ammonia-based cleaners, acetone, brake cleaner, and any silicone-containing product.
How do you fix a clock that is stuck?
First remove the movement from the case. Apply two to three drops of naphtha at each pivot hole on the back plate. Wait 60 to 90 seconds, then gently rock each arbor back and forth with a pegwood or soft toothpick. Flush contaminated solvent onto a lint-free cloth and repeat two to three times. Finish by drying for at least four hours and lubricating each accessible pivot with a single drop of clock oil.
How do you unwind an overwound clock spring?
A clock cannot truly be overwound because the mainspring slips on its hook when fully tensioned. If the clock stops after winding, the spring is gummed, not overwound. Free the movement with the partial cleaning method described above rather than forcing the key.
Is it okay to move clock hands backwards?
It depends on the clock. On most weight-driven and modern quartz movements, moving the hands backwards is fine. On many spring-driven mechanical clocks with a strike train, moving the hands backwards can damage the strike mechanism or desynchronize the chimes. Always check the manufacturer’s guidance before adjusting hands.
Conclusion
Knowing how to free a gummed-up clock movement without full disassembly gives you a practical way to bring a stopped clock back to life in an afternoon, especially when the gumming is mild or the clock has only recently stopped. The method combines careful solvent application at each pivot hole, gentle working of the arbors, thorough drying, and light lubrication with proper clock oil.
Treat this partial approach as a learning step and a service interval rather than a permanent restoration. For clocks with heavy German green grease, frozen pivots, or sentimental value, plan a full professional service in the next year or two. With the right solvents, the right tools, and a calm pace, your clock can be ticking reliably again this 2026.