
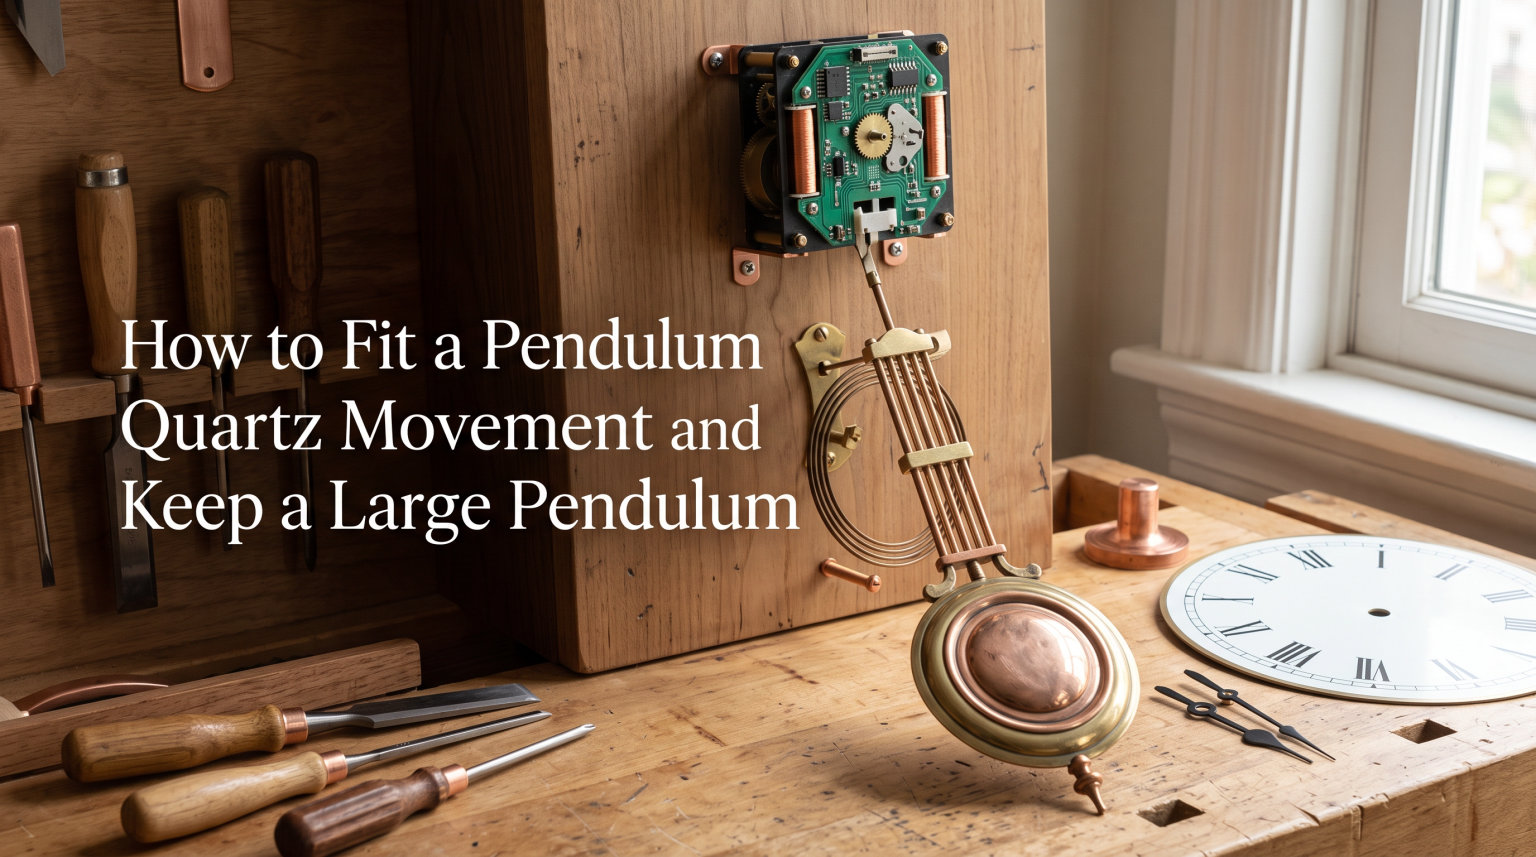
Converting a mechanical clock to battery power while preserving the look of a swinging pendulum is one of the most satisfying projects a clock owner can take on. The challenge most people hit, though, is figuring out how to fit a pendulum quartz movement and keep a large pendulum running smoothly. Standard quartz movements sold for small wall clocks simply do not have the power to drive a heavy brass pendulum from an antique or grandfather clock case.
I have spent years helping clock owners make this exact conversion, and the good news is that it is absolutely possible. You just need the right type of movement, proper measurements, and a solid understanding of how these mechanisms work. In this guide, our team walks through every step of the process, from choosing the correct movement to troubleshooting a pendulum that refuses to keep swinging.
By the end of this article, you will know exactly how to select, install, and tune a pendulum quartz movement that keeps your large pendulum sweeping beautifully. Let us start with the fundamentals.
Table of Contents
What Is a Pendulum Quartz Movement?
A pendulum quartz movement is a battery-powered clock mechanism that combines accurate quartz timekeeping with an auxiliary drive system to keep a pendulum in motion. Unlike a traditional mechanical movement, there are no mainsprings or escapements regulating the pendulum. Instead, the quartz crystal controls the time, and a separate electromagnetic system keeps the pendulum swinging for visual effect.
The pendulum drive works through a simple but clever interaction between an electromagnetic coil and a small magnet. The coil sits behind the pendulum leader, and the magnet attaches to the pendulum itself. Every fraction of a second, the circuit board inside the movement sends an electrical pulse to the coil. This pulse creates a magnetic field that repels the pendulum magnet, giving the pendulum a tiny push at just the right moment.
Each push is small on its own. But because the impulses are timed to match the natural rhythm of the pendulum, they sustain the swinging motion indefinitely. Think of it like pushing a child on a swing. You do not need a huge shove every time. You just need a well-timed nudge at the right point in the arc.
This brings us to a common question: why does a pendulum not keep swinging forever on its own? The answer is friction and air resistance. Every swing loses a tiny amount of energy to the air, the suspension spring, and the pivot point. Without a continuous energy input from either a mechanical escapement or an electromagnetic coil, the pendulum slows and eventually stops within minutes.
Understanding this energy balance matters enormously when you are working with a large pendulum. A heavy brass bob stores more energy at the bottom of its arc, but it also takes more force to get moving and loses more energy per swing to resistance. That is the core challenge we will solve throughout this guide.
Integrated vs Independent Pendulum Units
Before you buy anything, you need to understand the two types of pendulum quartz movement available. This choice determines whether you can keep your existing large pendulum or need to replace it.
Integrated Pendulum Movements
An integrated pendulum movement is a single unit that handles both timekeeping and pendulum drive. These are the movements you find in most battery-operated pendulum wall clocks from department stores. The coil, circuit board, and hand shaft are all built into one compact housing.
These units are convenient and affordable. However, they are almost always designed for lightweight plastic pendulums. The coils in integrated units simply do not generate enough magnetic force to drive a heavy traditional pendulum. If your goal is to keep a large pendulum, an integrated unit will likely leave you frustrated.
Independent Pendulum Drive Units
An independent pendulum drive is a separate module that does nothing but keep the pendulum swinging. It contains its own coil, circuit board, and battery, completely separate from the timekeeping movement. You pair it with a basic quartz movement for the hands and use the drive unit solely for the pendulum.
This is the setup our team recommends for large pendulums. Because the drive unit is dedicated and self-contained, manufacturers can build it with a more powerful coil designed specifically for heavier pendulums. You get accurate quartz timekeeping from the main movement and reliable pendulum motion from the independent drive, without one compromising the other.
The trade-off is that you need space inside the clock case for two modules instead of one. In most antique cases and grandfather clocks, this is not a problem since the original mechanical movement occupied far more room.
Choosing the Right Movement for a Large Pendulum
This is the section that trips up most clock owners, and it is the area where existing guides fall shortest. Selecting a movement that can handle your pendulum comes down to four factors: weight capacity, shaft length, swing arc clearance, and center of gravity.
Weight Capacity
Every pendulum drive unit has a maximum recommended pendulum weight. This is the single most important specification to check. Community members on clock repair forums consistently report that the motors in standard quartz movements are not usually strong enough for heavy pendulums. One user on the NAWCC forum put it well: the movements are oblivious to the size and length of the pendulum, but they absolutely must be able to support its weight.
Weigh your pendulum bob before ordering anything. A typical decorative wall clock pendulum weighs under 100 grams. A solid brass bob from a grandfather clock can weigh 500 grams or more. Make sure the drive unit you select is rated for at least your pendulum weight, ideally with some headroom.
Shaft Length and Spiggot Size
The shaft, sometimes called the spiggot, is the threaded post that passes through the clock dial and holds the movement in place. You need to measure the thickness of your dial plus any mounting plate to determine the correct shaft length. If the shaft is too short, the mounting nut will not reach. If it is too long, the hands will sit too far off the dial.
Measure the dial thickness with calipers if you have them. Add 3 to 5 millimeters for the hex nut and washer. That total is your minimum shaft length. Most movement manufacturers list the maximum dial thickness each model accommodates, so match that number to your measurement.
Swing Arc Clearance
Your pendulum needs room to swing without hitting the case walls, chime rods, or weights. Measure the horizontal clearance on either side of the pendulum at its widest point. Then check the swing arc specification of the movement you are considering. Most quartz pendulum movements have a swing arc between 20 and 30 degrees.
For a large pendulum with a long rod, even a modest arc translates to significant horizontal travel at the bottom. A 25-degree arc on a 40-centimetre pendulum means the bob swings roughly 17 centimetres side to side. Make sure your case can accommodate that range.
Center of Gravity and Mounting
The mounting point for the movement needs to be sturdy enough to handle the rhythmic force of a swinging pendulum. A heavy pendulum puts continuous lateral stress on the mounting board. If the original movement was mechanical, the mounting area is likely reinforced and will work fine. If you are installing into a lighter case, consider adding a backing plate for extra rigidity.
The pendulum leader must hang perfectly vertical when at rest. Even a slight lean will cause the pendulum to swing unevenly or stop. Use a small level when mounting to verify alignment before finalizing the installation.
Tools and Materials You Will Need
Gather everything before you start so you do not have to stop mid-installation. Here is what our team uses for every pendulum quartz movement conversion:
Screwdriver set (Phillips and flathead, multiple sizes)
Needle-nose pliers
Calipers or a precise ruler for measuring shaft length and dial thickness
Small level (a torpedo level works well)
Wire cutters and strippers if using an independent drive unit
Double-sided foam tape or small screws for mounting the drive module
Fresh batteries (check the movement specifications for size)
Soft cloth or mat to protect the clock face during work
Pen and paper for noting original configuration before disassembly
If your original movement has a hand nut that requires a special wrench, check whether the new movement includes one. Most do, but it is worth confirming before you begin.
How to Fit a Pendulum Quartz Movement and Keep a Large Pendulum
Now we get to the heart of the process. Follow these steps in order, and take your time with each one. Rushing the installation is the most common cause of pendulum problems later.
Step 1: Document the Original Setup
Before removing anything, take photos of the existing movement from multiple angles. Note where the pendulum leader connects, how the hands are positioned, and where any wires run. These photos will be your reference if anything goes wrong or if you need to reorder parts.
Step 2: Remove the Old Movement
Start by removing the pendulum and any weights. Loosen the hand nut on the front of the dial and carefully pull off the minute and hour hands. Then remove the mounting nut on the back of the dial and slide the old movement out. Keep all original hardware organized in labelled containers.
Step 3: Check the Dial Opening
Measure the diameter of the hole in your clock dial. The threaded shaft on your new movement must pass through this opening. Most quartz movements use a standard 10-millimetre or 12-millimetre shaft diameter, but antique dials can vary. If the opening is too small, you may need to enlarge it carefully with a reamer or file. If it is too large, a larger washer on the front will cover the gap.
Step 4: Install the Timekeeping Movement
Slide the new quartz movement shaft through the dial from the back. Add the washer and hex nut on the front, then tighten gently. Do not overtighten, as this can crack porcelain or wood dials. The movement body should sit flush against the back of the dial with no wobbling.
Step 5: Mount the Pendulum Drive Unit
If you are using an independent drive unit, position it directly behind where the pendulum leader will hang. The coil must align horizontally with the magnet on the pendulum when the pendulum is at rest. Use double-sided foam tape or small mounting screws to secure the drive unit to the case back or mounting board.
For an integrated movement, the coil is already built in. Just make sure the pendulum leader hangs freely through the slot in the movement housing without touching the sides.
Step 6: Install the Pendulum Leader and Magnet
Attach the pendulum leader to the suspension point on the movement. The leader is the thin rod or wire that connects the movement to the pendulum bob. If your original leader is in good condition, you can often reuse it. Otherwise, use the leader supplied with the new movement.
Attach the small magnet to the pendulum rod at the height of the coil. The magnet should face the coil directly with a gap of roughly 2 to 3 millimetres. Too close and the magnet may strike the coil. Too far and the magnetic impulse will be too weak to sustain the swing.
Step 7: Hang the Pendulum
Carefully lift the pendulum into position and hook it onto the leader. The pendulum bob should hang roughly centered with a small clearance on both sides. Check with your level that the leader hangs perfectly vertical. Adjust the mounting or suspension spring as needed.
Step 8: Install Batteries and Start the Swing
Insert fresh batteries into both the timekeeping movement and the independent drive unit. Set the hands to the correct time. Then give the pendulum a gentle manual push to start it swinging. The electromagnetic coil should take over within a few swings and maintain the motion on its own.
Step 9: Test and Fine-Tune
Watch the pendulum for at least five minutes. If it slows or stops, do not panic. Check the magnet-to-coil gap, verify the leader is vertical, and ensure nothing is rubbing. Small adjustments at this stage prevent hours of troubleshooting later. Once the pendulum swings steadily, close up the case.
How to Keep a Large Pendulum Swinging After Installation
Getting the pendulum moving is one thing. Keeping a large pendulum swinging reliably over the long term requires attention to a few details that are easy to overlook.
Level the Clock Case
This is the most common reason a pendulum stops. If the clock case leans even slightly to one side, gravity pulls the pendulum off center and the coil can no longer deliver its impulse effectively. Use a level on top of the case and adjust the mounting or wall position until the case is perfectly plumb. This single step solves more pendulum problems than any other.
Optimize the Magnet Gap
The gap between the drive coil and the pendulum magnet is sensitive. Two to three millimetres is the sweet spot for most units, but check the manufacturer specification for your specific model. If the pendulum is heavy, you may need to close the gap slightly. Just make sure the magnet never makes physical contact with the coil, as this will stop the pendulum dead and can damage the coil winding.
Check Battery Quality
A weak battery is a frequent culprit when a pendulum that worked fine for months suddenly starts stopping. The coil draws a small but consistent current, and low-quality or old batteries may have enough voltage for the timekeeping circuit but not enough for the pendulum drive. Use fresh alkaline batteries and replace both at the same time if you are running separate units.
Minimize Friction at the Suspension Point
The suspension spring and leader connection are where most energy is lost to friction. Inspect the suspension spring for kinks, rust, or deformation. A damaged suspension spring creates drag that the coil impulse may not fully overcome, especially with a heavy pendulum. Replace the suspension spring if there is any doubt about its condition.
Consider the Swing Arc for Your Case
A large pendulum with a wide swing arc looks dramatic, but it also requires more energy per cycle. If your pendulum keeps stopping, it may be trying to swing wider than the drive unit can sustain. Some drive units have an adjustable swing arc. Reducing the arc slightly can make the difference between a pendulum that stops and one that runs reliably.
Troubleshooting Common Pendulum Problems
Even with careful installation, issues can arise. Here is a systematic approach to diagnosing the most common problems, based on techniques shared by professional clock repairers and forum communities.
The Pendulum Will Not Start Swinging
First, verify the batteries are fresh and installed correctly. Check the polarity markings on the movement and drive unit. Then inspect the magnet-to-coil alignment. If the magnet is too far from the coil, the impulse will be too weak. Give the pendulum a firm manual push to start it. The coil should sustain the motion within a few swings if everything is aligned.
The Pendulum Starts but Stops After a Few Minutes
This is the classic symptom of either insufficient drive power or excess friction. Use the diagnostic technique recommended by forum members: remove the battery and swing the pendulum manually. Count how many swings it takes to stop. If it stops almost immediately, there is a friction problem at the suspension point or the leader is rubbing against something. If it swings for a long time on its own, the problem is with the drive unit, not the pendulum.
The Pendulum Swings Unevenly
An uneven swing usually means the clock case is not level or the leader is bent. Check the case with a level first. If the case is level, inspect the leader for bends or kinks. Even a slight bend in the leader will cause the pendulum to swing farther in one direction than the other, and the coil will eventually lose sync.
The Coil Has Failed
Coil failure is a known issue with electromagnetic pendulum drives. The copper wire winding can develop a short circuit or a broken solder joint, especially in older units or those exposed to humidity. Symptoms include the pendulum working intermittently or stopping entirely while the clock keeps perfect time.
You can test a coil with a multimeter set to measure resistance. A functioning coil typically reads between 100 and 500 ohms, though the exact value varies by model. An open circuit or a near-zero reading indicates a failed coil. Unfortunately, failed coils are rarely repairable and the drive unit will need replacement.
The Pendulum Works but the Clock Loses Time
If the timekeeping drifts but the pendulum swings fine, the two systems are independent and you should focus on the timekeeping movement. Quartz movements are generally accurate to within a few seconds per month. Significant drift usually points to a faulty movement or a poor battery connection rather than anything related to the pendulum.
FAQs
How do I keep my pendulum swinging?
To keep a pendulum swinging, ensure the clock case is perfectly level, use fresh alkaline batteries, maintain a 2 to 3 millimetre gap between the drive coil and pendulum magnet, and check that the suspension spring is free of kinks or rust. If the pendulum still stops, test it manually without battery to determine whether the problem is friction or drive power.
How do I know what size pendulum I need?
Match the pendulum length to your clock case depth and ensure the bob weight does not exceed the drive unit’s rated capacity. Measure the vertical clearance from the suspension point to the bottom of the case, subtract 5 centimetres for swing clearance, and that is your maximum pendulum length. Weigh your bob and confirm it falls within the movement’s weight specification.
How to fit a new quartz clock movement?
Remove the pendulum and hands, unscrew the mounting nut, and slide out the old movement. Measure your dial thickness to confirm the new shaft length fits, then insert the new movement shaft through the dial, secure it with the washer and hex nut, attach the hands, hang the pendulum, and install fresh batteries.
Why doesn’t a pendulum keep swinging forever?
A pendulum loses energy to air resistance, friction at the pivot point, and flex in the suspension spring with every swing. Without a continuous energy input from either a mechanical escapement or an electromagnetic coil, these losses accumulate and the pendulum stops within minutes.
Conclusion
Fitting a pendulum quartz movement and keeping a large pendulum is entirely achievable when you understand the mechanics involved. The key is choosing an independent drive unit rated for your pendulum weight, measuring carefully for shaft length and swing clearance, and taking the time to align the coil and magnet properly during installation.
The biggest mistake people make is assuming any quartz pendulum movement will work with any pendulum. It will not. Standard integrated movements are designed for lightweight bobs. A large brass pendulum needs a dedicated drive unit with sufficient power, and that is a fact confirmed time and again by clock repair communities and professionals alike.
Follow the steps in this guide, use the troubleshooting framework when issues arise, and your converted clock will give you the best of both worlds: quartz accuracy with the timeless beauty of a swinging pendulum. If you run into a problem we have not covered, the NAWCC forums and professional clock repair blogs are excellent resources with decades of collective experience.