
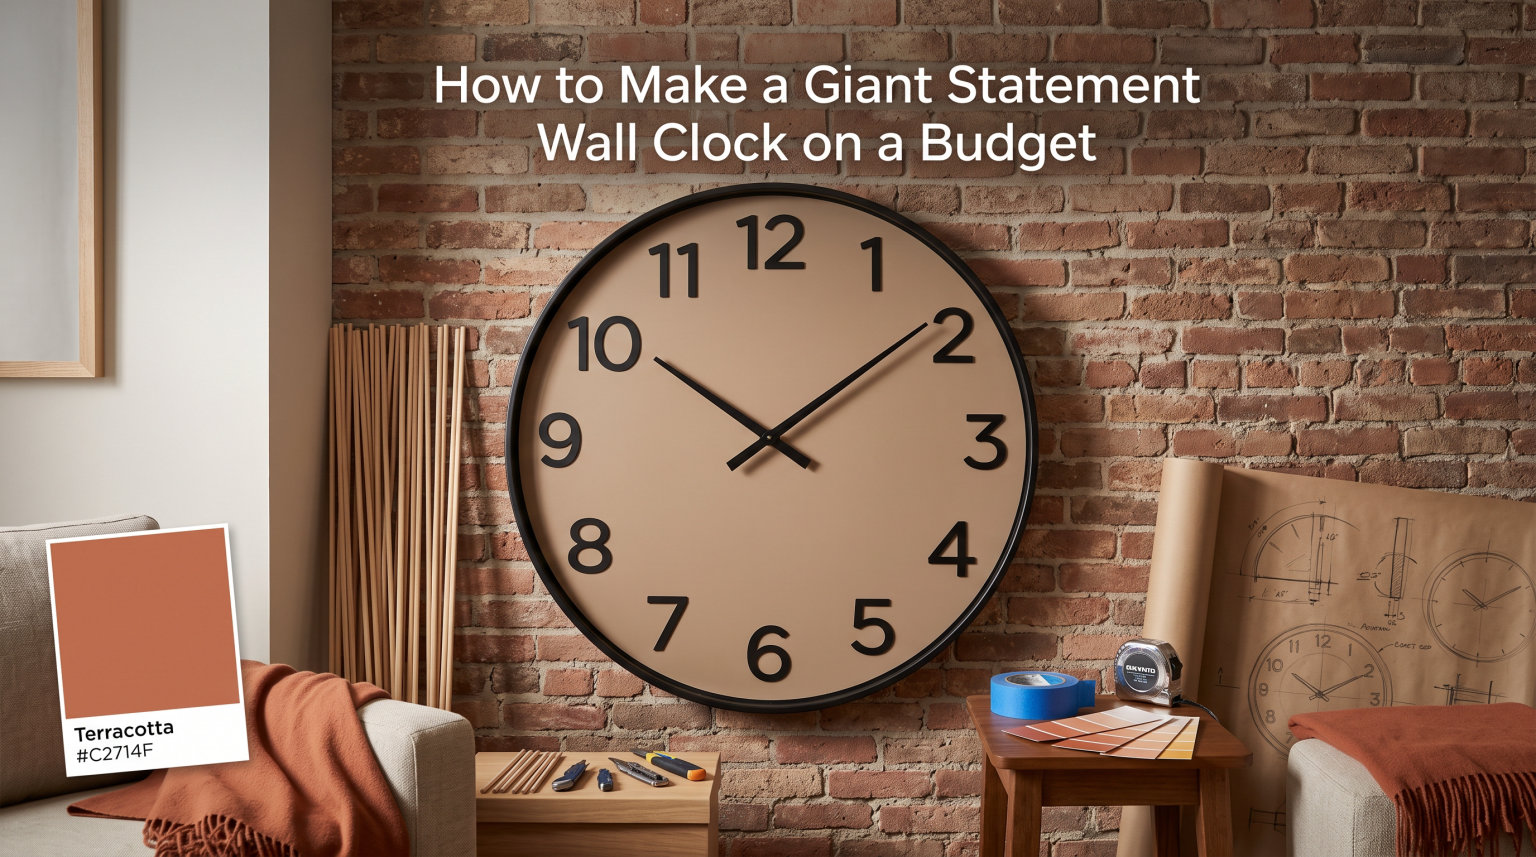
I have built my share of oversized wall clocks over the years, and I can tell you that learning how to make a giant statement wall clock on a budget is one of the most rewarding DIY projects you can tackle. Store-bought statement clocks easily run $200 to $500 or more. My version? I made one for under $45 total.
A giant clock transforms a blank wall into a genuine focal point. Whether your style leans farmhouse, modern, or somewhere in between, a DIY oversized wall clock lets you control every detail from the finish to the numerals.
Yes, oversized wall clocks are absolutely still in style in 2026. Interior designers continue to use them as anchor pieces in living rooms, kitchens, and entryways because they fill large wall space better than almost anything else.
This guide walks you through the entire process from choosing materials to mounting the finished piece. I will share the exact steps I followed, the mistakes I made along the way, and the budget shortcuts that saved me the most money.
Table of Contents
Why Make Your Own Giant Wall Clock?
The price difference is the biggest reason. A 36-inch statement clock from a home decor retailer typically costs between $180 and $450. When you build your own, the total cost lands somewhere between $25 and $60 depending on the materials you pick.
Customization is the second reason. You choose the wood tone, the numeral style, the size, and the finish. Want a dark walnut stain with distressed Roman numerals? That is entirely up to you.
I also love the satisfaction factor. Every time someone visits and asks where you got that amazing clock, you get to say you built it yourself. That never gets old.
Beyond cost and pride, a DIY giant clock solves a real decorating problem. Large blank walls are notoriously hard to fill without spending a fortune on gallery frames or oversized art. A single statement clock handles the job in one piece.
Materials and Supplies List
Here is the complete materials list I use for a standard 30 to 36-inch DIY farmhouse wall clock. I have included estimated costs based on what I actually paid at hardware stores and online.
Clock face base material ($8 to $25): This is your biggest variable. A round stain-grade wooden tabletop from a home improvement store costs around $18 to $25 and comes pre-cut and sanded. A piece of round plywood cut at the store runs $8 to $15. Even a medium-density fiberboard circle works if you plan to paint rather than stain.
Quartz clock mechanism kit ($5 to $15): These kits include the movement, clock hands, and mounting hardware. I recommend buying one with hands long enough for your clock size. Most kits sized for large clocks include 6 to 10-inch hands. Look for high-torque movements if your clock exceeds 24 inches, because standard mechanisms struggle with longer hands.
Wood stain or paint ($5 to $12): A small can of dark walnut stain costs about $8 and covers several clocks. If you prefer paint, a sample-size jar of chalk paint runs $5 to $7 and is plenty for one project.
Numerals or hour markers ($3 to $12): Options include adhesive Roman numeral stencils, vinyl decal numbers, or raised wooden numbers. Stencils are the cheapest route at around $3 to $5. Adhesive metal or wooden numerals look more premium but cost $8 to $12 per set.
Clear sealer ($5 to $10): A small can of polycrylic or spray polyurethane protects the finish. One can covers multiple projects.
Mounting hardware ($2 to $5): A heavy-duty picture hanger, D-ring hooks, or a French cleat system. For clocks over 30 inches, I strongly recommend a French cleat for weight distribution.
Total estimated cost: $28 to $79. Even at the high end, you save over $100 compared to a comparable retail clock.
Tools You Will Need
You do not need a full workshop for this project. Here is what I used.
A power drill with a spade bit or hole saw sized to match your clock mechanism shaft. Most mechanisms need a 3/8-inch hole, but check your kit specifications before drilling.
Sandpaper in medium and fine grits. A random orbital sander speeds things up, but hand sanding works fine for one clock.
A tape measure, a pencil, and a straightedge or ruler for marking numeral positions. A compass or large round object helps you trace a guide circle for evenly spaced numbers.
A small paintbrush or foam brush for applying stain. A rag for wiping excess stain. Painter’s tape if you are stenciling.
A level for mounting. This is non-negotiable for a clock because a crooked timepiece drives you crazy every time you look at it.
How to Make a Giant Statement Wall Clock on a Budget: Step-by-Step
Follow these eight steps and you will have a finished clock in a single afternoon. I have broken each step into clear actions so nothing gets skipped.
Step 1: Choose and Prep Your Base Material
Start by selecting your clock face. If you want the quickest path, buy a pre-cut round wooden tabletop. These come in diameters from 24 to 48 inches and arrive smooth and ready to finish.
If you are going the ultra-budget route, have a home improvement store cut a circle from a sheet of plywood. Most stores offer one or two free cuts. Bring your desired diameter and they will handle the circular cut on a panel saw.
Regardless of your material, inspect the surface for imperfections. Fill any gaps with wood filler and let it dry completely before moving on.
Step 2: Sand the Surface Smooth
Sand the entire face starting with 120-grit paper and finishing with 220-grit. The smoother the surface, the cleaner your stain or paint will look.
Sand the edges too. Rough edges catch on clothing and look unfinished. Round them slightly for a more polished appearance.
Wipe away all dust with a damp cloth or tack cloth. Any dust left behind shows up as bumps under your finish.
Step 3: Find and Drill the Center Hole
This is the step where precision matters most. Measure across the circle at three different angles and mark where the lines cross. That intersection is your exact center.
Double-check by measuring from the center point to the edge in several directions. The distances should all match. If they do not, adjust your mark.
Drill straight through with your hole saw or spade bit. Keep the drill perpendicular to the surface so the mechanism sits flush. A slightly angled hole causes the hands to rub against the clock face later.
Do not have a drill? A local hardware store or makerspace often lets you use tools on-site for free or a small fee. I have also seen people use a hand-cranked awl for the pilot hole and widen it with a round file.
Step 4: Apply Your Stain or Paint Finish
Apply wood stain with a foam brush, working in the direction of the grain. Let it sit for 5 to 15 minutes depending on how dark you want the tone, then wipe off the excess with a clean rag.
For a farmhouse whitewash look, dilute white paint with water at a 1-to-1 ratio and brush it on. Wipe immediately for a sheer finish that lets the wood grain show through.
Allow the finish to dry fully. Stain needs 4 to 24 hours depending on humidity. Paint typically needs 2 to 4 hours between coats.
Step 5: Seal the Surface
Once your finish is dry, apply a clear sealer. I prefer water-based polycrylic because it does not yellow over time and cleans up easily.
Apply two thin coats with a foam brush, letting each dry completely. Spray polyurethane also works and gives a smoother finish on textured surfaces.
Skip this step and your clock face will show wear within months. The sealer protects against fingerprints, humidity, and sun fading.
Step 6: Add Your Numerals or Hour Markers
Position your numbers before committing. I arrange all numerals loose first, step back, and check spacing from a distance. This catches alignment issues you cannot see up close.
For stenciled Roman numerals, tape the stencil firmly in place and dab paint with a sponge. Less paint is better. Too much paint seeps under the stencil and creates fuzzy edges. I learned this the hard way on my first clock.
For adhesive numbers, press each one firmly and hold for 10 seconds. Use a level to confirm each row of numerals sits straight before the adhesive sets.
Prefer a minimalist look? Skip numbers entirely and use small painted dots or dashes at the 12, 3, 6, and 9 positions. This saves money and gives a clean modern aesthetic.
Step 7: Install the Clock Mechanism
Thread the mechanism shaft through the center hole from the back of the clock. The threaded portion should poke through to the front.
Hand-tighten the hex nut on the front side to secure the mechanism against the clock face. Use pliers for the final quarter-turn but do not overtighten. Overtightening cracks thin wood or compresses the mechanism housing.
Press the hour hand onto the shaft first, then the minute hand, then the second hand if your kit includes one. Each hand presses onto a specific position on the shaft. They are not interchangeable.
Set the time by turning the small dial on the back of the mechanism. Never push the hands with your fingers. That bends the shaft and throws off the time permanently.
Step 8: Mount the Clock to the Wall
For clocks under 24 inches, a single heavy-duty picture hanger rated for 15 pounds works fine. Screw it directly into a wall stud whenever possible.
For clocks between 24 and 36 inches, use two D-ring hooks spaced evenly apart. This distributes the weight and prevents the clock from tilting.
For clocks over 36 inches, install a French cleat. Attach one half to the clock back and the other to the wall studs. This is the most secure mounting method and handles heavy wooden clocks safely.
Always use a level before finalizing the mount. Mark your holes with a pencil first, then double-check placement before drilling into drywall.
Budget-Friendly Alternative Methods
Not every giant clock needs a wooden base. Here are four alternative methods I have tried or seen fellow DIYers use successfully.
The round tabletop method: This is the approach I recommend most often. Buy a pre-made round wooden tabletop from a home improvement store, drill one hole, and attach your mechanism. No cutting required. The tabletop arrives sanded and ready to stain. Total cost with mechanism runs about $35 to $45.
The Dollar Tree hula hoop method: For the tightest budget, buy a hula hoop from a dollar store. Wrap it in jute twine or rope using hot glue. Create the clock face by attaching cardboard or foam board to the back, then mount your mechanism through the center. The finished clock looks like a woven statement piece and costs under $20 total.
The cable reel method: Check with local electricians or utility companies for discarded wooden cable reels. The round wooden spool makes a perfect large clock base. Strip the center hub, sand the face, stain it, and add your mechanism. These reels measure 24 to 48 inches and cost nothing if you can find one.
The pattern plywood method: This is the most creative approach and addresses a gap I see in most tutorials. Cut triangles or wedges from differently stained plywood pieces and arrange them in a sunburst pattern around the center. Glue them to a backing board, seal, and install your mechanism. The geometric look rivals anything sold in high-end decor stores.
How to Choose the Right Clock Mechanism
The clock mechanism is the heart of your project, and forum discussions confirm this is where people get stuck. Here is what I look for when buying one.
Check the shaft length. The threaded shaft must be long enough to pass through your clock face material plus a washer and hex nut. Measure your material thickness before ordering. A shaft that is too short means the mechanism will not mount properly.
Match the hand size to your clock diameter. A 30-inch clock looks wrong with 4-inch hands. Look for kits that include hands proportional to large faces, typically 8 to 12 inches long. High-torque movements are designed specifically to drive longer hands without stalling.
Consider sweep versus tick movements. A sweep movement moves the second hand silently and continuously. A tick movement produces an audible click each second. For a clock hanging in a bedroom or quiet office, choose sweep.
Online marketplaces sell complete large-clock mechanism kits for $8 to $15. These kits include the movement, multiple hand size options, mounting hardware, and sometimes a set of numerals. Buying a kit rather than individual parts saves money and guarantees compatibility.
Common Mistakes to Avoid
I have made most of these mistakes so you do not have to. Here are the pitfalls that ruin DIY clock projects.
Drilling the center hole off-center. This is the most common and most frustrating error. An off-center hole means your numerals sit crooked and the whole clock looks wrong. Measure three times, drill once.
Using too much paint on stencils. Excess paint bleeds under stencil edges and creates blurry numbers. Load your sponge lightly, dab off the excess on a paper towel, and build up color with two thin coats instead of one heavy one.
Overtightening the mechanism nut. Cranking the hex nut too tight cracks thin wood or crushes the movement housing. Tighten by hand, then give a gentle quarter-turn with pliers.
Mounting without a stud. A heavy wooden clock pulling on drywall alone will eventually fall. Always anchor into studs or use heavy-duty wall anchors rated for at least twice the clock’s weight.
Forgetting to check hand clearance. If your clock face has raised numerals, the hands may catch on them as they rotate. Test the full rotation by gently moving the hands around the dial before mounting.
Skipping the sealer. Unsealed stain or paint wears off quickly, especially in kitchens and bathrooms. Two thin coats of polycrylic take 30 minutes and add years to your clock’s lifespan.
FAQs
How to make a giant clock?
To make a giant clock, choose a large circular base like a round wooden tabletop or plywood circle, sand and stain it, drill a center hole for the clock mechanism, add numerals or markers, install a quartz movement kit through the hole, attach the hands, and mount it to the wall. The entire project takes one afternoon and costs between $25 and $60.
Are oversized wall clocks still in style?
Yes, oversized wall clocks remain popular in 2026. Designers continue to use them as focal points in living rooms, kitchens, and entryways because they fill large wall space more effectively than gallery walls or single art pieces.
How to display a large wall clock?
Hang a large wall clock on a prominent empty wall at eye level, centered above a sofa, mantel, or console table. Use a French cleat or heavy-duty D-ring hooks anchored into wall studs for clocks over 24 inches. Keep surrounding decor minimal so the clock stands out as the focal point.
What are the different materials used to make large wall clocks?
Common materials for large wall clocks include round wooden tabletops, plywood circles, medium-density fiberboard, cable reels, hula hoops wrapped in twine, and pattern plywood arranged in sunburst designs. Each material offers different costs, finishes, and weight characteristics.
Wrapping Up
Building your own oversized clock is one of those rare DIY projects that delivers a huge visual impact for very little money. Once you know how to make a giant statement wall clock on a budget, you can adapt the process to any room, any style, and any price point.
The key decisions come down to your base material, your clock mechanism kit, and your finish. Everything else is customization. Start with a pre-cut round tabletop if you want the simplest build, or challenge yourself with pattern plywood for a one-of-a-kind look.
Pick up your mechanism kit, grab a sanding block, and give yourself one free afternoon. By dinner time you will have a statement piece that looks like it cost hundreds of dollars, for less than the price of dinner out.