
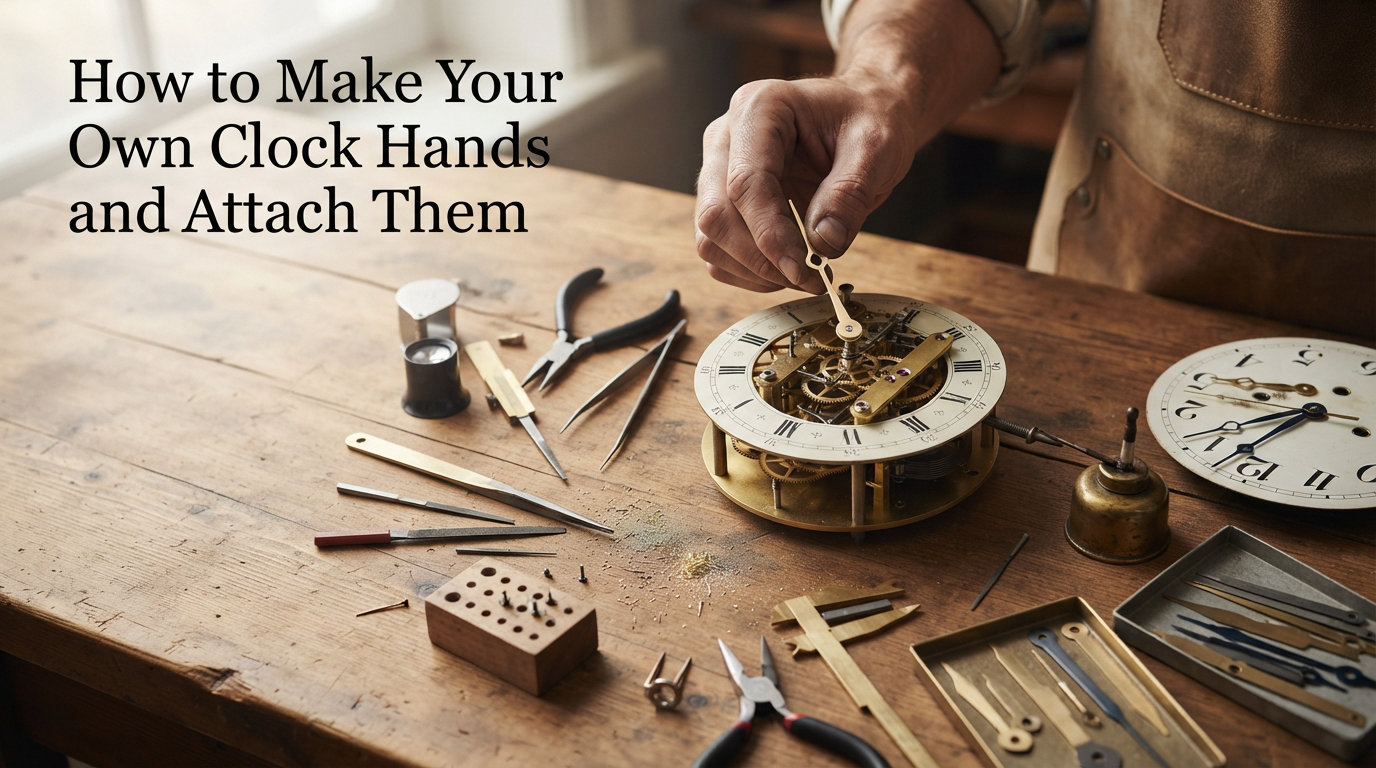
Making custom clock hands is one of the most rewarding DIY projects you can tackle, whether you are building a clock from scratch or upgrading a plain wall clock with a personal touch. Store-bought hands come in limited styles, but when you make your own, you control the shape, length, material, and finish completely. In this guide, I will walk you through how to make your own clock hands and attach them using methods ranging from laser cutting to simple hand tools, so you can pick the approach that matches your skill level and equipment.
The key to success is understanding that clock hands must be lightweight, rigid, and balanced. A quartz clock movement has limited torque, so heavy or poorly balanced hands will sag, wobble, or stop the mechanism entirely. I have tested brass, acrylic, plywood, and 3D-printed materials over dozens of clock projects, and each has distinct tradeoffs that I will cover in detail below.
Whether you have access to a laser cutter and CNC mill or just a craft knife and patience, this guide covers every method. I will also share troubleshooting fixes for the most common problems people hit, from sagging hands to loose friction fits.
Table of Contents
Understanding Clock Movements and Shaft Dimensions
Before you design or cut anything, you need to understand the clock movement that will power your hands. The movement (also called the mechanism) is the small box behind the clock face that contains the quartz motor and the shaft assembly your hands attach to. Standard quartz clock movements from suppliers like Klockit, Michaels, or Kitronik share similar architecture, but shaft dimensions vary enough that measuring is essential.
Most quartz movements have three concentric shafts for the three hands. The hour hand slides onto the outermost shaft, which typically measures about 5mm in diameter. The minute hand fits onto a narrower shaft, usually around 3.3mm. The second hand presses onto a thin center pin that is often under 1mm thick. These dimensions are common but not universal, so always check your specific movement.
Here is exactly how I measure a clock movement before designing hands:
Use digital calipers to measure each shaft diameter to two decimal places.
Measure the total shaft length from the clock face surface to the tip of the center pin.
Check the thread diameter on the mounting nut (commonly 8mm for standard movements).
Note whether the second hand attaches with a press-fit cap or a friction-fit hole.
The shaft length matters because it determines the maximum combined thickness of your hour and minute hands plus any spacers. If your hands are too thick for the available shaft, they will bind against each other or the clock face. A good rule of thumb is to keep total hand stack thickness under two-thirds of the exposed shaft length.
Write your measurements down before you start designing. I cannot count how many times I have rushed to the cutting stage only to realize I misremembered the minute hand shaft diameter.
Materials and Tools Needed
Choosing the right material is the single most important decision in this project. Clock hands need to be light enough for the movement to drive them, rigid enough to resist sagging under gravity, and thin enough to stack on the shaft. Here is a breakdown of the most popular materials based on my testing and what the maker community reports.
Material Comparison
The table below compares the materials most commonly used for DIY clock hands, rated by the factors that matter most for this project.
| Material | Weight | Rigidity | Workability | Best For |
|---|---|---|---|---|
| Brass sheet (0.5mm) | Medium | Excellent | CNC mill required | Premium, long-lasting hands |
| Acrylic sheet (2-3mm) | Light | Good | Laser cut or hand score | Colorful decorative hands |
| Laser plywood (3mm) | Light | Very good | Laser cut or scroll saw | Wooden clocks, kid projects |
| HIPS plastic (2mm) | Very light | Good | Laser cut | Lightweight custom designs |
| PETG (3D printed) | Light | Good | 3D printer | Complex organic shapes |
| Cardstock / foam board | Ultra light | Poor | Scissors or craft knife | Temporary or school projects |
Brass produces the most professional and durable hands, but it requires CNC milling and is heavier, meaning it only works with high-torque movements. HIPS (high-impact polystyrene) is the sweet spot for laser cutting because it is incredibly light while staying rigid, which is why Kitronik recommends it for their movements. Laser plywood is widely available and gives a warm, natural look that suits decorative wall clocks beautifully.
For 3D printing enthusiasts, forum members on r/clocks report that PETG works well because it is light and strong. PLA is acceptable too, though it can be brittle for thin hands. Cardstock and foam board are fine for quick prototypes or school projects, but they lack the rigidity for permanent clocks.
Sustainability Considerations
No competitor guide covers this, so I want to flag it. If sustainability matters to you, consider these options. Plywood from FSC-certified sources is renewable and biodegradable. Reclaimed plastic sheet from old signage can be laser cut into hands. Scrap brass from local metal suppliers cuts waste and gives a premium finish. Even cereal box cardboard, laminated for rigidity, can produce surprisingly good temporary hands for kids’ projects.
Essential Tools
Regardless of material, you will need a few core tools. Digital calipers for measuring shafts are non-negotiable. A small file or sandpaper (400 to 800 grit) cleans up cut edges. Super glue or epoxy secures the second hand to its center pin. A center punch or awl helps mark the mounting hole precisely. If laser cutting, you need access to a CO2 laser cutter and design software that exports DXF files. For CNC milling, double-sided tape and a sacrificial spoil board keep thin brass sheet secured during machining.
How to Make Your Own Clock Hands and Attach Them
This is the heart of the process. I will break it into three stages: designing, cutting, and finishing. Each stage adapts to the tools you have available, so read the method that matches your equipment.
Designing Your Clock Hands
Every great pair of clock hands starts with a good design. You do not need expensive CAD software to get started. For laser cutting and CNC work, free tools like Inkscape (for 2D vector files) or LibreCAD work well. If you prefer browser-based options, Onshape and Tinkercad are solid free choices. For hand-cut methods, you can simply draw your design on paper and trace it onto your material.
Here are the design rules I follow every time:
Keep the overall length reasonable for your clock face. A minute hand should reach close to the edge but not touch the bezel.
The mounting hole must match your measured shaft diameter precisely, with a tight tolerance of about 0.1mm for a proper friction fit.
Add fillets (rounded internal corners) at any sharp junctions. Sharp corners concentrate stress and cause cracking, especially in acrylic and HIPS.
Include a counterweight on the opposite end of the hand from the pointer. This balances the hand and prevents sag.
Design the hour hand about 60 percent of the clock face radius and the minute hand about 85 percent.
For inspiration, look at historical clock designs. The Big Ben clock face uses elegant tapered hands with decorative spires. The Prague Astronomical Clock features ornate hands that are hundreds of years old. Modern minimalist clocks like those from Braun use simple geometric bars. Borrow design elements from any of these traditions to create something unique.
Once your design is ready, export it as a DXF file for laser cutting or an SVG for some cutters. For CNC milling, generate G-code from your vector file. If cutting by hand, print your design at actual size and use it as a template.
Cutting Methods: Laser, CNC, and Manual
The three main cutting methods each have strengths. Here is how to approach each one.
Laser cutting is the fastest and most precise method for acrylic, plywood, and HIPS. Set your laser power and speed according to the material thickness. Cut the mounting hole first in a separate pass at lower power to ensure clean edges. Account for laser kerf (the width of material the laser removes) by making the mounting hole slightly undersized in your design, then ream it to the exact diameter with a needle file for a perfect friction fit. Laser-cut clock hands have crisp edges and consistent results every time.
CNC milling is the go-to method for brass and other metals. The ITP Clock Club approach involves attaching brass sheet to a copper-clad circuit board using double-sided tape, which serves as an effective spoil board. Use a small end mill (1mm or smaller) for detail work, and run a finishing pass at low step-over for smooth surfaces. Always add fillets in your design because the mill bit cannot cut perfectly sharp internal corners. Milling takes longer than laser cutting but produces premium metal hands that last a lifetime.
Manual cutting is the most accessible method if you lack power tools. For plywood or acrylic, use a scroll saw or coping saw to cut the outline, then a craft knife for the mounting hole. Score acrylic multiple times along a straightedge and snap it for straight cuts. Sand all edges smooth with progressive grits. Manual cutting takes patience but costs almost nothing and is perfect for beginners or one-off projects.
3D printing is a fourth option that excels at complex shapes impossible to cut from flat sheet. Print hands flat on the build plate for maximum rigidity. Use a 0.4mm nozzle and at least 3 perimeters for strength. PETG and PLA both work, with PETG being slightly more impact-resistant. Design the mounting hole slightly undersized and ream it after printing.
Finishing Techniques
Finishing transforms raw cut hands into polished clock components. For brass, barrel tumbling with small brass screws and nuts overnight softens edges and gives a professional satin finish. If you do not have a tumbler, hand-sand from 400 grit up to 1200 grit, then polish with a metal polish compound. For acrylic and HIPS, a quick flame-polish with a small butane torch along the edges removes frost marks from laser cutting. For plywood, a light sanding followed by wood stain or paint adds color and protection.
Paint is another finishing option for any material. Spray paint in thin coats to avoid adding weight. A contrasting color on the tip of each hand improves readability against the clock face. Always let paint cure fully for 24 hours before handling.
Attaching Hands to the Clock Movement
Once your hands are cut and finished, attaching them correctly is critical. The assembly order matters, and getting it wrong can bend or damage your work. Follow these steps exactly.
Step 1: Mount the clock movement to your clock face first. Thread the shaft through the hole in the face and secure it with the hex nut and washer on the front side. Tighten gently to avoid cracking thin faces.
Step 2: Slide the hour hand onto the outer shaft (the larger one). Press it down gently until it sits flush against the clock face. The friction fit should hold it firmly. If it is loose, use a tiny dab of super glue on the shaft.
Step 3: Slide the minute hand onto the narrower shaft. It should press on with light force and stay in place by friction. Align it so it does not collide with the hour hand at any position.
Step 4: Attach the second hand to the center pin. This is the most delicate step because the pin is thin. If your second hand has a small cap sleeve, press it straight down onto the pin. For custom acrylic or 3D-printed second hands, a drop of super glue on the pin secures them permanently.
Step 5: Set the correct time by turning the adjustment knob on the back of the movement. Never push the hands manually to set the time, as this can bend them or strip the movement gears.
Step 6: Install a fresh AA battery and watch the hands for the first few minutes. If they move smoothly and do not catch on each other, you are done.
Troubleshooting Common Issues
Even with careful work, problems arise. Here are the most common issues and how I fix them.
Clock hands keep sagging. This is the number one complaint in maker forums. Sag happens when hands are too heavy or lack a counterweight. The fix is to add a counterweight to the tail end of the offending hand, or switch to a lighter material like HIPS instead of brass. You can also upgrade to a high-torque clock movement that handles heavier loads.
Hands fit loosely on the shaft. A loose friction fit means your mounting hole is too large. The best fix is to recut the hand with a smaller hole. As a quick patch, apply a thin layer of clear nail polish inside the hole, let it dry, and test the fit. Build up layers until the fit is snug.
Hands wobble or bind against each other. Check that each hand sits flat and is not bent. If the minute hand rubs the hour hand, add a small washer or spacer between them. Make sure the second hand clears the minute hand with at least 2mm of gap.
The clock stops or runs erratically. Your hands may exceed the movement’s torque capacity. Remove the second hand first, since it adds the most drag. If the clock runs fine without it, the hands are too heavy. Switch to lighter materials or use a high-torque movement rated for large hands.
Acrylic second hand will not stay on the pin. This is a known issue because acrylic does not grip metal pins well by friction alone. Apply a tiny amount of cyanoacrylate glue to the pin before pressing the hand on. Hold it straight for 30 seconds while the glue sets.
Weight and Balance Considerations
Weight and balance deserve special attention because they determine whether your clock actually works. A standard quartz clock movement produces very little torque, often less than what it takes to move a heavy brass minute hand longer than about 15cm.
The solution is a counterweight. Every hand should have a small extension on the opposite side of the pivot point, shaped to balance the weight of the pointing end. This counterweight does not need to be as long as the hand itself, because weight times distance from the pivot is what matters. A short, heavier counterweight balances a long, lighter pointer perfectly.
For hands longer than 20cm, consider a high-torque movement. These cost slightly more but deliver significantly more torque, allowing you to use heavier materials and longer designs. If you are committed to large, dramatic hands, budget for the upgraded movement from the start.
Test balance before final assembly by balancing each hand on a pin at the mounting hole. A balanced hand will stay level at any rotation angle. If it consistently rotates to one position, add weight to the lighter side or trim the heavier side.
FAQs
How to make custom clock hands?
Design your hands in vector software like Inkscape, choosing a lightweight rigid material such as HIPS, acrylic, or laser plywood. Cut the design using a laser cutter, CNC mill, or hand tools, ensuring the mounting hole matches your clock movement shaft diameter precisely. Finish the edges with sanding or polishing, then attach the hands to the movement in order: hour hand first, then minute hand, then second hand.
What material is best for custom clock hands?
HIPS plastic is the best all-around material because it is very lightweight and rigid, making it ideal for standard quartz movements. Laser plywood is great for a natural wood look, acrylic works for colorful designs, and brass is best for premium durable hands paired with high-torque movements. Cardstock is only suitable for temporary or school projects.
How do you attach clock hands to a clock movement?
Slide the hour hand onto the larger outer shaft first, pressing gently for a friction fit. Add the minute hand onto the narrower shaft next. Then attach the second hand to the thin center pin, using a tiny drop of super glue if needed for acrylic or printed hands. Set the time using the adjustment knob on the back, never by pushing the hands directly.
Why are my clock hands sagging?
Clock hands sag when they are too heavy for the movement or lack a counterweight on the tail end. Fix this by adding a counterweight to balance the hand, switching to a lighter material like HIPS or plywood, or upgrading to a high-torque clock movement that can handle heavier loads.
Can I make clock hands from paper or cardstock?
Yes, but only for temporary or lightweight projects. Paper and cardstock lack the rigidity for permanent clocks and will bend or sag quickly. Laminating cardstock improves stiffness, but for lasting results, use HIPS, acrylic, plywood, or 3D-printed PETG instead.
What size shaft do standard clock movements have?
Most standard quartz movements have an hour hand shaft around 5mm diameter and a minute hand shaft around 3.3mm diameter, with a center pin under 1mm for the second hand. However, dimensions vary between manufacturers, so always measure your specific movement with digital calipers before designing your hands.
Conclusion
Learning how to make your own clock hands and attach them opens up endless creative possibilities for custom timepieces. The process comes down to four steps: measure your clock movement shafts accurately, choose a lightweight rigid material, cut and finish your design with the tools you have, and assemble the hands in the correct order. Start with a simple design in plywood or HIPS if you are new to the craft, then work your way up to brass or complex 3D-printed shapes as your skills grow. Your next step is to grab those calipers, measure your movement, and start designing.