
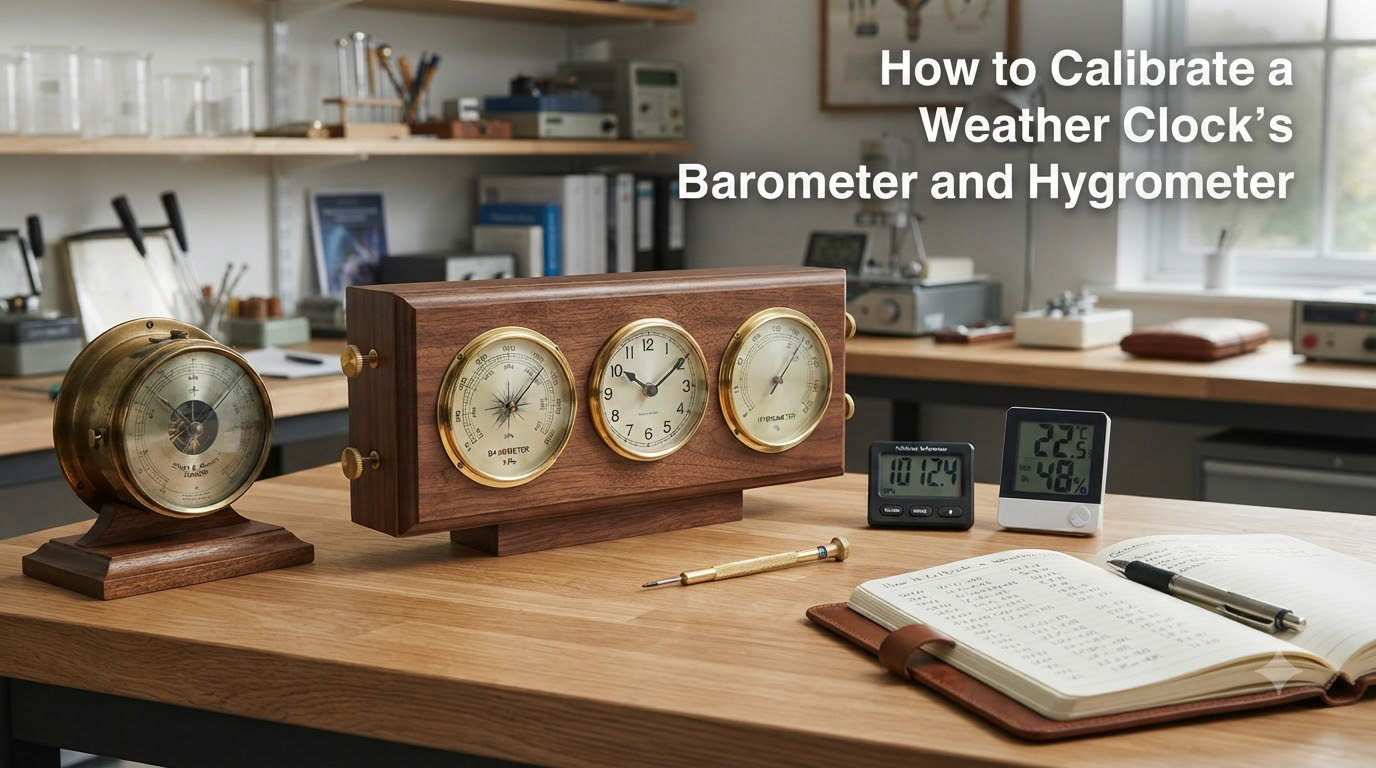
Your weather clock sits on the wall looking elegant, but if its barometer and hygrometer have never been calibrated, those readings mean almost nothing. A barometer needle stuck at “Fair” and a hygrometer permanently showing 45% relative humidity might look reassuring, but they will not help you predict tomorrow’s storm or warn you about indoor air that is drying out your wooden furniture.
I have calibrated dozens of weather clocks over the years, and the difference between a calibrated instrument and an uncalibrated one is the difference between useful weather prediction and decorative guesswork. This guide walks you through how to calibrate a weather clock’s barometer and hygrometer properly, covering both analog and digital units, so you can trust every reading your clock gives you.
Table of Contents
Understanding Your Weather Clock’s Two Instruments
Before touching any adjustment screws, it helps to know what each instrument actually measures and how it works. Most weather clocks combine two distinct sensors into a single wooden or brass case, and each one requires a separate calibration approach.
The Barometer: Measuring Atmospheric Pressure
The barometer in a weather clock is almost always an aneroid barometer. This mechanical device uses a small, sealed metal cell (called an aneroid capsule) that expands and contracts as atmospheric pressure changes. These movements drive a needle across a dial typically marked in hPa (hectopascals) or inHg (inches of mercury).
Standard sea-level pressure is 1013.25 hPa. Your local weather service reports a corrected sea-level pressure because raw atmospheric pressure varies with altitude. That distinction matters during calibration.
The Hygrometer: Measuring Relative Humidity
The hygrometer measures relative humidity (% RH), which is the amount of moisture currently in the air compared to the maximum amount the air can hold at that temperature. Analog hygrometers use a human-hair or synthetic strand that stretches and contracts with humidity changes. Digital hygrometers use a capacitive humidity sensor that changes its electrical properties based on moisture.
This difference is important because analog hygrometers have an adjustment screw you can turn. Many digital hygrometers have no physical calibration option at all, which we will address in the troubleshooting section.
How to Calibrate a Weather Clock’s Barometer
Barometer calibration relies on one thing: a reliable reference value for your local atmospheric pressure. Once you have that, the mechanical adjustment takes only a minute.
Step 1: Find Your Local Sea-Level Pressure
Visit the National Weather Service website, check a trusted weather app, or call your local airport. You want the sea level pressure reading, not the absolute pressure at the station. This is usually reported in hPa or inHg and is updated every hour.
Write down the current value. If it is 1018 hPa, that is your target reading.
Step 2: Locate the Adjustment Screw
Turn the weather clock around and look at the back of the barometer movement. Most aneroid barometers have a small adjustment screw on the rear of the case. It may be a tiny slotted screw, a hex screw, or a knurled knob. Some units hide it behind a removable cover.
Reference the user manual if you cannot find it. On weather clocks where the barometer is part of a multi-instrument case, the screw is usually near the barometer dial only.
Step 3: Hold the Barometer VERTICALLY
Hold the barometer (or the entire weather clock) perfectly upright while making adjustments. Gravity affects the aneroid mechanism. If the unit is tilted or lying flat, your calibration will be off the moment you hang it on the wall.
Step 4: Turn the Adjustment Screw VERY LIGHTLY
Using a small screwdriver, turn the adjustment screw VERY LIGHTLY in the direction needed to match your reference reading. Tiny movements cause large needle shifts. A quarter-turn can move the needle several hPa.
Check the dial after each tiny adjustment. Stop as soon as the needle lines up with your recorded sea-level pressure value.
Step 5: Check Against a Second Reading
Wait 30 minutes and check another weather service reading. Atmospheric pressure changes constantly, so your needle should track with that new value within 1 to 2 hPa. If it does, your barometer is calibrated.
Warning: Do not turn the adjustment screw below 970 hPa or above 1050 hPa. Aneroid mechanisms have physical limits and forcing past them can permanently damage the capsule.
How to Calibrate a Weather Clock’s Hygrometer
Hygrometer calibration is different because there is no broadcast “current humidity” value you can tune to. Instead, you create a known humidity environment using the salt test method, which produces a consistent 75.5% relative humidity regardless of room conditions.
Step 1: Prepare the Salt Solution
Take a small sealable container (a coffee jar or food container works). Add a tablespoon of ordinary table salt and just enough water to make a wet slurry. Do not dissolve it fully. You want damp salt at the bottom of the container.
The salt test produces a known 75.5% RH inside a sealed environment, which is why it is the gold standard for hygrometer calibration.
Step 2: Seal the Hygrometer Inside
Place the hygrometer (or the entire weather clock if the hygrometer is built in) inside the container. Make sure it is not touching the salt slurry directly. Seal the lid and leave the container at room temperature for 6 to 8 hours.
Avoid placing the container in direct sunlight or near a heat source, as temperature swings throw off the reading.
Step 3: Read the Hygrometer
After 6 to 8 hours, open the container and read the hygrometer immediately. A properly calibrated analog hygrometer should read 75.5% RH. Most consumer hygrometers read within plus or minus 3 to 5 percent.
If your reading is far off, that is normal. Drift of 5 to 10% is common in cheap units.
Step 4: Adjust the Hygrometer Needle
For an analog hygrometer, look for the adjustment screw on the back of the hygrometer case. Turn it VERY LIGHTLY until the needle points to 75.5%. Some analog hygrometers have a small knob on the front or side instead.
For a digital hygrometer, see the digital limitations section below. Most digital units cannot be manually adjusted.
Step 5: Re-Seal and Verify
Place the unit back in the sealed container for another 4 hours. The reading should hold at 75.5%. If it does, calibration is complete.
Digital Hygrometer Limitations and Troubleshooting
This is where many weather clock owners hit a wall. If your weather clock has a digital hygrometer display instead of an analog needle, calibration may not be possible.
Most consumer digital hygrometers use a capacitive humidity sensor that is factory-calibrated and locked. There is no adjustment screw, and the housing is sealed. If your digital hygrometer reads consistently wrong, your options are limited.
What You Can Do
First, apply an offset mentally. If your salt test shows the digital hygrometer reads 10% high, subtract 10% from every future reading. This is not ideal but it works.
Second, check for a hidden calibration menu. Some higher-end digital weather stations have a settings mode accessed by holding a SET button for two to five seconds. Consult your model manual.
Third, replace the unit. A replacement digital hygrometer module costs less than a professional calibration service and gives you a fresh factory calibration.
Troubleshooting a Stuck Barometer Needle
If the barometer needle refuses to move when you turn the adjustment screw, do not force it. The linkage may be gummed up or the aneroid capsule may be damaged. Try these steps in order:
Tap the case gently while the screw is turned. This can free a sticky linkage.
Check that the screw is the adjustment screw and not a mounting screw.
Verify the unit is vertical during adjustment.
If still stuck, the unit needs professional service.
Installation and Placement Best Practices
Calibration is only half the job. Where you mount your weather clock affects every future reading.
Altitude Considerations
Your barometer is calibrated to local sea-level pressure, but raw atmospheric pressure drops by roughly 12 hPa per 100 meters of altitude. If you move the weather clock to a different elevation, you must recalibrate. There is no way around this.
A weather clock calibrated at sea level will read 25 hPa too high when moved to a location 200 meters higher. This is normal and not a defect.
Where to Mount It
Mount the weather clock on an interior wall away from direct sunlight, heating vents, and exterior doors. Avoid bathrooms and kitchens where humidity spikes from cooking or showering will throw off the hygrometer.
Eye level on a living room or office wall is ideal. Air circulation should be gentle, not stagnant. Direct drafts cause both instruments to read erratically.
Recalibration Schedule
Recalibrate your barometer every 6 months, or after any move to a different altitude. Recalibrate your hygrometer every 12 months, or sooner if you notice the readings drifting.
Analog instruments drift faster than digital ones, so check them more often. A weather clock that has not been calibrated in two years is just decoration.
FAQs
How to calibrate a weather barometer?
To calibrate a weather barometer, find your local sea-level pressure from a weather service, locate the adjustment screw on the back of the case, hold the barometer vertically, and turn the screw very lightly until the needle matches the reported hPa value. Verify with a second reading 30 minutes later.
How do I know if my barometer is accurate?
Compare your barometer reading to the current sea-level pressure reported by your local weather service or airport. If your needle matches within 1 to 2 hPa, it is accurate. If the difference is consistent, recalibrate using the adjustment screw.
Do barometers need calibrating?
Yes, aneroid barometers need calibrating, especially after purchase, after moving to a new altitude, or every 6 months. Mechanical drift and altitude changes cause readings to become inaccurate over time.
How do I calibrate my hygrometer?
Use the salt test method. Place a tablespoon of damp table salt in a sealed container with the hygrometer for 6 to 8 hours. The sealed environment produces 75.5% relative humidity. Adjust the analog hygrometer screw to match, or note the offset for digital models.
How do I tell if my hygrometer is accurate?
Run the salt test. If your hygrometer reads 75.5% relative humidity after 6 to 8 hours in a sealed container with damp salt, it is accurate. Most consumer units are accurate within plus or minus 3 to 5 percent.
How do I reset the hygrometer?
For an analog hygrometer, locate the adjustment screw on the back and turn it very lightly until the needle reads 75.5% during a salt test. For digital hygrometers, check for a hidden SET mode by holding the SET button for 2 to 5 seconds, or apply a manual offset if no calibration option exists.
Final Thoughts on Weather Clock Calibration
Learning how to calibrate a weather clock’s barometer and hygrometer takes about 20 minutes of actual work, spread across two calibration sessions. The barometer needs only a verified local pressure reading and a careful touch on the adjustment screw. The hygrometer needs patience and a damp salt solution in a sealed jar.
Once both instruments are calibrated, your weather clock becomes a genuine forecasting tool again. You will be able to read pressure trends, spot incoming storms 12 to 24 hours ahead, and monitor indoor humidity for comfort, health, and preservation of wood, books, and instruments. Recalibrate every 6 to 12 months and your weather clock will give you decades of accurate readings.