
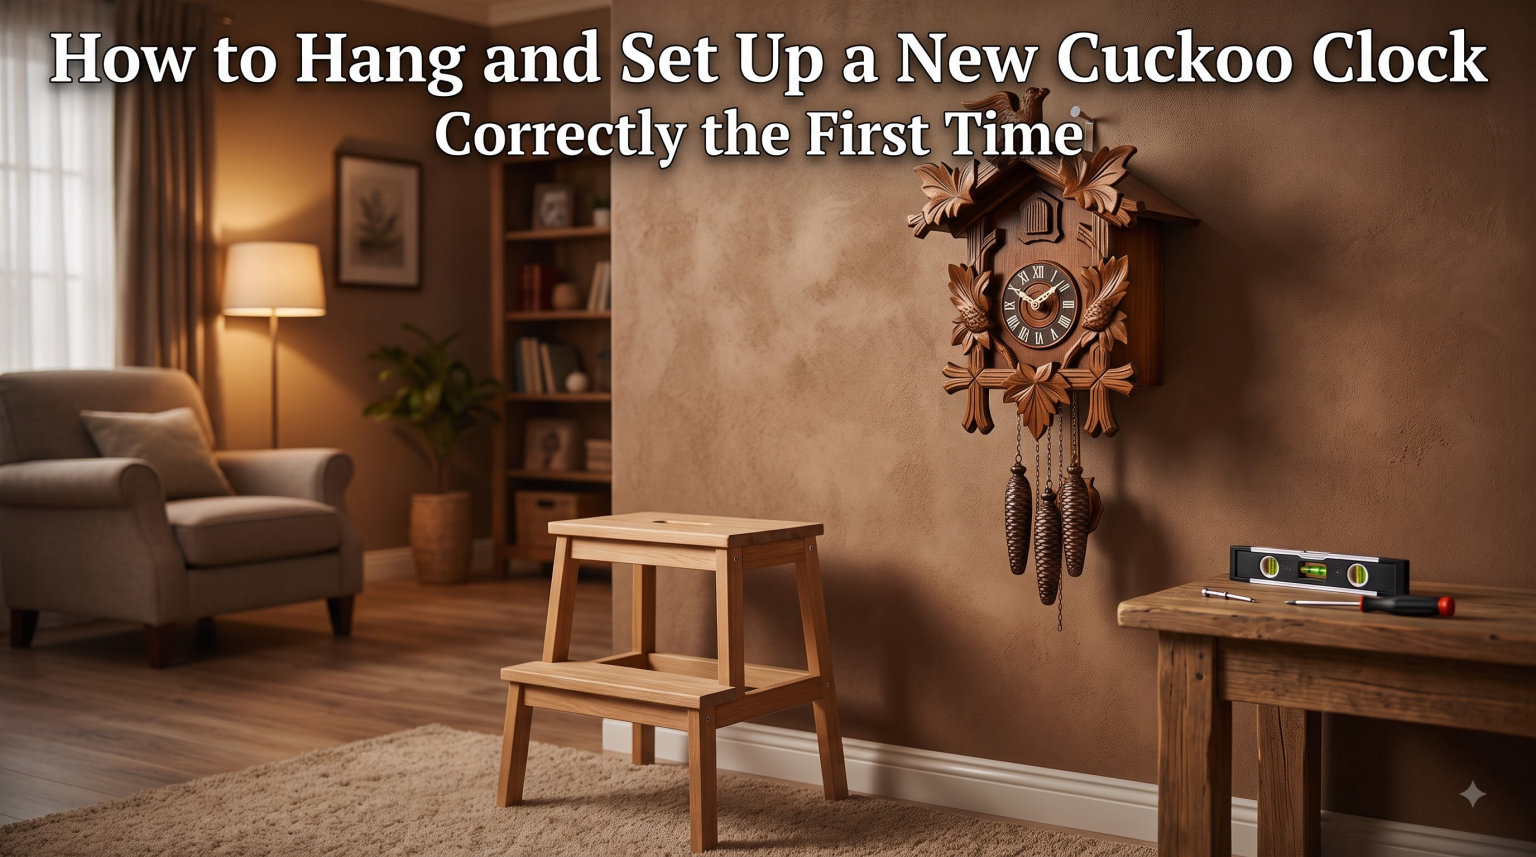
Setting up a cuckoo clock for the first time can feel intimidating, especially when you are dealing with delicate chains, weights, and a mechanism that has traveled halfway across the world from the Black Forest. I have helped friends and family mount dozens of these mechanical marvels over the years, and I can tell you that learning how to set up a cuckoo clock correctly the first time saves you from costly repairs and frustrating malfunctions down the road.
The good news is that the process is completely manageable if you follow each step in order. Most setup problems I encounter, from stuck cuckoo birds to clocks that refuse to keep running, trace back to a single skipped step during initial installation.
This guide walks you through every stage of cuckoo clock installation, from unboxing to fine-tuning the pendulum for accurate timekeeping. I will also cover troubleshooting, environmental factors that affect accuracy, and how to move your clock safely, all topics that most competing guides leave out.
Table of Contents
Tools and Materials You Will Need
Before you open the box, gather everything you need so you are not scrambling mid-installation. Here is what I recommend having on hand.
Stud finder (to locate wall studs behind drywall)
Level (small torpedo level or a phone app)
Tape measure
Screwdriver (Phillips and flathead)
Hammer or drill
Wall anchor rated for at least 50 pounds (if not mounting into a stud)
Long screw or heavy-duty nail, at least 3 inches, angled at 45 degrees upward
Pencil for marking the wall
Step ladder or sturdy step stool
Soft cloth or gloves to handle the clock without leaving oils on the wood
Having a second person to help hold the clock while you check the level is a huge advantage. These clocks are heavier than they look, and the hand-carved cases can chip if they slip against the wall.
Step 1: Unboxing and Preparing Your Cuckoo Clock
Unboxing is where most accidental damage happens. Cuckoo clocks ship with multiple internal locking mechanisms designed to keep delicate parts from bouncing around during transit, and every single one needs to come out before the clock runs.
Open the back panel of the clock carefully. On most mechanical cuckoo clocks, the back door is hinged or slides off to expose the movement, bellows, and chains. Set the panel aside in a safe place.
Remove All Packing Materials
Look for and remove each of the following shipping protections:
Bellow clips: Small metal or plastic clips holding the bellows shut. These are usually labeled or color-coded. If left in place, the cuckoo bird will not call because air cannot pass through the bellows.
Paper strips or foam blocks: Wedged between gears or around the movement to prevent rotation during shipping. Gently pull these out without forcing anything.
Rubber bands or wire ties: Often securing the chains together. Carefully snip rubber bands rather than pulling, since yanking can tangle the chains around the gear wheels inside.
Styrofoam padding inside the cuckoo door: Some manufacturers pack foam behind the bird door. Remove it so the bird can swing freely.
I once helped someone whose cuckoo bird never appeared, only to discover a small piece of foam wedged behind the door that we missed during unboxing. Check every compartment, including the music box area if your clock has one.
Inspect the Chains and Pulleys
Before you hang anything, make sure the chains are seated properly on their sprockets inside the movement. Gently pull each chain and confirm it moves freely without catching. If a chain has slipped off its sprocket during shipping, you will need to re-seat it before proceeding.
The chains should hang in a loop with the hook ring at the bottom of each loop. If any chain has fallen completely inside the clock case, do not force it. Use a piece of wire to gently guide it back through the chain hole at the bottom of the case.
Remove the Pendulum and Weights from Packaging
The pendulum and weights ship separately from the clock body to prevent damage. Unwrap the pendulum carefully, holding it by the rod rather than the decorative leaf or bob. Set the weights aside, making sure you can identify which is which if you have a three-weight clock.
Do a visual check of the clock face. Ensure the hour and minute hands are not bent and that they move freely when you gently push the minute hand clockwise. If a hand is loose, tighten the small friction nut at the center, but only a quarter turn at a time.
Step 2: Choosing the Right Wall Location
Where you hang your cuckoo clock matters more than most people realize. The wall needs to support the weight, the location needs to be free from vibrations, and the environment needs to be stable enough for accurate timekeeping.
Most manufacturers recommend mounting the clock at least 6 to 8 feet above the floor. This height gives the weights enough travel distance to run for a full winding cycle, whether you have a 1-day or 8-day movement. If the clock is mounted too low, the weights will hit the floor before the winding period ends and the clock will stop.
Wall Stud vs Drywall Anchors
A mechanical cuckoo clock with three cast iron weights can weigh 10 to 15 pounds, and that weight is concentrated on a single mounting point. You absolutely need to mount into a wall stud whenever possible.
Use a stud finder to locate a stud behind your chosen wall. If you cannot find a stud in the right spot, use a heavy-duty wall anchor rated for at least 50 pounds. Toggle bolts and molly bolts work well for drywall. Standard plastic anchors are not strong enough and I have seen clocks pull them right out of the wall over time.
Avoid hanging the clock above a radiator, fireplace, or air conditioning vent. Temperature fluctuations cause the wood to expand and contract, which throws off the movement and can warp the case over time.
Consider Vibration and Movement
Do not mount the clock on a wall that receives heavy foot traffic, door slamming, or vibration from appliances. Even minor vibrations can stop the pendulum or cause it to swing unevenly. Interior walls are generally better than exterior walls because they experience less temperature variation.
Step 3: Mounting and Hanging the Clock
Now that you have your location picked out and your tools ready, it is time to mount the clock. This step is straightforward but requires precision, so take your time.
Mark the wall with a pencil at the desired height. Use your level to draw a short horizontal line so you have a reference point. If you are mounting into a stud, drive a long screw at a 45-degree upward angle into the stud. The upward angle is important because it prevents the clock from vibrating off the fastener over time.
If you are using a wall anchor, drill the appropriate size hole, insert the anchor, then drive the screw at the same 45-degree upward angle. Leave about half an inch of the screw or nail sticking out from the wall for the clock to hang on.
Most cuckoo clocks have a single keyhole or slot on the back panel that slides over the screw head. Lift the clock onto the screw and let it settle. Check with your level to make sure the clock is perfectly horizontal. Even a slight tilt will stop the pendulum from swinging evenly.
Once the clock is level and secure on the wall, give it a gentle push to confirm it does not wobble. If it shifts, tighten the screw or add a small shim at the bottom to stabilize it.
Step 4: Attaching the Chains and Weights
This is the step where I see the most mistakes. The chains and weights are the power source for your clock, and attaching them incorrectly can cause the mechanism to jam or the chains to tangle.
Before attaching anything, find the wire or pin threaded through the chain links that holds them in position during shipping. This wire must be removed. Gently pull it straight out without disturbing the chain positions on the sprockets.
Hang the Pendulum First
Locate the pendulum hanging loop or wire inside the clock case, usually at the top center of the movement. Hook the pendulum onto this loop through the slot in the bottom of the clock case. The pendulum should hang freely through the decorative arch at the bottom of the clock.
Do not start the pendulum swinging yet. We will do that after the weights are attached and the time is set.
Identify and Attach the Weights
For a two-weight cuckoo clock, both weights look similar and power the timekeeping and cuckoo functions together. Simply hang one weight on each chain hook at the bottom of the clock.
For a three-weight cuckoo clock, the weights serve different functions and may have different sizes. The heaviest weight typically powers the music box, so it goes on the chain connected to the music mechanism. The other two power the time and cuckoo functions.
The standard convention is: the weight on the left powers the cuckoo striking mechanism, the center weight powers the time movement, and the right weight powers the music box. However, this can vary by manufacturer, so always check your instruction manual if you are unsure.
Hang the weights gently, one at a time. Lower each weight slowly onto the hook rather than dropping it, since a sudden load can shock the chain and sprocket. Once all weights are attached, they should hang evenly with the chains taut.
Wind the Chains to Starting Position
Pull each chain down gently until the weight is near the top of its travel. You are essentially winding the clock by raising the weights to their starting position. Pull the non-weight side of the chain downward, not the weight side upward. The chain should move smoothly with the weight rising as you pull.
Do this for every weight. Your clock is now powered and ready for time setting.
Step 5: Setting the Time Correctly
Learning how to set up a cuckoo clock means mastering one critical rule: always move the hands clockwise. This single rule prevents more damage than any other instruction in this guide.
The Clockwise-Only Rule
Move the minute hand slowly clockwise, stopping at each hour and half-hour position to let the cuckoo mechanism complete its strike. Never force the hand past resistance, and never move the hands counterclockwise.
Why is this so important? The striking mechanism in a mechanical cuckoo clock uses a gear train with small fingers called gathering pallets that engage at specific positions. When you move the hands backward, these pallets can skip or jam against the rack and snail mechanism that controls the number of cuckoo calls. This causes the strike count to fall out of sync with the time displayed, and in severe cases, it bends or breaks internal parts.
I have personally seen clocks where someone moved the hands backward and the cuckoo started calling 13 times at the top of every hour. Fixing that requires disassembling the movement, which is a job for a professional clockmaker.
Synchronizing the Cuckoo Bird
If the cuckoo bird calls the wrong number of times, gently move the minute hand to the 12 position and let the clock strike. Count the calls. If the bird calls the wrong number, carefully move the hour hand (the short one) to match the number of calls you just heard. The hour hand is a friction fit on its shaft, so you can slide it forward or backward without damaging anything.
For example, if the clock strikes 4 times but the hour hand points to 3, gently slide the hour hand to the 4 position. Then advance the minute hand clockwise to the correct time, pausing for each strike along the way.
Using the Silent Switch
Most cuckoo clocks have a silent or night-off switch, usually a small lever on the side or bottom of the case. If you are setting the time at night and do not want the bird calling, flip this switch to silent before advancing the hands. Remember to turn it back on afterward.
The silent switch works by locking the cuckoo door or disconnecting the bellows from the strike train. On some models, the switch also silences the music box.
Step 6: Starting the Clock and Pendulum
With the time set and weights attached, you are ready to bring your clock to life. This is the satisfying part.
Gently push the pendulum to one side, about an inch from center, and release it. Listen carefully to the ticking. A properly set up cuckoo clock should produce an even, rhythmic tick-tock sound with equal spacing between each beat.
Checking for an Even Beat
If the ticking sounds uneven, like tick-TICK-tick-TICK, the clock is not perfectly level. Stop the pendulum and adjust the clock slightly left or right on the wall until the ticking becomes even. Even a degree or two of rotation can make a difference.
Some higher-end clocks have a built-in adjustment for the beat, but most entry-level cuckoo clocks rely entirely on being mounted level. Take the time to get this right, because an uneven beat causes the clock to stop running within hours.
Verifying the Weights Are Descending
After the clock has been running for about 30 minutes, check that the weights are slowly descending. You may not see movement immediately, but over a few hours the weights should drop noticeably. If the weights are not moving, the clock may have stopped or the chains may be tangled on the sprockets.
Give the pendulum another gentle push and listen for the tick-tock. If the clock stops again within minutes, revisit the leveling step and double-check that nothing is obstructing the pendulum swing path.
Step 7: Adjusting the Pendulum for Accuracy
Your cuckoo clock is now running, but it probably is not keeping perfect time right out of the box. Pendulum adjustment is how you fine-tune the speed of your clock, and it requires patience over several days.
How the Pendulum Leaf Works
The decorative leaf or bob on your pendulum serves as the speed regulator. The physics is simple: a pendulum with its weight concentrated higher swings faster, while a pendulum with its weight lower swings slower.
Most cuckoo clocks have a small adjustment nut above or below the pendulum bob. Turning this nut raises or lowers the bob along the pendulum rod in small increments.
The Adjustment Process
Follow this process to get your clock running accurately:
Set your cuckoo clock to the exact time using a reliable reference, like your phone.
Let the clock run for 24 hours without touching it.
Check the time the next day and note how many minutes the clock gained or lost.
If the clock is running fast, turn the adjustment nut to lower the pendulum bob slightly. This slows the swing.
If the clock is running slow, raise the pendulum bob by turning the nut the opposite direction. This speeds up the swing.
A general rule: one full turn of the adjustment nut changes the rate by approximately 1 to 2 minutes per day, but this varies by clock.
Repeat this process over 3 to 5 days, making smaller adjustments each time, until the clock is within a minute or two per day.
I usually tell people that getting a mechanical cuckoo clock accurate to within 1 to 2 minutes per week is realistic and impressive. These are handcrafted mechanisms, not quartz watches, so some variance is normal and part of the charm.
When Adjustment Does Not Work
If your clock runs consistently slow or fast despite repeated pendulum adjustments, the pendulum itself may be the wrong one for that movement. This happens more often than you might expect when clocks are sold or gifted secondhand. A replacement pendulum matched to your specific movement will solve the problem.
Understanding Two-Weight vs Three-Weight Clocks
Cuckoo clocks generally come in two configurations, and understanding the difference helps you set up correctly and troubleshoot later.
A two-weight clock has one weight for the time movement and one for the cuckoo striking mechanism. These are simpler to set up because there is no music function to worry about. Both weights are typically the same size and can be hung on either chain.
A three-weight clock adds a music box function. The third weight powers the music mechanism, which plays a tune after the cuckoo call on the hour (and sometimes half-hour). The music weight is usually the heaviest because the music box requires more power than the time or strike functions.
If you have a three-weight clock and the music does not play, check that the music weight is on the correct chain and that the music switch (if present) is turned on. Also confirm that no shipping foam is wedged inside the music box assembly.
Quartz vs Mechanical Cuckoo Clock Setup
Not all cuckoo clocks use mechanical movements. Quartz cuckoo clocks run on batteries and are significantly easier to set up, but the process is different in important ways.
Quartz cuckoo clocks do not use weights or chains for power. The weights are decorative and screw or clip onto the bottom of the clock for appearance only. Inside, a battery-powered quartz movement drives the hands and triggers an electronic cuckoo sound through a small speaker.
To set up a quartz cuckoo clock, insert the required batteries (usually C or D cells), set the time using the knob on the back of the movement, and flip the sound switch on. There is no pendulum adjustment needed, although some quartz models include a decorative pendulum that swings via a small battery-powered motor.
The trade-off is that quartz clocks lack the craftsmanship, character, and mechanical charm of traditional movements. They also do not require winding, which some owners see as an advantage and others see as a loss of ritual.
If you are deciding between the two for a future purchase, consider that mechanical clocks can last generations with proper care, while quartz movements typically need replacement after 10 to 15 years.
Environmental Factors That Affect Cuckoo Clock Accuracy
No competitor guide I have found covers this topic, but it makes a real difference in how your clock performs. Mechanical cuckoo clocks are sensitive to their environment because the pendulum, gears, and lubricants all respond to temperature and humidity changes.
Temperature Effects
Cold temperatures cause the metal pendulum rod to contract slightly, which raises the center of oscillation and speeds the clock up. Warm temperatures do the opposite, expanding the rod and slowing the clock. This is why your clock might run fast in winter and slow in summer.
You will notice this most if your clock is on an exterior wall or near a window. Interior walls in temperature-stable rooms give you the most consistent timekeeping year-round.
Humidity Effects
High humidity causes the wooden components of the movement, including the bellows, to absorb moisture and swell. This can make the bellows sluggish and reduce the volume of the cuckoo call. In extreme cases, high humidity can cause wooden gears to bind.
Low humidity is actually harder on the clock. Dry air causes the wood to shrink and crack, and the lubricants on the gear pivots can dry out faster. If you live in a dry climate, consider a small room humidifier near the clock during winter months.
Seasonal Adjustment Tips
Expect to make small pendulum adjustments twice a year as seasons change. I check my clock against a reference time source on the first of every month and make tiny corrections as needed. This habit keeps the clock within a few minutes of perfect time indefinitely.
Troubleshooting Common Cuckoo Clock Problems
Even with perfect setup, you may encounter issues. Based on questions from clock forums and my own experience, here are the most common problems and how to fix them.
The Clock Stops Running Shortly After Starting
This is almost always a leveling issue. Check that the clock is perfectly level and that the ticking sounds even. Also confirm the pendulum is not rubbing against the case or the weights. If the clock is level and still stops, the movement may need cleaning and lubrication.
The Cuckoo Bird Is Stuck or Does Not Come Out
Check the cuckoo door latch first. Some clocks have a wire latch that holds the door shut for shipping. If the latch is released but the bird still does not appear, look for a small bent wire or latch inside the movement that controls the bird door linkage. Gently bend it if it has shifted during shipping.
The Clock Runs Slow Despite Pendulum Adjustment
If raising the pendulum bob does not speed up the clock, the movement may be dirty or the lubrication may have dried out. Old oil creates drag on the gear pivots that no amount of pendulum adjustment can overcome. A professional cleaning every 5 to 8 years keeps the movement running at proper speed.
The Weights Reach the Bottom Too Quickly
This usually means the clock is not hung level or a chain has slipped off its sprocket. If the chain has slipped, the weight descends without actually winding the movement. Re-seat the chain on the sprocket and confirm the clock is level.
The Music Box Does Not Play
Check that the music weight is attached to the correct chain and that no shipping foam remains in the music box. Some clocks also have a music shut-off switch separate from the cuckoo silent switch. Confirm both are in the on position.
The Hour Hand Does Not Match the Cuckoo Calls
This means the strike count and the displayed hour are out of sync, usually from someone moving the hands backward. Advance the minute hand to 12 and count the strikes. Gently slide the hour hand to match the number of strikes you heard.
How to Move a Cuckoo Clock Safely
If you need to relocate your clock, whether across the room or across the country, follow this reverse setup process to protect the mechanism.
Stop the pendulum first and remove it from the clock. Then remove the weights one at a time, wrapping each in soft cloth to prevent them from scratching each other. Never let the clock run without weights, as this can damage the chain sprockets.
Once the weights and pendulum are removed, gather the chains together and secure them with a wire or zip tie threaded through the links. This prevents the chains from falling off the sprockets during transport. Replace any bellow clips or foam blocks you saved from the original packaging.
Lift the clock straight up off the wall screw and wrap the entire case in bubble wrap. Pack the pendulum and weights separately. When you arrive at the new location, follow the setup steps in this guide from the beginning.
For shipping or long-distance moves, I strongly recommend having the clock professionally packed. The cost is modest compared to repairing a cracked case or a damaged movement.
How to Set Up a Cuckoo Clock: Quick Recap
Let me summarize the essential steps for how to set up a cuckoo clock so you have a quick reference:
Remove all packing materials including bellow clips, foam, and wire ties
Mount the clock on a wall stud or heavy-duty anchor at 6 to 8 feet high
Ensure the clock is perfectly level before attaching anything
Remove the chain retaining wire and hang the pendulum on its loop
Attach the weights to the correct chains, heaviest on the music side for three-weight clocks
Set the time by moving the minute hand clockwise only, pausing for strikes
Push the pendulum gently to start the clock and check for an even tick-tock
Adjust the pendulum bob over several days for accurate timekeeping
Follow these steps in order and your cuckoo clock will run reliably for years.
FAQs
How to properly hang a cuckoo clock?
Mount the clock on a wall stud or a heavy-duty anchor rated for at least 50 pounds. Use a long screw or nail driven at a 45-degree upward angle at a height of 6 to 8 feet to give the weights enough travel. Confirm the clock is perfectly level using a spirit level before attaching the pendulum and weights.
What are the common problems with cuckoo clocks?
The most common issues are the clock stopping due to being mounted off-level, the cuckoo bird getting stuck because of a shipping latch left in place, weights descending too fast due to a slipped chain, and the strike count falling out of sync with the displayed time after someone moves the hands backward. Most problems are resolved by checking the level, inspecting the chains, and resynchronizing the hour hand.
How to set a cuckoo clock for the first time?
Remove all packing materials, hang the clock level on the wall, attach the pendulum and weights, then move the minute hand slowly clockwise to the correct time. Pause at each hour and half-hour to let the cuckoo strike. Never move the hands backward. Gently push the pendulum to start the clock and check for an even tick-tock sound.
Is it okay to move clock hands backwards?
No, never move cuckoo clock hands backward on a mechanical movement. Doing so can jam the striking mechanism, bend internal gathering pallets, and cause the strike count to fall out of sync with the displayed hour. Always advance the minute hand clockwise, pausing at each striking position.
Why is my cuckoo clock running slow even after adjusting the pendulum?
If raising the pendulum bob does not speed up the clock, the movement likely needs cleaning and lubrication. Dried oil on the gear pivots creates drag that pendulum adjustment cannot overcome. Mechanical cuckoo clocks should be professionally cleaned every 5 to 8 years. Also verify the correct pendulum is installed, as a mismatched pendulum will never keep accurate time.
How often do I need to wind my cuckoo clock?
A 1-day movement needs winding every 24 hours by pulling the chains to raise the weights. An 8-day movement needs winding once per week. Wind the clock before the weights reach the bottom of their travel to keep the movement running consistently.
Conclusion
Learning how to set up a cuckoo clock correctly the first time comes down to patience and following each step in the right order. Remove every piece of packing material, mount the clock level on a sturdy anchor, set the time clockwise only, and fine-tune the pendulum over several days.
Once your clock is running reliably, the rewards are worth every minute of effort. There is nothing quite like the sound of a properly tuned mechanical cuckoo announcing the hour in your home, a tradition that has continued from the Black Forest for over 300 years.
If you run into trouble during setup, refer back to the troubleshooting section above. Most issues have simple fixes, and with regular care, your cuckoo clock will bring joy for generations.