
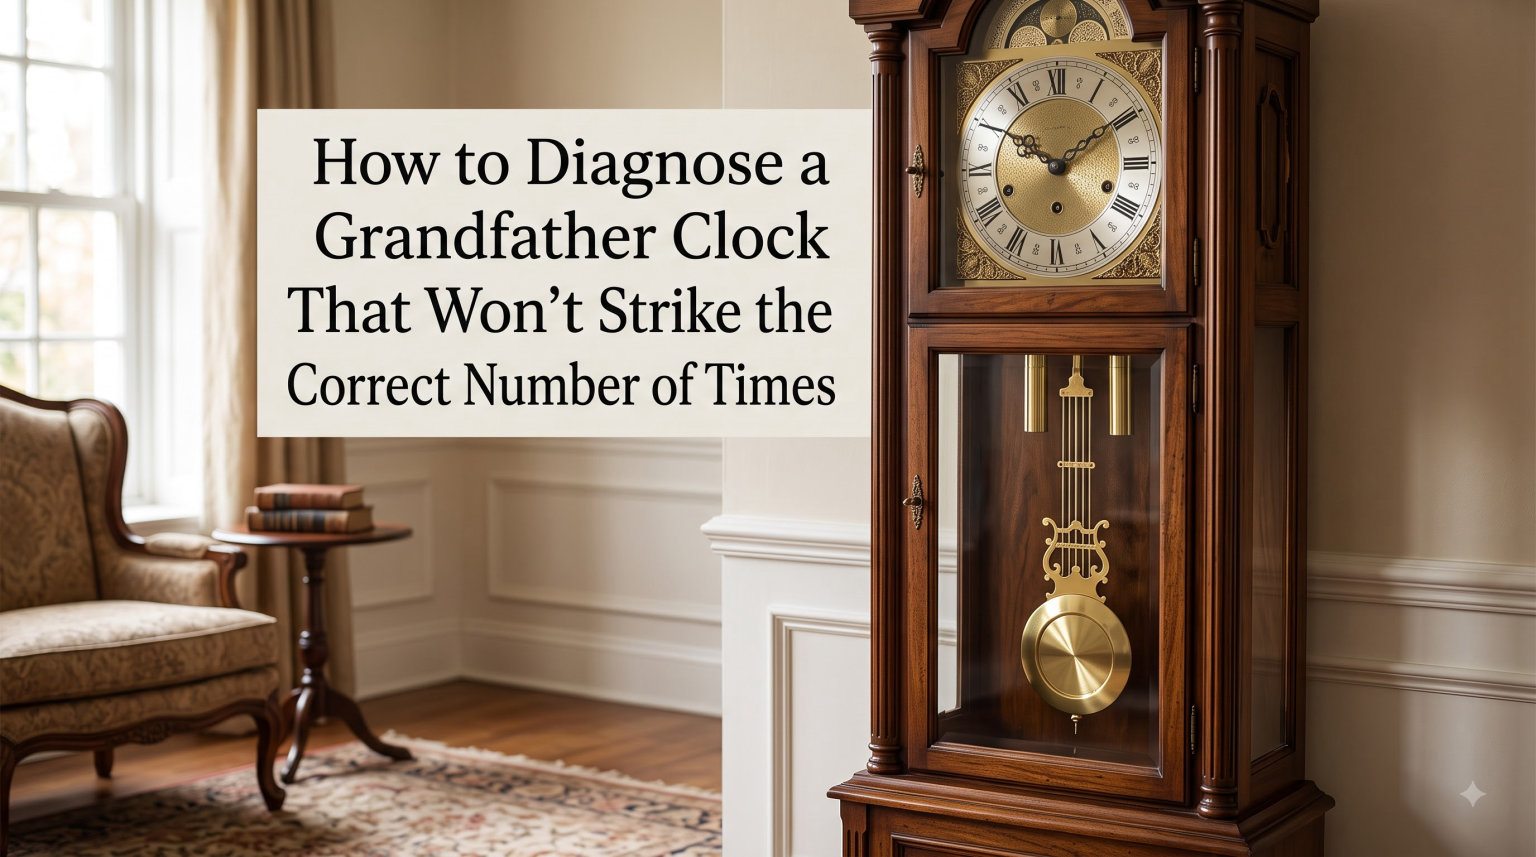
A grandfather clock striking wrong is one of the most common mechanical issues owners face, and in most cases, the fix takes under two minutes. The problem almost always comes down to the hour hand slipping out of alignment with the strike train, meaning the hand reads one hour while the movement counts a different one. I have helped dozens of clock owners troubleshoot this exact issue, and roughly 80 percent of cases resolve with a simple hour hand repositioning.
This guide walks you through every diagnostic step, from the quick hour hand fix to deeper mechanical checks like weight placement, suspension springs, and chain seating. You will learn how to identify your specific symptom, apply the correct fix, and know exactly when the problem has moved beyond a DIY solution.
Understanding why your clock miscounts its strikes matters because ignoring the symptom can mask a deeper issue. A misaligned hour hand is harmless, but a detached suspension spring or a bent pin in the movement will worsen over time and eventually stop the clock entirely. The diagnostic process below helps you tell the difference before small problems become expensive repairs.
Table of Contents
Quick Diagnosis Checklist: Match Your Symptom to the Cause
The fastest way to solve a striking problem is to match your clock’s behavior to the correct diagnostic category. Most grandfather clock chime problems fall into one of five recognizable patterns.
Symptom: Clock strikes a consistent wrong count (always one hour off, two hours off). This is the classic hour hand misalignment. The strike train and the hands have lost their synchronization, but the movement itself is fine. Jump to Fix 1 below.
Symptom: Chimes trigger 15 minutes early or late. The minute hand is out of sync with the chime trip lever. The clock keeps time accurately but the chime fires at the wrong quarter position. Jump to Fix 2.
Symptom: Clock does not strike at all. Check the chime selector lever, the nighttime silence mode, and whether the strike weight is properly seated on its cable or chain. Also inspect the suspension spring.
Symptom: Chimes sound sluggish, slow, or distorted. The movement likely needs cleaning and oiling. Weights may be uneven, or the clock may be out of level. This is common after a move.
Symptom: Clock stops at a specific time repeatedly. This points to a mechanical obstruction, often a bent pin or damaged tooth in the movement. One forum user reported their clock stopping at 11:55 every night due to a bent pin, a known issue that requires professional attention.
How to Diagnose a Grandfather Clock That Won’t Strike the Correct Number of Times
The diagnostic process follows a logical order: start with the simplest, most common fix and work toward progressively more complex mechanical issues. I always begin with the hour hand because it requires no tools, takes seconds, and solves the majority of cases.
From there, the process moves to minute hand synchronization, then to external checks like the chime selector lever, weight placement, and clock level. Only after ruling out every external factor do I recommend opening the case to inspect internal components like the suspension spring, chains, and movement pins.
This top-down approach prevents you from overcomplicating a simple fix. Many clock owners dismantle their movement looking for a broken gear when the hour hand simply slipped a quarter inch on its post. Follow the steps in order and stop when the problem resolves.
Fix 1: The Hour Hand Adjustment (Most Common Solution)
The hour hand adjustment resolves the majority of grandfather clock striking wrong complaints. The hour hand is friction-fitted onto a tapered post, and over time it can slip, causing the hand to point at one hour while the strike train counts another.
Here is the exact procedure I use, based on the method recommended by Howard Miller and confirmed by community repair experts on the NAWCC forums.
Step 1. Wait for the clock to strike the next hour. Do not force it. Let the movement complete its natural strike cycle, then count the number of strikes carefully.
Step 2. Note the number of strikes. If the clock struck five times but the hour hand points to six, your clock is striking one hour behind. The strike count is always correct relative to the movement’s internal count. The hand is the part that drifted.
Step 3. Grasp only the shorter hour hand. Do not touch the minute hand. Gently push the hour hand toward the dial face or pull it slightly away from the dial, then rotate it to the number matching the strike count you just heard.
Step 4. Press the hour hand firmly back onto its post. Apply steady pressure straight down toward the dial to reseat the friction fit. A loose hour hand will slip again, so make sure it feels snug.
Step 5. Wait for the next hour strike and verify the count now matches the hand position. If the clock strikes the correct number, your problem is solved.
If the hour hand continues to slip after reseating, the tapered post may be worn. You can carefully tighten the fit by using a pair of fine needle-nose pliers to very slightly close the brass bushing at the base of the hour hand. Apply minimal pressure, as overtightening will crack the hand.
Fix 2: Minute Hand Correction and Chime Synchronization
When chimes fire 15 minutes early or late, the minute hand has lost its synchronization with the chime trip lever inside the movement. The clock keeps accurate time, but the melody plays at the wrong quarter-hour position. This problem frequently appears after a power outage, a time change, or when the clock was set by moving the minute hand counterclockwise.
Step 1. Turn the minute hand clockwise to the nearest quarter-hour position. Stop and let the chime play completely before moving the hand further.
Step 2. Continue advancing the minute hand clockwise, pausing at each quarter-hour mark (15, 30, 45 minutes) to let each chime sequence finish. Never move the hand past a chiming point without allowing the mechanism to complete its cycle.
Step 3. When you reach the 12 o’clock position, the clock should strike the full hour. Count the strikes and confirm they match the hour shown on the dial.
Step 4. If the strike count is still wrong at this point, apply the hour hand adjustment from Fix 1. The two fixes work together, and you may need both.
Step 5. Some clocks have a small adjustment nut holding the minute hand in place. If your minute hand has shifted on its shaft, loosen the nut, reposition the hand precisely at 12 o’clock when the hour strike begins, then retighten. This ensures the hand trips the chime lever at exactly the right moment.
Never move the minute hand counterclockwise on a grandfather clock. Doing so can jam the chime mechanism and damage the trip lever. Always advance clockwise, pausing for each chime sequence.
Check the Chime Selector Lever and Nighttime Silence Mode
If your clock does not strike at all, the chime selector lever is the first component to inspect. This lever controls which chime plays and whether the strike train engages at all.
Chime selector lever. Most grandfather clocks have a lever on the dial face marked with positions like Westminster, Whittington, St. Michael, and Silent. If the lever sits between positions or is set to Silent, the clock will not chime. Move the lever firmly into the desired chime position and listen for the next chime cycle.
Nighttime silence mode. Many modern grandfather clocks, especially Howard Miller models, include an automatic nighttime silence feature that mutes chimes between 10:00 PM and 7:00 AM. If this feature is stuck or malfunctioning, the clock may remain silent during the day or chime during the night. One NAWCC forum user reported their night silence option no longer stopped chimes at the correct times after years of use.
Testing the silence feature. Move the lever between the chime and silent positions several times to clear any debris or corrosion on the contact points. If the lever feels stiff, a drop of clock oil on the pivot point may restore smooth operation. If the lever moves freely but chimes remain silent during the day, the silence trip mechanism inside the movement may need professional servicing.
Verify Weight Placement and Pendulum Function
Grandfather clocks typically use three weights, and each one powers a different function. Incorrect weight placement is a common cause of striking failure, especially after a clock has been moved or serviced.
The three weights serve distinct roles. The right weight (R) powers the time and pendulum. The center weight (C) powers the strike train that counts the hours. The left weight (L) powers the chime train that plays the melody before the strike. If any weight is in the wrong position, that function will fail or run weakly.
How to check. Open the lower door and identify each weight. Weights are often labeled or color-coded. The heaviest weight usually goes on the right (time) side, but always check your clock’s manual for the exact arrangement. Swap any misplaced weights to their correct positions.
Uneven dropping. Watch the weights over several hours. If the center or left weight stops dropping while the right weight continues, the strike or chime train is jammed. This indicates a mechanical problem inside the movement that goes beyond simple adjustment.
Pendulum out of beat. A clock that runs but chimes irregularly may have a pendulum that is out of beat. Listen for the tick. A properly balanced pendulum produces an even tick-tock with equal spacing between sounds. If you hear a lopsided tick…tock rhythm, tilt the clock slightly left or right until the beat evens out. Some clocks have an auto-beat mechanism you can activate by gently over-swinging the pendulum.
Level the Clock and Inspect Chains
A clock that is not perfectly level will develop a range of problems, including irregular chiming, pendulum stopping, and weights that bind against the case. Leveling is one of the simplest diagnostic steps, yet only one competitor in my research covers it thoroughly.
Leveling procedure. Place a bubble level on top of the clock case, checking both front-to-back and side-to-side. Adjust the leveling feet under the base until the bubble centers in both directions. If your clock has no adjustable feet, use shims under the appropriate corner.
Check after leveling. A level clock should tick evenly and allow weights to hang straight without touching the case sides or each other. Recheck the level periodically, as floors settle and clocks can shift slightly over months of operation.
Chain inspection. For cable-driven clocks, examine where each cable sits on its pulley. For chain-driven clocks, verify each chain is properly seated on its sprocket. A chain that has jumped off its sprocket will prevent that weight from applying force to its train.
Reddit users frequently report chains coming loose after moving a grandfather clock. To reseat a chain, hook it back onto the sprocket teeth and gently pull the chain toward the weight side until you feel it engage. Never force a chain, as bending the links will cause it to bind permanently.
Chain tension. Each chain should have consistent tension from the sprocket to the weight. A slack chain indicates it has slipped or stretched. Replace stretched chains rather than risking a sudden weight drop that could damage the movement or the case floor.
Inspect the Suspension Spring (Often Overlooked)
The suspension spring is the thin, flexible strip of metal that connects the pendulum to the movement. It is one of the most overlooked components in clock diagnosis, and only one competitor in my analysis mentions it. Yet a detached or damaged suspension spring is a frequent cause of complete chiming failure.
What it does. The suspension spring allows the pendulum to swing freely while maintaining a connection to the escapement that regulates timekeeping. If it breaks, detaches, or bends, the pendulum stops swinging and the entire clock stops, including the strike train.
How to inspect. Open the case and locate the top of the pendulum rod. Follow it upward to where it meets the suspension spring. The spring should be straight, firmly attached at both ends, and free of kinks or corrosion. If the spring has come loose from its upper block, carefully reseat it into the slot.
Signs of damage. A bent or fatigued suspension spring will cause the pendulum to swing unevenly or stop after a few minutes. If the spring shows visible cracking or has lost its temper from repeated bending, replace it. Replacement suspension springs are inexpensive and available by matching the length and width of your original.
After replacement. Install the new spring, reattach the pendulum, and give it a gentle push. The clock should begin ticking within seconds. Check that the pendulum swings freely without rubbing against the case or the chime rods.
When to Seek Professional Clock Repair
Not every striking problem has a DIY fix. Knowing when to stop and call a professional prevents you from causing further damage to a precision instrument.
Call a professional if: the clock stops at the same time every cycle, which indicates a bent pin or damaged gear tooth in the movement. This requires partial disassembly and is beyond safe DIY scope.
Call a professional if: you hear grinding, clicking, or snapping sounds from inside the movement during operation. These sounds indicate metal-on-metal contact from worn or broken components.
Call a professional if: the chime hammer is visibly bent or striking the chime rods at the wrong angle. Adjusting the hammer requires precision bending that can snap the rod if done incorrectly.
Call a professional if: your clock has not been serviced in over five years. Mechanical movements accumulate dust and dried oil that cause sluggish operation. A professional cleaning and oiling restores smooth function and prevents premature wear.
Typical professional servicing for a grandfather clock movement includes ultrasonic cleaning, bushing replacement, and fresh lubrication. This process, called an overhaul, extends the life of the movement by decades when performed correctly.
Preventive Maintenance to Avoid Future Striking Problems
Regular maintenance prevents most striking issues from developing in the first place. I recommend a simple care routine that any owner can follow.
Oil the movement every two to three years. Use only synthetic clock oil applied to the pivot points visible on the movement plates. A single drop at each pivot is sufficient. Avoid general-purpose oils, which attract dust and gum up the mechanism.
Keep the case closed during operation. Dust entering the movement is the leading cause of premature wear. Keep the glass door closed and avoid placing the clock in high-dust environments.
Do not move the clock while weights are attached. Always remove the pendulum and weights before relocating a grandfather clock. Movement during transport is the number one cause of suspension spring detachment, chain displacement, and hour hand slippage.
Monitor weight positions monthly. A quick visual check that all three weights are dropping evenly takes seconds and catches developing problems early. Uneven dropping signals a train that is beginning to bind.
Schedule a professional cleaning every five to seven years. Even with regular oiling, old oil and dust accumulate in the pivot holes. Professional ultrasonic cleaning removes this buildup and restores the movement to factory-level performance.
FAQs
Why is my grandfather clock not striking at all?
The most common causes are a chime selector lever set to Silent, an engaged nighttime silence mode, the strike weight improperly seated on its cable or chain, or a detached suspension spring. Check the selector lever first, verify all three weights are in their correct positions (right for time, center for strike, left for chime), and inspect the suspension spring at the top of the pendulum rod.
How do you correct a clock that is striking the wrong number?
Wait for the clock to strike the next hour and count the strikes. Then grasp only the shorter hour hand and move it to the number on the dial that matches the strike count you heard. Press the hand firmly back onto its tapered post to reseat the friction fit. This resolves roughly 80 percent of incorrect strike count problems.
How do you reset the chime on a grandfather clock after moving?
After moving, remove and reinstall the pendulum and weights in their correct positions. Turn the minute hand clockwise, pausing at each quarter-hour mark to let each chime sequence complete. Continue until you reach the 12 o’clock position, then verify the strike count matches the hour hand. Never move the minute hand counterclockwise, as this can jam the chime trip lever.
Why does my grandfather clock chime 15 minutes early or late?
This means the minute hand has lost synchronization with the chime trip lever inside the movement. Advance the minute hand clockwise to the nearest quarter-hour position and let the chime play fully. Repeat this process at each quarter mark until the chime and time are back in sync. If the minute hand has a center nut, verify it is tight so the hand has not shifted on its shaft.
How often should a grandfather clock be serviced to prevent striking problems?
Oil the movement every two to three years using synthetic clock oil at the visible pivot points. Schedule a professional cleaning and overhaul every five to seven years, which includes ultrasonic cleaning, bushing replacement, and fresh lubrication. Regular maintenance prevents the dust buildup and dried oil that cause sluggish chiming and eventual striking failure.
Conclusion
Learning how to diagnose a grandfather clock that won’t strike the correct number of times starts with the hour hand and works outward from there. The friction-fit hour hand slips more often than any other component, and repositioning it resolves the vast majority of cases in under two minutes.
When the hour hand is not the culprit, work through the minute hand synchronization, chime selector lever, weight positions, clock level, chain seating, and suspension spring in that order. Stop at the step that fixes your problem, and call a professional if you encounter grinding sounds, repeated stopping at the same time, or a movement overdue for cleaning.
With regular oiling every two to three years and a professional overhaul every five to seven, your grandfather clock should keep accurate time and strike the correct hour for decades to come.