
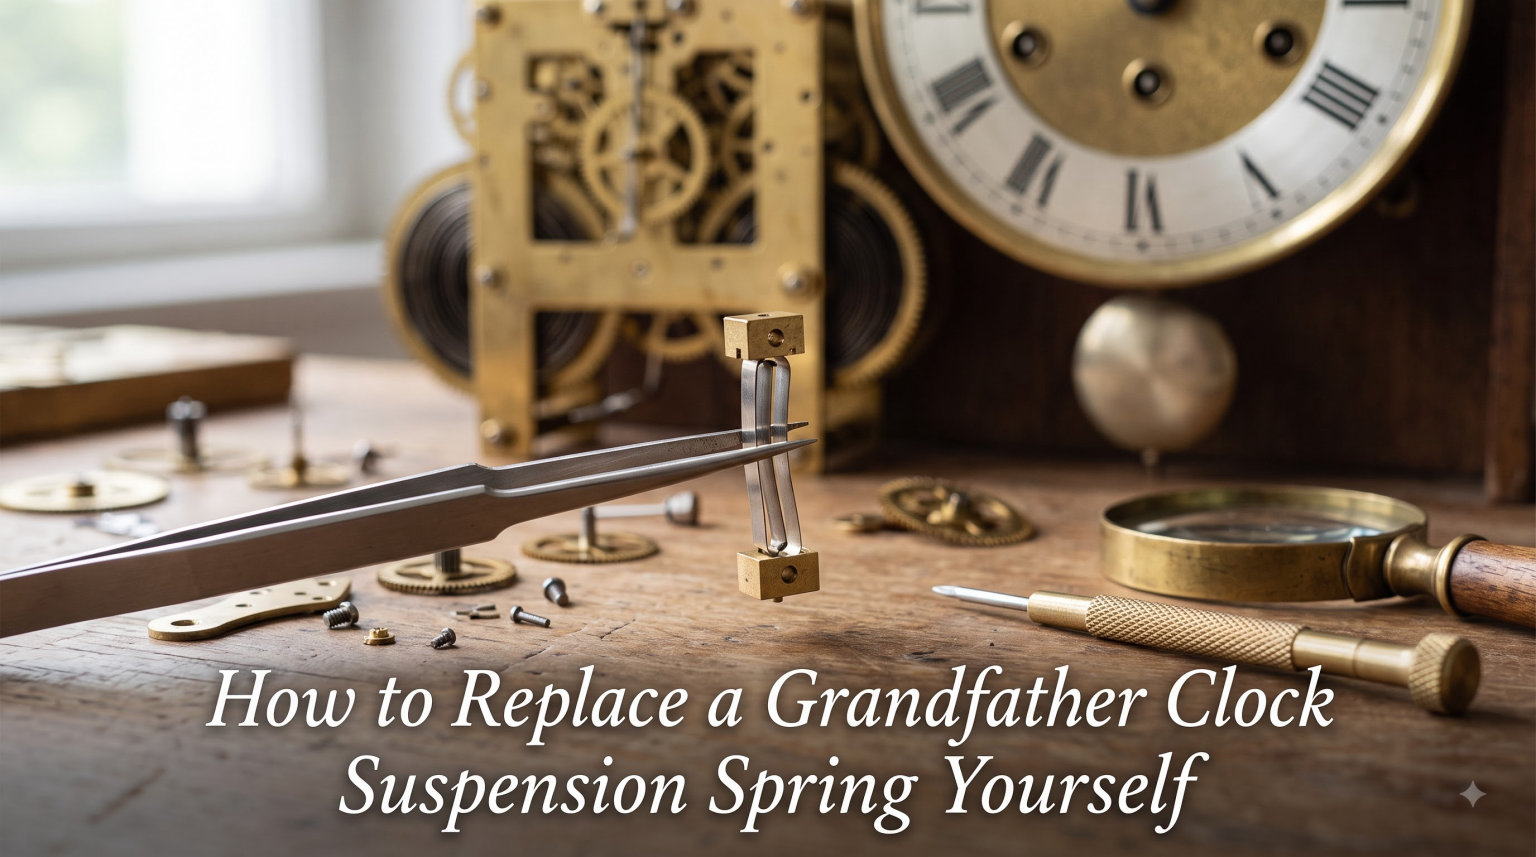
The grandfather clock has been a centerpiece of homes for generations, and one of the most common failures I see in older movements is a broken suspension spring. When that thin strip of metal fails, your pendulum stops swinging and the clock falls silent. The good news is that you can replace a grandfather clock suspension spring yourself with about an hour of focused work, a handful of basic tools, and a replacement part that typically costs under $15.
In this guide, I will walk you through how to replace a grandfather clock suspension spring yourself, from diagnosing the failure to removing a stuck tapered pin to installing and adjusting the new part. I have worked through this repair on movements from Hermle, Urgos, Kieninger, and Ridgeway, and the process is remarkably consistent across manufacturers.
If you can use a small screwdriver and follow step-by-step instructions, you can handle this. We will cover the tools you need, the exact measurements to order, the removal steps (including the dreaded stuck pin), and how to put the clock back in beat so it keeps time again.
Table of Contents
Understanding the Suspension Spring in Your Grandfather Clock
The suspension spring is a thin, flat strip of spring steel that suspends the pendulum from the movement. The top of the spring slips through a slot in the suspension post and is held in place by a small screw or a tapered pin. The bottom of the spring connects to the pendulum leader, which in turn carries the pendulum itself.
Here is what the suspension spring actually does inside a grandfather clock movement. As the pendulum swings, the spring flexes slightly, acting as a near-frictionless pivot point. The pendulum’s motion travels up through the leader to the crutch, which rocks the pallet fork (also called the anchor) back and forth. Each oscillation releases one tooth of the escape wheel, which produces the familiar tick-tock sound and advances the timekeeping gears.
A suspension spring is not a coil spring. It is a flat piece of blued or polished spring steel, typically around 0.25mm thick, 10mm wide, and 50mm long. The dimensions matter because the spring’s stiffness directly affects the pendulum’s swing rate. Too thick and the clock runs fast. Too thin and the clock runs slow or stops outright.
These springs fail for a few predictable reasons. Age and metal fatigue from millions of oscillation cycles is the most common cause. A sudden jolt, such as moving the clock without removing the pendulum, can snap a spring instantly. Corrosion from humid environments weakens the metal over time. And occasionally, an incorrect replacement spring from a prior repair fails prematurely.
Without a working suspension spring, the pendulum cannot engage the escapement. The clock will run briefly under power from the weights but stops as soon as that impulse is gone. That is why a broken suspension spring always presents as a stopped clock.
Signs Your Suspension Spring Is Broken
Before you tear into the movement, confirm the suspension spring is actually the problem. I have seen clock owners replace a perfectly good spring only to discover the real issue was a jammed escape wheel or a worn bushing.
Watch for these clear signs of a broken or failing suspension spring:
The pendulum swings freely but the clock does not tick. This is the number one symptom. The pendulum has disconnected from the escapement because the spring has snapped.
The pendulum will not stay swinging. You give it a push and it stops within a minute, even though the weights are fully wound.
You hear a faint metallic rattle when you gently move the pendulum. A broken spring leaves loose metal fragments in the leader.
Sudden failure after the clock was moved. Transport without removing the pendulum almost always points to a snapped suspension spring.
Visibly cracked or broken metal in the thin strip above the pendulum connection point. Use a flashlight and a magnifying loupe to inspect.
Here is a quick diagnostic I use all the time. Remove the pendulum, then gently lift the leader and let it drop. If the spring is intact, you will feel a small amount of elastic resistance. If the leader just falls limp or clunks against the movement, the spring is broken.
One important note from the NAWCC message boards: if your spring is broken, the movement likely has other wear too. Inspect bushings and pivot holes while you have the clock apart. A worn movement will eat a new spring in short order.
Tools and Materials Checklist
Gather everything before you start. Running to the hardware store mid-repair with your clock in pieces is a recipe for lost parts and frustration.
Essential tools:
Small screwdriver set (jeweler’s size, both flat and Phillips)
Needle-nose pliers with fine tips
Brass punch or pin punch (1 to 2mm diameter)
Small ball-peen or brass hammer
Tweezers for handling small pins and metal fragments
Magnifying loupe or strong reading glasses
Bright flashlight or headlamp
Soft cloth or padded mat to protect the dial and case
Smartphone for taking reference photos at every step
Materials:
Correct replacement suspension spring, matched to your old one’s dimensions
A small bottle of clock oil (a dedicated clock oil like Moebius or a synthetic alternative)
A few spare tapered pins in case you damage the original
Penetrating oil such as Kroil or PB Blaster
Toothpicks or wooden skewers for guiding the new spring into position
Optional but helpful:
A mechanics’ stethoscope to listen for binding in the movement
A digital caliper to measure your old spring precisely before ordering
A camera tripod for filming your disassembly so you can review it later
You can order replacement suspension springs from Timesavers, Merritt’s Antiques, or Clockworks.com. Have your measurements ready because they sell by exact dimension, not by clock model.
How to Replace a Grandfather Clock Suspension Spring Yourself
Measure Your Old Spring First
Ordering the correct replacement is the make-or-break step in this repair. A spring that is the wrong thickness, width, or length will either not fit or will throw off your clock’s timing.
Use a digital caliper to measure the broken spring. Record three dimensions to the nearest 0.1mm: thickness (typically 0.20 to 0.30mm), width (8 to 12mm), and overall length including any tabs (40 to 60mm). Also note the shape of the ends. Some springs have a single hole at the top, others have two holes or a notch.
Take these measurements even if the spring is in pieces. Lay the fragments on a sheet of white paper, photograph them next to a ruler, and send the photo to the supplier if you are unsure. Suppliers like Timesavers and Merritt’s deal with this daily and can match the part from a clear photo.
Order two springs. They are inexpensive, and you will likely need the second one within a few years on the same movement.
Step-by-Step Removal of the Old Spring
Step 1: Stop the clock. Remove the pendulum and set it aside on a padded surface. Lower the weights to the bottom of their travel using the winding crank, or let the clock run down over a few days.
Step 2: Open the side or front access panel of your clock case. Most grandfather clocks have a hinged door on the side that exposes the movement. Take a photo before you touch anything.
Step 3: Locate the suspension spring. Follow the pendulum leader upward to where it meets the top of the movement. The spring is the thin metal strip pinned between the leader and the suspension post.
Step 4: Remove the small screw or tapered pin that holds the top of the spring in the suspension post. If it is a screw, back it out gently with the correct-size screwdriver. If it is a tapered pin that resists, move to the stuck pin removal steps below.
Step 5: Detach the bottom of the spring from the leader. This connection is usually a friction fit or held by a second small pin. Use tweezers to remove any retaining clip.
Step 6: Pull the old spring free and immediately place it in a labeled envelope. You need it intact for matching the replacement.
Removing a Stuck Tapered Pin
This is the single biggest pain point in this repair, and almost every DIYer hits it. The tapered pin that holds the top of the spring in the post corrodes and wedges itself solid over decades of service.
Do not grab pliers and twist. You will snap the suspension post and turn a $15 part replacement into a major movement repair.
Instead, soak the pin with a penetrating oil like Kroil or PB Blaster for at least 30 minutes. Then support the back of the post with a small block of hardwood so it cannot flex backward under impact. Tap the pin gently from the thin end with a brass punch and a small hammer. Brass is softer than the steel pin, so it will not mushroom the pin head and make things worse.
Work the pin back and forth with light taps, adding more penetrant every few minutes. Patience wins here. A pin that has been stuck for 30 years may need two or three soak-and-tap cycles over an afternoon.
If the pin absolutely will not move, drill it out with a drill bit slightly smaller than the pin diameter. Go slowly and use a drop of cutting oil. Then chase the hole with the correct-size drill bit to clean it up. This is delicate work on a small casting, so if you are not comfortable drilling tiny metal parts, this is exactly where you call a professional.
Step-by-Step Installation of the New Spring
Step 1: Clean the suspension post and leader before installing anything. Use a pipe cleaner dipped in rubbing alcohol to remove old oil and grime from the post slot and pin hole. A clean slot lets the new spring seat properly and prevents contamination.
Step 2: Inspect the new spring carefully. Hold it up to a bright light and look for nicks, burrs, or sharp edges. Lightly deburr the edges with fine emery paper if needed. A sharp edge creates a stress riser that will cause the spring to crack prematurely.
Step 3: Insert the top of the new spring into the suspension post slot. Align the hole in the spring with the hole in the post. If your clock uses a screw, thread it in finger-tight first so you can still nudge the parts into alignment, then snug it down with the screwdriver.
Step 4: Reinstall the tapered pin or screw. If using a pin, push it through from the same side it originally came out. Do not force it. If it resists, the spring hole is not aligned. Use a toothpick to guide the spring into position.
Step 5: Attach the bottom of the spring to the pendulum leader. The connection point varies by movement. On most Hermle and Urgos movements, the spring has a small slot or hole that hooks over a tab on the leader.
Step 6: Rehang the pendulum. Lower it slowly and listen. You should hear the familiar tick-tock almost immediately if the spring is installed correctly and the movement is in good shape.
Step 7: Check that the pendulum is hanging plumb. The leader should hang straight down with no twist. If the pendulum leans to one side, the spring is not seated flat in the post slot.
Testing and Beat Adjustment
This is where the repair either succeeds or fails. A clock that is out of beat will not run, no matter how perfect the new spring is.
Start the pendulum with a gentle push. Listen closely to the tick and the tock. In a clock that is in beat, the time between the tick and the tock is equal, like a metronome. You hear tick-tock-tick-tock with even spacing.
If you hear tick——tock-tick——tock, the clock is out of beat. To correct this on most grandfather clocks, gently bend the crutch slightly to one side. Bend a tiny amount, maybe 1mm, then test again. Repeat until the beat sounds even.
On some movements, the beat is adjusted with a thumb screw on the suspension post rather than by bending the crutch. Check your movement’s manual or the manufacturer’s website if you cannot find the adjustment point.
Let the clock run for a full 24 hours before you make any timekeeping adjustments. New springs take a day or two to settle into position. If the clock gains or loses more than a few minutes per day after that, adjust the pendulum bob rating nut. Turn it clockwise to raise the bob and speed the clock up, counterclockwise to lower it and slow the clock down.
Watch the Process: Video Walkthrough
For most clock repairs, watching the process once is worth a thousand words of written instruction. I recommend searching YouTube for “grandfather clock suspension spring replacement” and watching at least two videos before you start your repair.
What to look for in a good tutorial video:
The presenter removes the old spring slowly with clear close-up shots
They show the tapered pin removal technique explicitly, not as an afterthought
They demonstrate beat adjustment at the end of the video
The clock movement in the video is similar to yours, whether Hermle, Urgos, or Kieninger
One honest warning. Many popular clock repair videos gloss over the stuck pin problem or skip the beat adjustment entirely. If a video makes the whole repair look like a five-minute job, find a more thorough one. This repair takes most first-timers 45 to 90 minutes.
Safety Precautions
Grandfather clocks store a surprising amount of energy in their weights and mainsprings. Treat the movement with respect throughout this repair.
Always lower the weights before you work on the movement. A weight falling on your hand or crashing onto the movement can cause real damage. If your clock is cable-driven, secure the cables with binder clips or cable keepers so they cannot spool off the barrel while the pendulum is disconnected.
Never remove the movement from the case unless absolutely necessary. Most suspension spring replacements can be done with the movement in place through the side access door. Pulling the movement out risks bending the hands, breaking the dial, or damaging the cables.
Wear eye protection when tapping pins or drilling. Tiny metal fragments can fly unexpectedly, and a brass chip in the eye will ruin your day far worse than a stopped clock.
If your clock is mainspring-driven rather than weight-driven, the mainspring can release violently if mishandled. Let the mainspring fully run down before doing any work on the movement. Never attempt to release an overwound mainspring yourself. That is a different and more dangerous repair entirely, and it is a common cause of serious injury among amateur clock repairers.
Keep small children and pets away from the work area. The pendulum, the weights, and the tiny pins are all hazards if knocked over or swallowed. Work in good lighting with a clean, flat surface beneath the clock to catch any dropped parts.
Common Mistakes to Avoid
I see these errors repeatedly on the clock repair forums and in my own early repair attempts. Avoid them and your job will go smoothly.
Ordering the wrong spring dimensions. Always measure with a caliper. “Close enough” does not work for spring thickness. A 0.05mm difference changes the timing significantly.
Forcing the tapered pin with pliers. This snaps the suspension post and turns a one-hour job into a major repair requiring movement disassembly.
Overtightening the new spring’s retaining screw. The spring needs to be held securely, not crushed. A crushed spring cracks within months.
Skipping the beat adjustment after installation. A perfect new spring in an out-of-beat clock will not run. Always listen for even tick-tock spacing.
Bending the crutch too far when adjusting beat. Bend 1mm at a time. The crutch metal is fragile and fatigues quickly with repeated bending.
Forgetting to oil the suspension post pivot after reassembly. A dry pivot wears fast and causes the next premature failure.
Not photographing the disassembly. You will not remember where that tiny pin or clip came from three hours later. Photograph every step.
When to Call a Professional Clockmaker
DIY clock repair is satisfying, but some situations genuinely call for professional help. Knowing when to stop saves you from turning a $15 part replacement into a $500 repair.
Call a clockmaker if any of the following apply:
The suspension post itself is broken, bent, or badly corroded. Replacing a post requires movement disassembly and re-bushing skills that go beyond this repair.
The tapered pin is so seized that drilling it out feels risky. A professional has the fixturing to hold the movement steady for precision drilling.
Your movement is 40-plus years old and has never been serviced. The suspension spring is likely just the first of several failures. A full overhaul is more cost-effective than repeated part replacements.
The clock will not stay in beat after multiple adjustment attempts. You may have a bent crutch, a worn crutch arbor, or a deeper escapement issue that needs professional diagnosis.
You feel uncomfortable at any point in the process. A grandfather clock movement is a precision mechanism. There is no shame in handing it to someone who does this work daily.
A typical professional suspension spring replacement runs $150 to $300, including the part and a basic movement inspection. That is money well spent if any of the conditions above apply, and it buys you peace of mind along with a clock that will run reliably.
Conclusion
Learning how to replace a grandfather clock suspension spring yourself is one of the most accessible clock repairs you can tackle at home. With the right replacement part measured precisely, a patient approach to the tapered pin, and a careful beat adjustment at the end, you can have your clock ticking again in a single afternoon. If you run into a seized pin that will not budge, a worn movement, or a post that just will not cooperate, a professional clockmaker is the right call. The goal is a clock that runs for another decade, not just one that ticks for today.
FAQs
Can I replace a grandfather clock suspension spring myself?
Yes, in most cases. Replacing a suspension spring is a beginner-friendly clock repair that requires basic hand tools, a correctly measured replacement spring, and about an hour of careful work. The main challenge is removing a stuck tapered pin, which can usually be freed with penetrating oil and gentle tapping from a brass punch.
Is a clock suspension spring hard to replace?
Replacing a suspension spring is moderately easy for a patient DIYer. The part itself is simple, but accessing it and removing a corroded tapered pin can be frustrating. If you can follow step-by-step instructions and work carefully with small parts, you can handle this repair without professional help.
How do I know if my grandfather clock suspension spring is broken?
Common signs include a pendulum that swings freely but produces no tick-tock sound, a pendulum that stops within seconds of being started, a metallic rattle when moving the pendulum, and a visible crack or clean break in the thin metal strip above the leader. Sudden failure right after moving the clock is a classic symptom of a snapped suspension spring.
How do you remove a stuck tapered pin from a suspension spring?
Soak the pin with a penetrating oil like Kroil or PB Blaster for at least 30 minutes. Support the back of the suspension post with a hardwood block so it cannot flex. Tap the pin gently from the thin end using a brass punch and a small hammer. Never twist the pin with pliers, as this will snap the post. If the pin will not move after repeated soaking, drill it out carefully with a bit slightly smaller than the pin diameter.
How do you release an overwound clock mainspring?
Releasing an overwound mainspring is a separate and more dangerous repair than suspension spring replacement. If possible, let the clock run down naturally until the spring is fully unwound. If the mainspring is truly stuck and will not release, contact a professional clockmaker. Attempting to force a wound mainspring yourself risks serious injury from the sudden release of stored energy.