
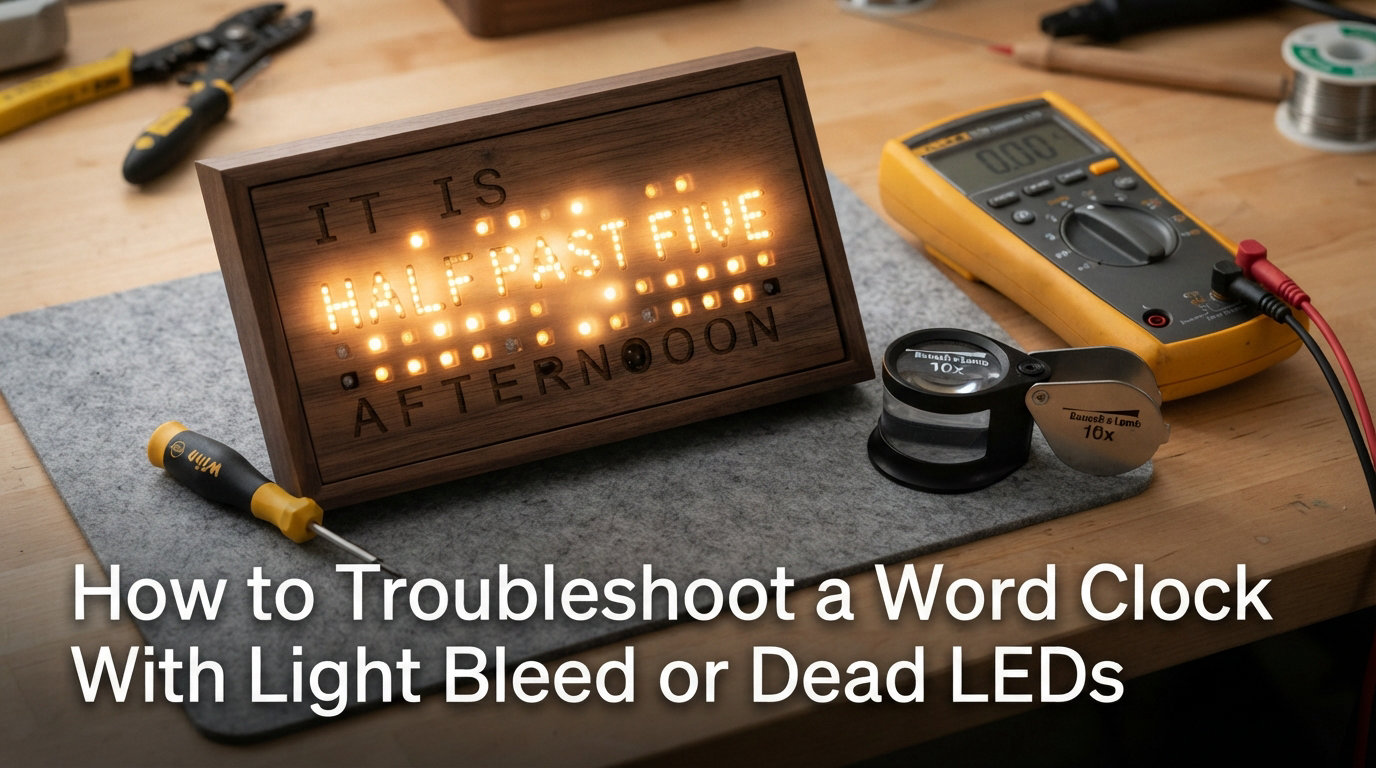
You built or bought a word clock, and something looks off. Maybe the letters glow into each other like a blurry mess, or maybe some of them stay dark entirely. These are the two most common complaints we hear from DIY word clock builders, and the good news is that both problems are fixable.
A word clock tells time by lighting up words instead of numbers. Instead of seeing “3:45,” you see “IT IS A QUARTER TO FOUR” spelled out across the face. Each letter has one or more LEDs behind it, and when the Arduino triggers the right combination, the sentence comes alive.
The challenge is that LEDs are intense point light sources. Get the diffusion, spacing, or wiring wrong and you end up with either light bleed (where letters leak into neighbors) or dead LEDs (where letters never light at all). This guide walks you through exactly how to troubleshoot word clock LED problems from start to finish, covering diagnosis, fixes, and prevention.
Whether you are running NeoPixels on an Arduino Pro Mini or a pre-built kit with an RGB strip, the troubleshooting process is the same. I will share what I have learned from forum threads, builder experiences, and my own testing so you can get your clock looking crisp again.
Table of Contents
Understanding the Two Main LED Problems
Before grabbing a soldering iron, you need to know which problem you actually have. Light bleed and dead LEDs look different, have different causes, and need different fixes.
What Is Light Bleed?
Light bleed happens when light from one letter’s LED leaks into the area of an adjacent letter or word. Instead of seeing sharp, distinct text, you see a hazy glow spreading across multiple letters. The clock still shows the right time, but it looks muddy and hard to read.
This is primarily a diffusion and spacing problem. The LED is sending light in too wide a cone, or the physical separators between letters are too thin or missing. Builders on Reddit and the Arduino forums report this as the number one frustration with first builds.
What Are Dead or Dimming LEDs?
A dead LED is one that never lights up at all. A dimming LED is one that glows weaker than its neighbors, creating an uneven look where some letters are bright and others are faded. Both are electrical problems rather than optical ones.
Dead LEDs are usually caused by failed solder joints, broken traces, a burned-out LED, or a data line issue on addressable strips like WS2812B. Dimming often comes from LED aging (especially on frequently lit words like “IT IS”), voltage drop on long strips, or resistor mismatches.
One Arduino forum user reported that after a few years of continuous use, the LEDs controlling “IT IS” grew noticeably dimmer because those words are always on. This is a known LED aging pattern, and we cover how to address it later in this guide.
Tools and Materials You’ll Need
Gather your tools before starting so you are not stopping mid-diagnosis. Most of these are standard electronics hobby items.
Essential tools:
Multimeter (for voltage and continuity testing)
Soldering iron and solder (for fixing or replacing joints)
Small Phillips and flathead screwdrivers
USB cable or power supply matching your clock’s input
Computer with Arduino IDE installed
For light bleed fixes:
Diffuser material (tracing paper, semi-transparent acrylic, frosted sheet, or A4 paper to test)
Thin cardboard or black foam board (for baffles and separators)
Matte black paint or black electrical tape
Craft knife or scissors
For dead LED fixes:
Replacement LEDs or LED strip segment (matching your existing type)
Heat shrink tubing
Wire strippers
Helping hands or third-hand tool for holding components
Having these on hand means you can move smoothly from diagnosis to repair without interruptions.
How to Diagnose and Fix Light Bleed
Light bleed is the most common word clock complaint and also the most fixable. The key is controlling where light goes and blocking where it should not.
Step 1: Identify the Bleed Pattern
Power on your clock in a dark room and observe which letters bleed into each other. Take a photo with your phone to document the pattern. Bleed usually appears worst between letters that share a row or are physically close, because the light has a shorter distance to travel sideways.
If the entire face looks uniformly hazy, the problem is your diffuser material or the distance between the LEDs and the front face. If only specific letters bleed, the problem is likely missing or inadequate baffles between those letter cells.
Step 2: Evaluate Your Diffuser Material
The diffuser is the single biggest factor in light bleed. Different materials scatter light differently, and the right choice depends on your LED brightness and spacing. Here is a comparison based on community testing and builder reports.
| Diffuser Material | Bleed Control | Brightness | Ease of Use | Best For |
|---|---|---|---|---|
| Semi-transparent acrylic | Excellent | Good | Medium (needs cutting) | Permanent builds, professional look |
| Frosted diffuser sheets | Very good | Very good | Easy (cut to size) | Most builds, adjustable opacity |
| Tracing paper (parchment) | Fair | Good | Very easy | Quick testing, temporary fixes |
| Standard A4 paper | Poor | Fair | Very easy | Not recommended, use only for testing |
| Sanded acrylic or glass | Good | Fair | Hard (requires sanding) | Custom builds with existing clear panels |
One Reddit builder tested multiple layers of A4 and tracing paper and reported that results improved but stayed uneven. The community consensus is that purpose-built diffuser sheets or semi-transparent acrylic give the most consistent results.
Step 3: Add Physical Baffles Between Letter Cells
A diffuser alone often is not enough if there is open space for light to travel sideways between cells. The solution is to add physical baffles, which are walls that block light from crossing into neighboring letters.
Several builders report success with thin cardboard separators. One detailed build on willempennings.nl used 0.5mm cardboard cut to form individual cells around each LED, and the result was dramatically sharper letter definition.
Another popular community trick is using black plastic straws or rolled black paper as tubes around each LED. These act as light tunnels that direct the beam straight forward instead of letting it spread sideways. This works especially well for single-LED-per-letter designs.
Cut your baffles to the full depth between the LED board and the diffuser face. Any gap between the top of the baffle and the diffuser will let light escape. Foam board works well because it is opaque, lightweight, and easy to cut with a craft knife.
Step 4: Paint Interior Surfaces Black
Light reflects off internal surfaces. If the back of your clock face or the interior walls are white or light-colored, they bounce light around and increase bleed.
Painting the interior surfaces matte black absorbs stray light and dramatically tightens the letter edges. Use flat black acrylic paint or matte black spray paint on all interior surfaces, including the back of the front panel if it is accessible. Black electrical tape also works for small areas where paint is impractical.
Step 5: Increase LED-to-Diffuser Distance
More distance between the LEDs and the diffuser gives light room to spread evenly before hitting the face. This is a physical principle that multiple builders confirm. If your LEDs are very close to the front panel, the light hits as a concentrated hotspot rather than a soft glow.
If your clock housing allows it, move the LED board further back. Even 5 to 10 millimeters of additional depth can make a visible difference. If the housing is fixed, you can add a spacer ring or frame to push the diffuser forward.
How to Identify and Fix Dead or Dimming LEDs
Dead and dimming LEDs require a different approach. Instead of managing light flow, you are hunting for electrical failures. The process is systematic: test, isolate, and repair.
Step 1: Run a Full LED Test
Before disassembling anything, upload a test sketch to your Arduino that lights every LED one at a time in sequence. This is the fastest way to identify which LEDs are dead, dim, or stuck on the wrong color.
If you are using NeoPixels (WS2812B), a simple loop that cycles each LED through red, green, and blue will reveal failures instantly. Dead LEDs will stay dark, while failing ones may show only one color or flicker. Document exactly which positions have problems.
One builder shared a handy approach: run a “rainbow chase” pattern across all LEDs and watch for gaps in the sequence. Any position that does not light up or shows the wrong color is your suspect.
Step 2: Check for Data Line Continuity
Addressable LED strips like WS2812B are daisy-chained. The data signal passes through each LED to the next. If one LED fails in a way that blocks the data line, every LED downstream of it will also appear dead.
This is the most common cause of a whole section going dark at once. Use your multimeter to check continuity on the data line between the last working LED and the first dead one. The failure point is almost always at that junction.
If the dead LED is shorted internally, you may need to bypass it by soldering a jumper wire from the previous LED’s data output to the next LED’s data input. This gets the rest of the strip working while you plan a permanent replacement.
Step 3: Inspect for LED Aging
LEDs degrade over time, especially when run at high brightness for long periods. The phosphor coating inside white and warm-white LEDs breaks down, causing dimming and color shifts. Red and amber LEDs can also fade with extended use.
In word clocks, the LEDs behind “IT IS” are on constantly, so they age faster than the rest. One Arduino forum user reported their “IT IS” LEDs dimming noticeably after about three years of 24/7 operation.
If only specific frequently-used words are dimming while the rest look fine, LED aging is the likely culprit. The fix is to replace those specific LEDs with matching components, or replace the entire strip for consistent brightness across all letters.
Step 4: Replace the Failed LED
For individually addressable strips, replacement means cutting out the dead LED and soldering in a new one. Use flush cutters to remove the failed component, then solder a replacement WS2812B LED with the same orientation (the arrow on the strip indicates data flow direction).
Apply heat shrink tubing over the solder joints to prevent shorts. Test the replacement with your LED test sketch before reassembling the clock.
If you are using a non-addressable strip or individual LEDs on a custom PCB, the replacement process depends on your specific circuit. In general, desolder the old LED, clean the pads, and solder the new one with proper polarity.
Soldering and Connection Checks
Solder joints are the number one mechanical failure point in DIY electronics. A joint that looked fine during assembly can develop cracks over time due to thermal cycling, vibration, or mechanical stress.
Spotting Cold Solder Joints
A cold solder joint appears dull, grainy, or ball-shaped instead of shiny and concave. It may have a visible crack or gap between the solder and the pad. These joints conduct poorly or intermittently, which causes flickering, dimming, or dead LEDs.
Inspect every joint on your LED strip connections with good lighting and a magnifying glass. Pay special attention to the power and data connections at the start of the strip, since these carry the most current and stress.
Reflowing Problematic Joints
To fix a cold joint, apply fresh flux and reheat it with your soldering iron until the solder flows smoothly. Add a small amount of new solder if needed to ensure a complete bond. The joint should look shiny and form a smooth fillet between the wire and pad.
After reflowing, gently tug on the wire to confirm it is secure. A properly soldered joint will hold firm without movement.
Checking Wire Connections
Vibration and handling can loosen screw terminals, JST connectors, and Dupont pin headers. Reseat every connector by unplugging and replugging it firmly. If you are using Dupont headers, the friction fit can degrade over time, so consider soldering critical connections directly.
Check that the ground wires are solid throughout your circuit. A floating or intermittent ground causes unpredictable behavior including random LED flickering and color errors.
Power Supply and Resistor Verification
Underpowering is a silent killer of LED performance. If your power supply cannot deliver enough current, LEDs at the end of long strips will dim, flicker, or fail to light.
Calculate Your Power Needs
Each WS2812B LED can draw up to 60 milliamps at full white brightness. A word clock with 60 LEDs needs up to 3.6 amps at 5 volts. Check that your power supply is rated for at least 20 percent more than your maximum draw to account for overhead.
If your supply is underpowered, LEDs near the start of the strip will look fine while those further down dim progressively. This voltage drop pattern is a clear diagnostic sign.
Feed Power From Both Ends
For strips longer than about 30 LEDs, run separate power wires to both the beginning and the end of the strip. This Instructables-recommended technique ensures consistent voltage across the entire length and eliminates end-of-strip dimming.
Use appropriately thick wire for power runs. Thin jumper wires have higher resistance and contribute to voltage drop. For a typical word clock, 22 AWG wire is the minimum recommended for power lines.
Verify Resistor Values
If you are using individual LEDs with current-limiting resistors, check that the resistor values match your LED forward voltage and desired brightness. A resistor that is too high in value will make the LED dim, while one too low can burn it out prematurely.
For standard 5mm LEDs running at 5 volts, a 220-ohm resistor is typical for red LEDs, while blue and green often use 150 ohms. Verify your values against the LED datasheet.
Preventive Maintenance for Long-Term Reliability
No competitor covers preventive maintenance, but it is the difference between a clock that lasts one year and one that runs for a decade. These practices keep your word clock LEDs healthy over time.
Reduce Brightness in Software
Running LEDs at full brightness accelerates aging dramatically. In your Arduino code, cap the brightness at 60 to 70 percent using the FastLED or NeoPixel brightness function. Most users cannot visually distinguish between 70 and 100 percent brightness, but the LEDs will last significantly longer.
Adding an ambient light sensor (LDR) lets the clock auto-adjust brightness based on room conditions. This both extends LED life and improves readability in dark environments.
Add a Motion Sensor for Auto-Off
An RCWL-0516 motion detector module can turn off the display when no one is in the room. This is one of the most effective ways to reduce LED wear, since a clock that is off 16 hours a day ages four times slower than one running constantly.
The Arduino forum community reports this as a popular upgrade that also saves power and reduces nighttime light pollution in bedrooms and offices.
Inspect Solder Joints Annually
Once a year, open the clock and visually inspect all solder joints and connections. Look for dull, cracked, or corroded joints and reflow them before they fail completely. This five-minute check prevents most surprise dead-LED events.
Dust buildup inside the housing can trap heat and reduce LED lifespan. Blow out the interior with compressed air during your annual inspection to keep temperatures down.
FAQs
How does a word clock work?
A word clock tells time by lighting up specific LEDs behind a stenciled face to illuminate words that form time-telling sentences like IT IS HALF PAST THREE. An Arduino or microcontroller reads the time from an RTC module such as a DS3231 and switches the correct combination of LEDs on or off to display the current time in words.
Why did my LED lights stop working all of a sudden?
Sudden LED failure is usually caused by a broken solder joint, a disconnected wire, a failed power supply, or a burned-out LED on an addressable strip that blocks the data line to downstream LEDs. Start by checking power connections, then test individual LEDs with a sequence sketch to find the exact failure point.
How to fix LED lights when the colors are wrong?
Wrong colors on addressable LED strips are typically caused by incorrect color order settings in your code. Try changing the NeoPixel type from NEO_GRB to NEO_RGB or NEO_BRG in your initialization line. If only some LEDs show wrong colors, those individual LEDs may be damaged and need replacement.
What is the best diffuser material for a word clock?
Semi-transparent acrylic and purpose-built frosted diffuser sheets provide the best balance of even light spread and letter sharpness for word clocks. Tracing paper works for quick testing but gives uneven results over larger areas. Standard paper is not recommended as it blocks too much light and creates hotspots.
Why do LEDs dim over time?
LEDs dim over time because the phosphor coating inside them degrades with use, especially when run at high brightness for extended periods. In word clocks, the LEDs behind always-on words like IT IS age faster because they accumulate more operating hours. Reducing brightness in software and adding motion-based auto-off significantly extends LED lifespan.
Wrapping Up
Learning to troubleshoot word clock LED problems comes down to separating optical issues from electrical ones. If your letters are glowing into each other, focus on diffuser upgrades, physical baffles, black interior paint, and LED spacing. If letters are dead or dim, work through power supply checks, solder joint inspection, data line continuity, and LED replacement.
The methodical approach matters. Test one variable at a time so you know exactly what fixed the problem. Start with the easy, non-destructive steps like running an LED test sketch and checking connections before moving to soldering or component replacement.
With the right diffuser material, solid solder joints, adequate power, and a few preventive habits like software brightness limiting and annual inspections, your word clock will display crisp, readable time for years to come. The community of builders who have solved these same issues proves that patience and methodical troubleshooting always win.