
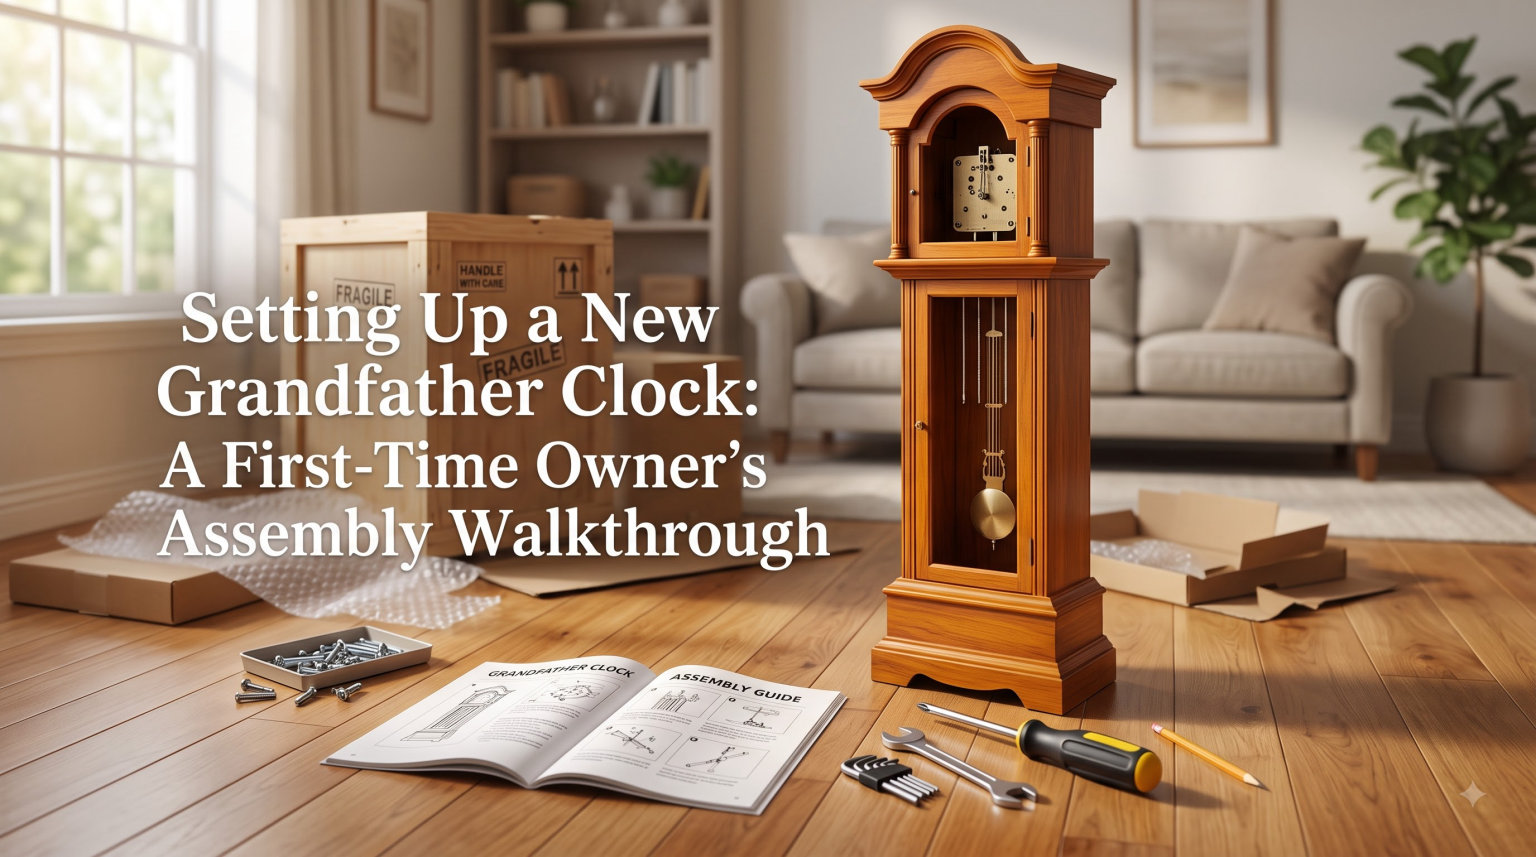
Bringing home a new grandfather clock feels like welcoming a small piece of history into your living room. The cabinet looks magnificent in the box, but the moment you start pulling out components, the excitement can quickly turn into confusion. Where does the pendulum hook? Which weight goes on which side? Why are there styrofoam blocks taped to the movement?
I have helped friends and family set up their first grandfather clocks for more than a decade, and I have made just about every mistake worth mentioning. This walkthrough distills everything I have learned into one practical guide. By the end, you will know exactly how to set up a grandfather clock from unboxing to first chime, without damaging the movement or your nerves.
Table of Contents
Tools and Supplies You’ll Need Before You Begin
Most guides jump straight into unpacking, but having the right tools on hand saves you from running back and forth to the garage mid-setup. Lay everything out on a clean towel or padded blanket near the clock’s final spot before you open any boxes.
Here is what I keep within arm’s reach every time:
A 4-foot bubble level or a torpedo level for the cabinet and a smaller level for checking the movement plumb
Soft cotton gloves to keep fingerprints, oils, and skin acids off the polished wood and brass components
A Phillips-head screwdriver and a small flat-head screwdriver for any final cabinet adjustments and weight crank covers
Clean shop towels or lint-free microfiber cloths for wiping hands and components
A step stool if you are shorter than the clock’s hood
A flashlight or headlamp to see inside the movement area
A small bowl or magnetic tray to hold screws and packing hardware so nothing rolls under furniture
A second person for lifting and steadying the cabinet, even if it is just your neighbor for ten minutes
If your clock has a glass front, glass side panels, or beveled elements, ask the second person to help lift rather than dragging the case across the floor. One chipped corner on a beveled edge can cost more to repair than the entire setup process.
Where to Place Your Grandfather Clock
Before you crack open the first box, decide where the clock will live. Moving a fully assembled grandfather clock across a room is not a one-person job, and doing it before you level and start the movement risks tipping, jarring the pendulum, and knocking the beat pattern off balance.
Pick a location against an interior wall, away from direct sunlight, heating vents, fireplaces, and exterior doors. Sudden temperature swings and humidity shifts cause the wood to expand and contract, which can throw off your timekeeping for weeks. Avoid placing it on thick carpet when possible, because carpet absorbs the levelers and can slowly settle after you think you are done.
Step 1: Unpacking the Grandfather Clock Carefully
Set the case on a soft blanket or the foam packaging it shipped in. Open the top carton first, then the side cartons, so you can see exactly what is inside. Most grandfather clocks ship in two or three boxes: one for the cabinet, one for the hood and glass, and one for the weights, pendulum, and cranking key.
Before you remove anything, locate the product information label. Premier Clocks and other makers usually stick it on the back of the case, inside the hood, or on the back of the movement mounting plate. Write down the model number, serial number, and any reference to the movement type (cable-driven or chain-driven). You will need this if you ever order replacement parts or call customer service.
Lift the cabinet onto its final spot with a helper. At this point the clock will lean slightly because the levelers are not adjusted and the weights are not installed. That is normal. Do not try to push it flush against the wall yet, because you will need access to the back for leveling and winding.
Inside the hood or taped to a side panel, you should find:
Three weights (often labeled or numbered)
The pendulum in a separate cardboard sleeve
A winding crank or crank key
Glass shelves or accent pieces wrapped in tissue
Any finials, crown molding, or top decorative pieces
The owner’s manual and warranty card
Step 2: Leveling the Clock Properly
Leveling a grandfather clock is not about making it look straight to your eye. The movement inside hangs from a suspension spring that swings on a pendulum guide, and even a slight tilt throws the beat off rhythm. An uneven beat causes the clock to run fast, slow, or stop altogether within hours.
Place your 4-foot level on top of the cabinet, both front-to-back and side-to-side. Adjust the levelers under each corner until the bubble sits perfectly centered in both directions. If your level is shorter than the cabinet, take readings at multiple spots to confirm the entire top is flat rather than twisted.
Then place the smaller level on the bottom of the movement mounting plate, accessible through the front door or by opening the side panels. The plate should be plumb in both directions. Many first-time owners skip this step because the cabinet looks level, but the movement plate is mounted on its own bracket inside the case and can sit at a different angle.
If you do not own a level, you can pour a small amount of water onto the movement plate and watch which way it pools, but I do not recommend it. A $15 torpedo level prevents hundreds of dollars in movement repairs.
Step 3: Removing Chime Rod Packaging
Inside the cabinet, you will see a row of metal chime rods, often tuned like a xylophone and wired together. Each rod has a small cardboard or plastic sleeve slid over its tip to protect it during shipping. These sleeves prevent the chime hammers from striking the rods during transport, which would crack the hammers or dent the rods.
Open the front door and gently pull each sleeve straight off the rod. They usually slide off with light finger pressure. Do not twist or yank. If a sleeve feels stuck, wiggle it side to side rather than pulling hard. Most clocks have eight rods for a Westminster chime or more for a Whittington or St. Michael arrangement.
After removing the sleeves, gently swing the chime hammers with your finger to confirm they move freely. They should pivot smoothly and return to their resting position without binding. If a hammer does not move, double-check that no sleeve fragment is still inside the rod.
Step 4: Leave the Styrofoam Shipping Blocks in Place
This is the single most important warning in this entire guide, and I am putting it in bold because I have watched brand-new owners destroy their movements by ignoring it.
Your clock almost certainly has two small styrofoam blocks taped or strapped around the cables or chains near the top of the movement. These blocks keep the cable tension from pulling the mechanism sideways during shipping. They are not packing waste. They are functional transit locks.
Do NOT remove the styrofoam blocks for at least 8 hours after you start the clock. The cables need time to stretch and settle into their natural alignment. If you start the clock and immediately remove the blocks, the cables can bind, jump off their pulleys, or snap. I have seen a $1,200 cable replacement that started with a five-minute shortcut.
Set a phone reminder for 8 hours after you complete Step 8. When the alarm goes off, return to the clock and slide the blocks out slowly while supporting the cables with your other hand.
Step 5: Hanging the Pendulum
Take the pendulum out of its sleeve. You will see a thin suspension rod at the top with a small fork or hanger, a long thin rod in the middle, and a brass or composite disc (the bob) at the bottom. The fork at the top hooks onto a small pin or clip hanging down from the movement, usually hidden behind the dial.
Open the front door and look up just under the dial face. You should see a small brass pin or a thin metal spring clip pointing downward. Hold the pendulum by the bob, not the rod, and gently lift the suspension fork up and over the pin. Slide it into the slot until the fork seats fully.
The pendulum should hang straight down with the bob swinging freely without touching the pendulum guide or the back of the case. Spin the bob gently with your finger to confirm it swings in a clean arc. If it wobbles or scrapes against the guide, the clock is still slightly out of level.
Why this step matters: The pendulum is the heart of your clock. A bent suspension spring or a pendulum that hits the guide will stop the movement within minutes and can damage the suspension over time.
Step 6: Installing the Weights in Correct Order
Three weights power three separate systems: the hour strike (left), the timekeeping (center), and the chime melody (right). They look almost identical, but each one is calibrated to a specific chain length or cable height. Mixing them up will leave your clock with chiming that does not match the hour or weights that bottom out before the week ends.
The weights are usually marked with a small sticker, a stamped letter, or a colored ribbon. If yours are not marked, check the owner’s manual or look at the cable lengths. The left weight sits slightly higher in its pulley path than the center, and the right weight sits slightly higher than the left.
To install:
Locate the chain or cable hanging from the left side of the movement
Hook the left (strike) weight onto the hook at the end of that chain or cable
Repeat on the center chain for the time weight
Repeat on the right chain for the chime weight
Each weight should hang straight down without contacting the cabinet wall, the bottom of the case, or the weight beside it. If a weight sits at a noticeably different height than the others, you may have grabbed the wrong one. Switch them and check again.
On a cable-driven movement, the weights descend slowly over 7 to 8 days. On a chain-driven movement, the weights stay in place and you raise them weekly with the crank. Knowing which type you own helps you set realistic maintenance expectations.
Step 7: Setting the Time Correctly
This step catches more first-time owners than any other. The temptation is to move the hour hand forward to “set the time.” On a grandfather clock, never touch the hour hand. The hour hand is mechanically linked to the strike mechanism, and moving it independently desynchronizes the chimes from the actual time.
Instead, move only the minute hand, and always in the counter-clockwise direction.
To set the time:
Grasp the minute hand (the long hand) gently at its base, not by the tip
Rotate it counter-clockwise until the dial reads the correct time
If you pass the correct time, keep rotating counter-clockwise rather than reversing
Stop a few minutes ahead of the actual time, then let the clock catch up naturally
Why counter-clockwise only? Mechanical grandfather clock movements are designed to run clockwise. Forcing the minute hand backward can damage the minute hand bushing, which is a small but expensive repair that requires a service technician.
When the minute hand reaches the top of the hour (12 position), listen for the chime sequence. If your clock has a Westminster chime, you should hear four notes for the first quarter hour, eight notes for the half hour, twelve for the third quarter, and sixteen for the full hour followed by the hour strike.
Step 8: Starting the Clock and Listening for an Even Beat
With the pendulum hanging and the weights installed, it is time to start the clock. Gently push the pendulum to one side and release it. Do not push it hard. A light nudge of one to two inches is plenty.
Listen. You should hear a steady tick-tock sound with even spacing between the ticks. That is the beat. If the tick on one side sounds noticeably louder or longer than the other, the pendulum is not centered relative to the movement, which usually means the cabinet is still slightly out of level.
To correct an uneven beat:
Stop the pendulum by gently catching it
Tip the cabinet slightly in the direction of the louder tick
Recheck with your level
Restart the pendulum and listen again
A perfectly even beat sounds almost like a single soft tapping rather than two distinct sounds. That single sound is what clockmakers call the “true beat,” and it tells you the movement is happy.
Step 9: Regulating Timekeeping with the Adjustment Nut
After 24 hours of running, your clock will tell you how accurate it is. Most clocks gain or lose a few minutes in the first day as the cables settle and the lubricant warms up. That is normal.
Look at the bottom of the pendulum bob. You will see a small brass nut, often with a knurled edge, hanging just under the center of the bob. This is the adjustment nut. Turning it raises or lowers the bob on the pendulum rod, which changes the swing rate.
Clock running fast (gaining time): turn the nut to the right (clockwise) to lower the bob slightly
Clock running slow (losing time): turn the nut to the left (counter-clockwise) to raise the bob slightly
Make small adjustments. One full turn changes the rate by roughly one minute per day. I usually start with a quarter turn, wait 24 hours, and adjust again. It can take a week of small tweaks before a new clock settles into its final rhythm, and that is completely normal.
Why this step matters: The pendulum length determines the swing period, and the swing period determines how fast the clock counts seconds. Even a millimeter of bob height changes the rate noticeably. Patience here saves you from over-correcting and chasing your tail for a month.
Setting the Moon Dial (If Your Clock Has One)
Some grandfather clocks include a small dial with two moon faces (one visible, one hidden behind the dial) that tracks the lunar cycle. Setting it correctly is mostly cosmetic but adds a beautiful detail once you get it right.
To set the moon dial:
Look up the current lunar phase for your area (a quick search for “moon phase today” works)
Find the small adjustment dial or finger hole on the face of the moon dial
Slowly rotate the moon disc until the visible moon matches the actual lunar phase
Set the number on the dial to the current lunar day (1 through 29.5)
Once set, the moon dial advances automatically as the clock runs. You only need to adjust it after a power outage lasting more than a few days or if you stop the clock for an extended period.
Common First-Time Owner Mistakes to Avoid
After watching dozens of first-time setups, I have noticed the same handful of mistakes trip people up again and again. Skip the learning curve by knowing them in advance.
Adding oil to the movement. This is the most damaging mistake on the list. Modern clock movements are sealed and pre-lubricated. Adding household oil or 3-in-1 oil gums up the pivots and attracts dust, which grinds the bushings into powder. If your clock needs oil, it needs a service technician with clock-specific synthetic lubricants.
Removing styrofoam blocks immediately. I covered this above, but it bears repeating. Those blocks are transit locks, not packing debris.
Setting the time by moving the hour hand. The hour hand is connected to the strike mechanism. Moving it directly breaks the chime-to-strike synchronization, and you will spend hours trying to figure out why your clock strikes 4 at 3 o’clock.
Hanging weights in the wrong order. The cables and chains are cut to specific lengths. Swapping weights causes one system to run out of power before the others, leading to chiming without striking or striking without chiming.
Placing the clock in direct sunlight. UV light fades the dial finish and dries out the wood joints. Even indirect sunlight through a south-facing window can bleach a dial face over a few years.
Dragging the cabinet across the floor. Grandfather clocks are top-heavy. Even a slight tip can knock the pendulum into the guide and bend the suspension spring. Lift and set down rather than sliding.
Handling components without gloves. Fingerprints on polished brass or lacquered wood take serious effort to remove. Cotton gloves cost a dollar and protect the finish for decades.
Troubleshooting Common First-Hour Issues
Even with a perfect setup, the first hour of running can surface issues. Here is how to handle the three most common ones.
The clock stops within five minutes of starting. This almost always means the beat is uneven. Stop trying to push the pendulum faster and instead recheck your level, both on the cabinet top and the movement plate. A two-millimeter adjustment often solves it.
The chimes and the hour strike do not match. The hour hand is out of sync with the strike mechanism. Stop the pendulum, remove the dial nut holding the hour hand, and rotate the hour hand to match the strike sequence you are hearing. Reattach and restart.
A weight bottoms out before its week is up. On a cable-driven clock, this usually means the cable has jumped a pulley or the weight was installed on the wrong chain. Open the side panel and watch the cables travel as the clock runs. A cable that slips off a pulley has a visible wobble.
The pendulum ticks but the hands do not move. This indicates a power train issue. The minute hand bushing may be loose, or the movement has a slipped gear. This requires a service technician rather than a home fix.
The chimes sound out of tune. Most chime rods are tunable. Look for small set screws at the top of each rod. Tightening or loosening them adjusts the pitch slightly. This is a job for a patient ear and a small screwdriver.
FAQs
How do I set the correct time on a grandfather clock?
Move only the minute hand, and always in the counter-clockwise direction. Never touch the hour hand, because it is mechanically linked to the strike mechanism. Rotate the minute hand until the dial shows the correct time, and let the clock catch up naturally instead of reversing direction if you overshoot.
What order do the weights go on a grandfather clock?
Install the left (hour strike) weight first, then the center (timekeeping) weight, and finally the right (chime melody) weight. Each weight is calibrated to a specific cable or chain length, and mixing them causes chiming and striking to fall out of sync. Weights are often marked with a sticker, letter, or colored ribbon.
How often do you have to reset a grandfather clock?
A properly leveled and regulated grandfather clock should not need time adjustment more than once or twice per year, often after daylight saving time changes or power-related stoppages. Cable-driven clocks need rewinding every 7 to 8 days, while chain-driven clocks also run for about a week on a single wind.
How do I hook up the pendulum on a grandfather clock?
Lift the pendulum by the bob, not the thin suspension rod. Hook the small fork at the top of the suspension rod onto the brass pin or spring clip hanging down from the back of the dial face. The pendulum should hang straight and swing freely without touching the pendulum guide or the cabinet back.
Final Thoughts
Setting up a new grandfather clock looks intimidating at first glance, but it boils down to nine patient steps done in the right order. Unpack carefully, level twice (once on the case and once on the movement plate), remove only the chime rod packaging, leave the styrofoam blocks in place for 8 hours, hang the pendulum by its bob, install the weights in left-center-right order, set the time by moving only the minute hand counter-clockwise, listen for an even beat, and adjust the pendulum nut in small increments over the first week.
Once your grandfather clock is running, the real pleasure begins. You will find yourself pausing in the doorway at the top of the hour just to hear the chime sequence. That is the moment a piece of furniture becomes a family heirloom, and you earned it by setting it up the right way.
If you run into an issue this guide does not cover, document the model number from your product information label and reach out to the manufacturer’s customer service. Most grandfather clock makers keep replacement parts in stock for decades, and they would rather help you than have you guess and damage the movement. Take your time, follow the steps, and enjoy the process. Your clock has been ticking for generations, and with proper care, it will keep ticking for generations to come.