
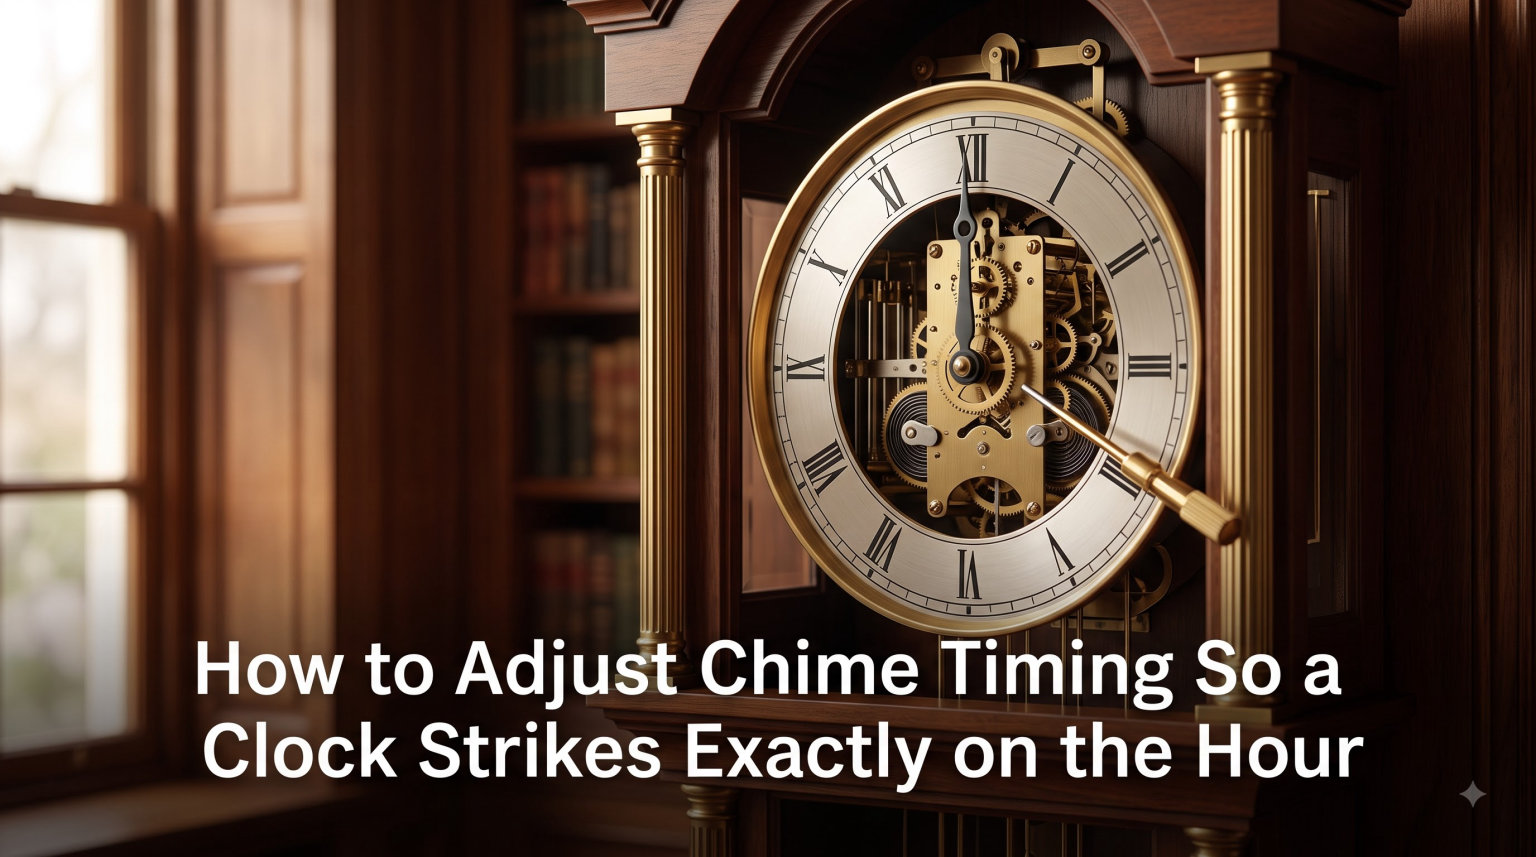
There is nothing more frustrating than a beautiful chiming clock that sounds off at the wrong moment. Learning how to adjust chime timing so a clock strikes exactly on the hour is one of the most useful skills a clock owner can develop, and in most cases you can fix the problem yourself in under ten minutes.
Whether you inherited a grandfather clock that chimes the wrong number of times or picked up a mantel clock that strikes fifteen minutes late, the underlying causes are usually simple. I have walked dozens of clock owners through this exact process, and the fixes fall into two straightforward categories.
This guide covers why clocks fall out of sync, the step-by-step adjustment methods that actually work, clock-type-specific tips, and clear warning signs that tell you when to stop and call a professional. By the end, you will know exactly what to do the next time your clock misbehaves.
Table of Contents
Why Your Clock Chimes at the Wrong Time
A clock that chimes incorrectly is usually suffering from one of two distinct problems, and identifying which one you have is the first step toward fixing it. The two issues are wrong timing (the chime sounds too early or too late) and wrong hour count (the chime strikes the right time but the wrong number of times).
Wrong Timing: Chimes Play Early or Late
This happens when the minute hand and the internal chime train have fallen out of step with each other. The most common cause is that someone moved the hands to set the time without stopping at each quarter-hour mark to let the chime sequence finish.
It also happens after a clock has been moved, transported, or stored on its side. The delicate gearing inside the chime train can shift slightly, throwing the synchronization off by a few minutes or even a full quarter hour.
Wrong Hour Count: Strikes the Wrong Number
If your clock chimes nine times at six o’clock or twelve times at nine o’clock, the hour hand has simply been pushed out of its correct position. The hour hand on most mechanical clocks is a friction fit, meaning it slides onto a tapered shaft and stays in place only by pressure.
A gentle bump, an overenthusiastic dusting, or even just years of vibration can nudge the hour hand off its mark. The chime mechanism (called the strike train) tracks the hour correctly internally, but the hand you see no longer matches.
I see this constantly with inherited clocks. A family passes down a treasured mantel clock, the new owner winds it up, and suddenly it is striking the wrong count. The clock is not broken. The hands just need to be resynchronized.
Other Common Causes
Dirt and old lubricant buildup can slow the chime train down so it lags behind the hands. Worn bushings (the small bearings that support the gear arbors) create excess play in the mechanism. And on quartz clocks, a weak battery or a glitch in the electronic chime module can throw everything off.
How to Adjust Chime Timing So a Clock Strikes Exactly on the Hour
The adjustment method depends on which problem you identified above. I will walk you through both fixes step by step, starting with the most common one.
Method 1: The Forward-Only Minute Hand Sync
This is the fix for wrong timing, when your chime plays early or late but the hour count is correct. The goal is to walk the minute hand forward through every quarter-hour position so the chime train catches up and locks back into sync.
Step 1: Note the current time and chime behavior. Before you touch anything, listen to what the clock is doing. Does the chime start at 3 minutes past the hour? Does it play the Westminster melody at the wrong quarter? Write down what you observe.
Step 2: Move the minute hand forward only. Gently turn the minute hand clockwise toward the next quarter-hour position. Never move the hands backward during this process unless your manufacturer’s manual specifically says it is safe. Moving backward can damage the chime train gearing on many mechanical clocks.
Step 3: Stop at each quarter hour and let the chime finish. When you reach the first quarter, pause. Wait for the chime sequence to play completely and come to a full stop before you move the hand again. This is the single most important step. The mechanism needs to complete its cycle at each position.
Step 4: Continue to each quarter mark. Move forward to the half-hour, pause, and let the half-hour strike finish. Move to the three-quarter mark, pause again. Finally, advance to the top of the hour and let the full hour strike play out.
Step 5: Check the hour count. Listen to how many times the clock strikes at the hour. If the count matches the hour shown on the dial, your timing is now synced. If the count is wrong, move on to Method 2.
Step 6: Set the clock to the correct time. Now that the chime train is synchronized, move the minute hand forward (still stopping at each quarter) until the hands show the correct current time. The clock should chime on the hour from this point forward.
One forum tip I have found genuinely helpful: if your clock has a silencing lever, set it to silent before you start. You can then move the hands forward freely without sitting through every chime sequence, then flip the lever back on once you reach the correct time. This saves time on clocks with long Westminster sequences.
Warning: Never force a hand that resists movement. If the minute hand will not turn smoothly forward, stop immediately. Forcing it can bend the hand, strip the gearing, or snap the delicate arbor inside the movement. This is a sign you need professional service, not more elbow grease.
Method 2: Repositioning the Hour Hand (Wrong Hour Count)
This is the fix for wrong hour count, when the clock chimes at the right time but the wrong number of times. The hour hand needs to be slid on its friction-fit shaft to match whatever hour the clock just struck.
Step 1: Let the clock strike the hour. Move the minute hand forward to the 12 o’clock position (stopping at quarter hours along the way) and let the hour strike complete. Count the strikes carefully.
Step 2: Note the strike count. Say the clock strikes eight times. That means the internal strike mechanism thinks it is eight o’clock. Your job is to make the hour hand agree.
Step 3: Gently slide the hour hand. Grip the hour hand near its base, where it meets the center post. Apply gentle, even pressure and slide it around the dial until it points to the number the clock just struck. In this example, point it to the eight.
Do not pull the hour hand off the shaft. You are sliding it around the dial while it stays on the tapered friction-fit post. The fit should be snug enough that it holds position but loose enough that you can move it with moderate finger pressure.
Step 4: Verify the fix. Move the minute hand forward two more hours, stopping at each quarter. At each hour, confirm the strike count matches the position of the hour hand. If it does, the fix is complete.
Step 5: Tighten the friction fit if needed. If the hour hand slips back out of position easily, it may have stretched slightly. You can gently squeeze the brass bushing at the base of the hand with smooth-jaw pliers to tighten it. Use very light pressure and test before squeezing more.
I have used this exact method on everything from small mantel clocks to full-size grandfather clocks, and it works reliably. The key is patience and a light touch on that hour hand.
Special Case: Half-Hour Chime at the Wrong Time
If your clock chimes at the half hour when it should not, or plays a full melody at the half hour instead of a single strike, the chime train has likely skipped a position. Run through Method 1 again, making sure you stop and let every single quarter-hour chime complete fully. Rushing past a quarter mark is the most common cause of this specific issue.
If the problem persists after a full resync, the rack-and-snail mechanism inside the strike train may need cleaning or adjustment. This is where DIY ends and professional service begins.
Clock-Type-Specific Chime Adjustment Tips
Different clock types have quirks that affect how you approach chime adjustment. Here is what to know about the most common varieties.
Grandfather Clocks
Grandfather clocks have the most complex chime mechanisms, typically offering Westminster and sometimes additional melodies like Whittington or St. Michael. Their large movements are powerful but sensitive to being out of level.
Before adjusting the hands on a grandfather clock, check that the case is level side to side and front to back. A clock that is even slightly out of beat will run erratically and the chime timing will drift. Use a small level on top of the case and adjust the leveling feet until the bubble is centered.
Grandfather clocks also have an auto-correction feature on many models. If the chime is off, try simply letting the clock run for one to two full hours. Many modern grandfather movements self-correct at the next hour cycle. If it does not correct itself, then proceed with the forward-only method.
Mantel Clocks
Mantel clocks are the most common type people ask me about, partly because they are easy to bump. The same friction-fit hour hand applies here, and Methods 1 and 2 work the same way.
The main thing to watch on mantel clocks is the minute hand bushing, the small collar where the minute hand attaches. If this bushing is loose, the hand will not reliably trigger the chime at the right position. Tighten the small nut holding the minute hand in place, but do not overtighten or the hand will bind.
Transporting a mantel clock is a frequent cause of chime problems. Always remove the pendulum and secure the chime rods before moving one. I cannot count the number of times someone has told me their clock worked fine until they moved it across the room.
Wall Clocks
Wall clocks present a unique challenge because you are often working at an awkward angle. The same adjustment methods apply, but take extra care not to pull the clock off the wall while turning the hands.
If your wall clock has a pendulum, make sure it is hung correctly and swinging evenly. An out-of-beat pendulum clock will gain or lose time, which gradually throws the chime timing off even after you sync it.
Quartz vs Mechanical Clocks: Key Differences
Quartz clocks and mechanical clocks need completely different approaches, and confusing the two will lead to frustration.
Mechanical clocks use the gear-driven chime and strike trains described throughout this guide. You sync them by moving the hands forward through the quarter hours and adjusting the friction-fit hour hand. The fixes are mechanical and physical.
Quartz clocks use electronic chime modules driven by a battery. If a quartz clock chimes at the wrong time, the fix is usually simpler. Remove the battery, wait sixty seconds for the module to fully reset, then reinstall the battery. The chime module will reset to twelve o’clock by default.
Once reset, move the hands forward (quartz clocks are more forgiving about direction, but forward is still safer) to the correct time, stopping at each hour to let the chime sound. If the clock has a reset button or a small hole marked reset, insert a pin and press it to force a chime reset.
If a quartz clock continues to chime wrong after a battery reset, the electronic module itself may be failing. Unlike mechanical movements, quartz modules are usually replaced rather than repaired.
When to Call a Professional Clock Repairer
Most chime timing problems are fixable at home, but some situations call for a professional. Knowing when to stop can save your clock from costly damage.
Call a professional if the minute hand will not move forward at all, even with gentle pressure. This indicates a jammed or broken gear in the movement that requires disassembly to fix. Forcing it will make things worse.
If you have run through both methods and the clock still chimes wrong after a full hour cycle, the internal rack-and-snail mechanism or the chime train may need cleaning and adjustment. This involves removing the movement from the case, a job best left to someone with experience.
A clock that has been running for twenty or more years without service likely needs a full overhaul anyway. Old oil turns to sticky varnish that slows the gears and throws timing off no matter how carefully you sync the hands. A professional cleaning and lubrication will restore reliable operation.
Signs you need professional service:
The minute hand is physically stuck and will not advance
The clock runs but the chime train never activates at all
You hear grinding, clicking, or other abnormal sounds from the movement
The chime works but the clock loses significant time (more than 15 minutes per week) even after syncing
The movement shows visible rust or heavy grime buildup
A professional cleaning typically restores a mechanical movement to like-new timing, and it is far cheaper than replacing a damaged clock because of a DIY attempt gone wrong.
Prevention Tips to Keep Your Chimes in Sync
Once your clock is chiming correctly, a few simple habits will keep it that way for years.
Always set the time by moving forward. Make this a rule. Move the minute hand clockwise only, pausing at each quarter hour. This single habit prevents nearly all timing problems.
Wind on a consistent schedule. A clock that runs down completely and stops can fall out of sync when restarted. Wind it the same day each week.
Keep the clock level. Check level periodically, especially after cleaning or dusting. Even small shifts affect beat and timing.
Have the movement serviced every 5 to 7 years. Fresh oil and a clean movement keep the gears running at the correct speed.
Never move the clock with the pendulum attached. Remove the pendulum and secure the chime rods before any transport, even across a room.
Replace quartz batteries annually. A weak battery causes erratic chime behavior. Swap it before problems start.
FAQs
How do you get a clock to chime on the correct hour?
Move the minute hand forward only, stopping at each quarter-hour mark to let the chime sequence finish completely. Never move the hands backward. Once you reach the top of the hour, confirm the strike count matches the hour shown on the dial. If the count is wrong, gently slide the friction-fit hour hand to match the number of strikes.
How do you fix a clock that chimes the wrong hour?
If the clock strikes at the right time but the wrong number of times, the hour hand has slipped on its friction-fit shaft. Let the clock strike the hour, count the strikes, then gently slide the hour hand to point at that number. The hand slides around the dial without coming off the post.
How many times does a clock chime on the hour?
A standard hour-strike clock chimes once for each hour, so it strikes once at one o’clock and twelve times at twelve o’clock. Westminster chime clocks play a melody at each quarter hour and add the full hour count strike on the hour, so at three o’clock you hear the Westminster melody followed by three strikes.
How do I sync chimes with time?
Advance the minute hand clockwise to the 12 o’clock position, pausing at each quarter to let each chime sequence complete. At the hour, check that the strike count matches the dial. If not, slide the hour hand to the correct hour. Then continue moving forward to the current time, still pausing at each quarter mark.
Conclusion
Fixing a clock that chimes at the wrong time is almost always a matter of patience, not skill. By moving the minute hand forward only and pausing at each quarter hour, you can resync the timing. By sliding the friction-fit hour hand to match the strike count, you correct a wrong hour number.
Remember the golden rule: forward only, never backward, unless your manual says otherwise. If the hands resist or the problem persists after a full sync cycle, stop and call a professional rather than risk damaging the movement. Now that you know how to adjust chime timing so a clock strikes exactly on the hour, that treasured timepiece can get back to doing what it does best: marking each hour with a sound you can rely on.