
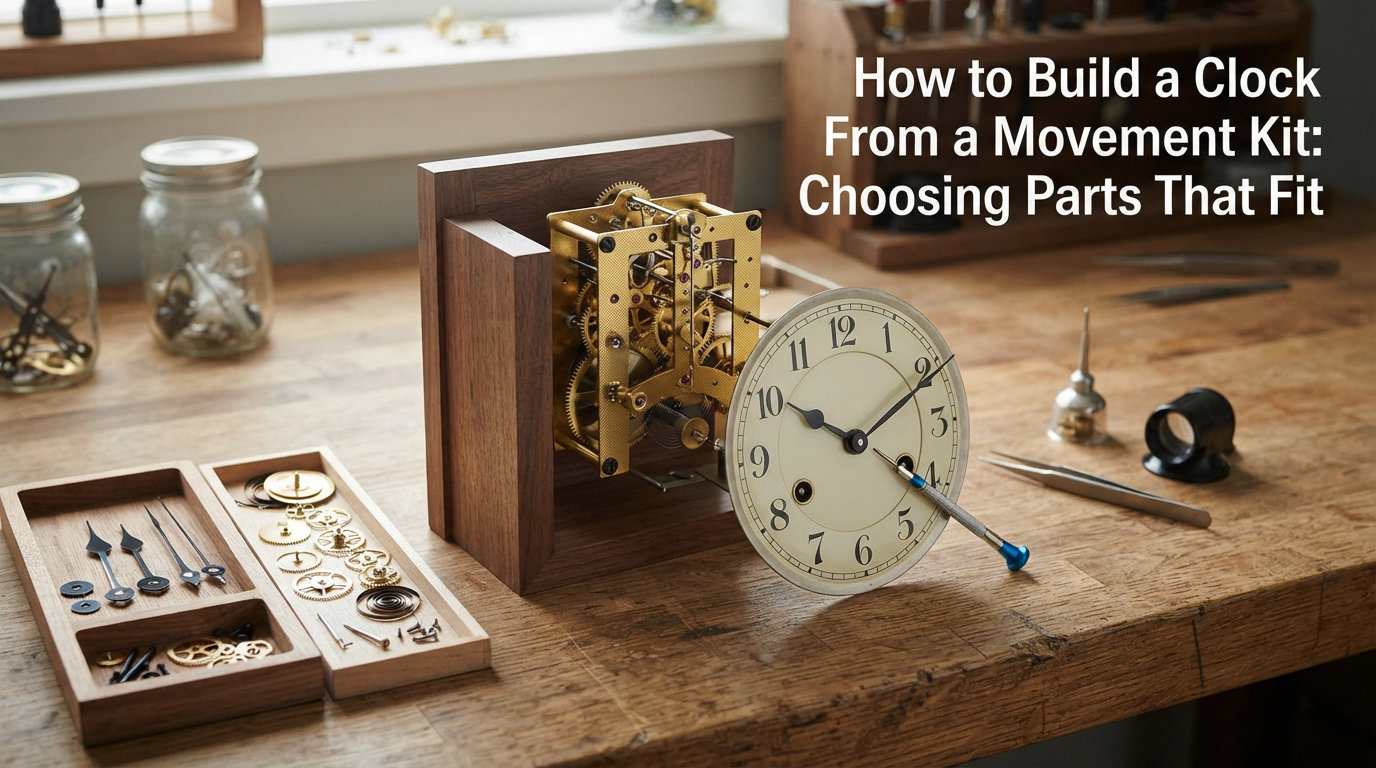
Building your own clock from a movement kit is one of the most rewarding DIY projects you can take on. Whether you are transforming a piece of reclaimed wood, a vinyl record, or a laser-cut acrylic disc into a functioning timepiece, the process comes down to one thing: choosing parts that actually fit together. Get the measurements right, and the assembly takes about fifteen minutes. Get them wrong, and you will be back at the craft store wondering why your shaft will not thread through the dial.
In this guide, I will walk you through exactly how to build a clock from a movement kit, from understanding movement types to measuring your clock face, selecting compatible hands, and assembling everything step by step. Our team has built dozens of clocks using quartz and mechanical kits, and the tips here come from real trial and error, not just spec sheets.
By the end, you will know how to match shaft length to case depth, avoid the mistakes that trip up first-time builders, and troubleshoot common problems like hands that stop moving or a clock that runs backwards. Let us start with the foundation: understanding what a clock movement kit actually contains.
Table of Contents
Understanding Clock Movement Types: Quartz vs Mechanical
Every clock movement kit is built around one core component: the movement itself. This is the small box-shaped mechanism that sits behind the clock face and drives the hands. There are two main types you will encounter, and the choice between them shapes everything from power source to accuracy.
Quartz movements are the most common choice for DIY clock projects. They run on a small battery (usually AA), use an electronic oscillator regulated by a quartz crystal to keep time, and are accurate to within a few seconds per month. Most quartz movements produce an audible tick once per second, though you can find silent sweep versions that move continuously without ticking. For beginners, quartz is almost always the right call because it is affordable, reliable, and requires zero maintenance beyond an occasional battery swap.
Mechanical movements, on the other hand, are spring-driven and require manual winding. These are the mechanisms you find in traditional pendulum clocks and grandfather clocks. They offer a satisfying mechanical heartbeat and often include a visible pendulum, but they demand more attention. You wind them regularly, they are sensitive to leveling, and their accuracy depends on how well they are regulated. Mechanical movements are rewarding for experienced builders, but they add complexity that most first-time DIYers do not need.
Here is the practical takeaway: if you are building a wall clock from a kit for the first time, go with quartz. If you want the charm of a ticking pendulum and are willing to maintain it, mechanical is worth the effort. Either way, the movement type determines your power source, hand compatibility, and installation method.
How to Measure Your Clock Face and Case Correctly
If there is one step that determines whether your clock build succeeds or fails, it is measurement. The movement, shaft, and hands all need to match the physical dimensions of your clock face and case. Skip this step, and nothing lines up.
Start by measuring the dial diameter. This is the visible area where your numbers or markers sit, not the outer edge of your clock face material. The dial diameter determines the maximum hand length you can use. Your minute hand should reach close to the edge of the dial without overhanging it. If your dial is 10 inches across, you need hands designed for a 10-inch clock, meaning the minute hand should be about 4.5 to 5 inches long from the center hole to the tip.
Next, measure the case depth or material thickness. This is the dimension that determines your shaft length. If your clock face is a 0.25-inch piece of plywood, you need a short shaft. If it is a 1.5-inch thick wooden slab, you need a longer threaded shaft. The shaft must pass entirely through the material with enough threaded portion exposed to secure the hex nut on the front side.
Then measure the center hole diameter. Most quartz movements use a threaded shaft that fits through a hole drilled to about 8mm (roughly 5/16 inch). Some larger movements need a 10mm hole. If your hole is too small, the shaft will not pass through. If it is too large, the movement may wobble, though the hex nut and washer usually hold everything stable.
Write these three measurements down before you buy any parts. Dial diameter, material thickness, and center hole diameter are the three numbers that determine every component choice in your kit.
Matching Movement Size to Your Clock Face Dimensions
Once you have your measurements, matching the movement to your clock face becomes straightforward. The key variable here is the threaded shaft length, which must accommodate your material thickness plus a small allowance for the washer and hex nut.
Here is the formula our team uses: take your material thickness and add about 1/8 inch. That sum is your minimum total shaft length. For example, if your clock face is 3/8 inch thick, you need a shaft with a total length of at least 1/2 inch. The threaded portion of the shaft needs to protrude past the front of the clock face by about 3/16 to 1/4 inch so the hex nut can thread on securely.
Most quartz movement kits list shaft length as either total length or threaded length. Pay close attention to which measurement the manufacturer provides. Total shaft length includes the portion that sits inside the movement body, while threaded length is only the part with screw threads. If you see a movement listed as having a 5/8-inch shaft, check whether that is total or threaded before buying.
Shaft diameter also matters, though it is less variable. Standard quartz movements use a shaft diameter of about 8mm (5/16 inch), which fits the standard 8mm center hole. High-torque movements designed for large clock faces with long hands may use a 10mm shaft. Always confirm the shaft diameter matches your drilled hole.
If the shaft is too short, the movement will sit flush against the back of the clock face with no room for the washer and hex nut on the front. If it is too long, the hands will sit too far forward, creating a gap that looks off and may cause the hands to catch on each other.
Selecting Compatible Clock Hands for Your Movement
Clock hands are not universal, despite what some kit packaging suggests. The hour hand, minute hand, and second hand each attach to the movement shaft in a specific order and use a specific mounting style. Getting the hands right is about both length and fit.
Most modern quartz kits use snap-on hands, also called press-fit hands. The hour hand slides or presses onto a small circular boss on the center shaft. The minute hand snaps onto a slightly larger mounting point just above it. The second hand attaches to the very tip of the shaft, usually with a friction fit onto a pin or cap. This push-on design makes installation simple but means the hands must match the movement’s mounting style.
Older or mechanical movements may use friction-fit hands that slide onto tapered shafts, or hands secured with small set screws. These are less common in DIY kits but appear in higher-end and replacement projects. Always check whether your hands are snap-on or friction-fit before ordering.
For hand length, match the minute hand to your dial radius. A 12-inch dial needs a minute hand of about 5.5 to 6 inches. An 8-inch dial needs about 3.5 inches. The hour hand should be roughly 60 to 70 percent of the minute hand length. The second hand is optional, but if you use one, it should be slightly shorter than the minute hand.
Avoid mixing hands from different manufacturers unless you have confirmed compatibility. The mounting holes differ in diameter by fractions of a millimeter, and a hand that almost fits will wobble or slip on the shaft.
How to Build a Clock From a Movement Kit: Step-by-Step Assembly
Now for the part you came here for: the actual build. The following ten steps cover the complete assembly process for a standard quartz movement kit. Before you start, gather your parts and tools.
Tools and parts you need: the clock movement mechanism, a set of clock hands (hour, minute, second), a rubber gasket, a washer, a hex nut, a prepared clock face with a drilled center hole, a AA battery, and small pliers or needle-nose pliers for tightening the hex nut.
Step 1: Verify the hole size. Measure the center hole in your clock face and confirm it matches the shaft diameter of your movement, typically 8mm for standard quartz kits. If the hole is too small, drill it out carefully. If it is too large, the rubber gasket will help stabilize the shaft.
Step 2: Install the hanging hook (if applicable). Some kits include a small metal hook that attaches to the back of the movement for wall mounting. Snap or screw it into place before installing the movement.
Step 3: Place the rubber gasket over the shaft. Slide the rubber gasket onto the threaded shaft from the front side, pushing it flush against the movement body. This gasket sits between the movement and the back of the clock face, preventing scratches and reducing wobble.
Step 4: Insert the shaft through the center hole. Push the threaded shaft through the hole from the back of the clock face so it protrudes through the front. The rubber gasket should sit snugly against the back surface.
Step 5: Place the washer over the shaft. On the front side of the clock face, slide the metal washer over the threaded shaft. Push it flush against the clock face surface. This distributes pressure from the hex nut evenly.
Step 6: Thread and tighten the hex nut. Screw the hex nut onto the threaded shaft by hand until finger-tight. Use pliers for a quarter-turn more, but do not over-tighten. Over-tightening cracks acrylic faces, dents soft wood, and can damage the movement internals.
Step 7: Attach the hour hand. Push the hour hand straight onto the center boss of the shaft. It should point to the 12 o’clock position. Press gently until it sits flat against the washer. Make sure it rotates freely without scraping.
Step 8: Attach the minute hand. Push the minute hand onto the shaft above the hour hand. It should also point to 12. Press it down gently but firmly until it snaps into place on the friction mount.
Step 9: Attach the second hand (optional). If your kit includes a second hand, press it onto the small pin at the very tip of the shaft cap. Push straight down to avoid bending the thin hand.
Step 10: Set the time and insert the battery. Use the small dial on the back of the movement to rotate the hands to the current time. Always turn the hands clockwise using the set dial, never force them by hand. Then insert the AA battery, positive terminal first, into the battery compartment. The clock should start ticking within seconds.
That is the full assembly. From gasket to battery, the process takes about fifteen minutes once your parts are measured and confirmed compatible. The entire build hinges on Steps 1 through 6, where correct measurements prevent every common failure.
Shaft Length Guide: Choosing the Right Threaded Shaft
Shaft length causes more frustration for DIY clock builders than any other variable. I have seen forum posts on r/clocks and r/woodworking from builders who bought a movement kit only to find the shaft will not reach through their clock face. Here is a reference guide to help you choose correctly the first time.
For thin clock faces up to 1/4 inch thick, such as acrylic sheets, thin plywood, or metal discs, you need a short shaft movement. Look for a total shaft length of about 7/16 to 1/2 inch. The threaded portion will be roughly 1/4 inch, which is enough to pass through the material and secure the hex nut.
For medium-thickness faces between 1/4 and 3/4 inch, including standard wooden plaques and MDF boards, choose a medium shaft movement. Total shaft length should be 9/16 to 3/4 inch. This is the most common shaft size included in DIY clock kits from craft stores.
For thick clock faces over 3/4 inch, such as live-edge wood slabs, reclaimed timber, or chunky decorative pieces, you need a long shaft movement. Total shaft length should be 7/8 inch or greater. Some suppliers offer extra-long shafts up to 1.5 inches for very thick builds.
The rule is simple: measure twice, order once. The threaded portion of the shaft must extend at least 3/16 inch past the front of your clock face material to accommodate the washer and hex nut. If it does not, the nut has nothing to grip.
Creative Clock Face Materials and Power Source Options
One of the best parts of building a clock from a movement kit is that the clock face can be almost anything flat with a drilled hole. Our team has seen builders use everything from dinner plates to skateboard decks. The movement does not care what material it mounts to, as long as the shaft fits.
Popular clock face materials for DIY projects include laser-cut acrylic, which offers precision-cut designs and clean edges. Reclaimed wood and live-edge slabs give a rustic look but require careful center hole drilling and often a longer shaft. Vinyl records are a favorite for music lovers, though you need to reinforce the thin center or use a gasket to stabilize the movement. Ceramic and porcelain tiles work well for decorative clocks but are fragile and need a diamond bit for drilling.
For the power source, most quartz movements run on a single AA battery, which typically lasts 8 to 12 months depending on the movement quality. Some compact movements use an AAA battery, which offers slightly shorter life. High-torque movements that drive long hands (over 6 inches) may drain batteries faster, sometimes in 4 to 6 months, because they work harder to move the heavier hands.
If the ticking sound bothers you, look for a silent sweep movement. These use a continuous-motion motor instead of a stepping motor, eliminating the tick-tock sound entirely. They cost slightly more and may use marginally more battery power, but they are ideal for bedrooms and quiet spaces.
The lifespan of a typical quartz clock movement is 5 to 10 years with regular battery changes. Mechanical movements can last decades with proper servicing, though they require periodic cleaning and oiling.
Common Mistakes to Avoid When Building Your Clock
After building dozens of clocks and reading through hundreds of forum posts, our team has identified the mistakes that catch builders off guard. Here are the ones to watch for.
Over-tightening the hex nut. This is the number one cause of movement damage. The hex nut only needs to be finger-tight plus a small quarter-turn with pliers. Cranking it down cracks acrylic faces, warps thin materials, and can seize the movement shaft.
Buying the wrong shaft length. Always measure your material thickness before ordering a movement. A shaft that is too short means the nut cannot thread on. A shaft that is too long leaves hands floating awkwardly far from the dial.
Mixing hands from different kits. Snap-on hands have mounting holes machined to specific tolerances. A minute hand from one manufacturer may not grip the shaft of another’s movement, causing it to slip and lose time.
Inserting the battery backwards. Battery polarity matters. Inserting the battery in the wrong direction can prevent the movement from running or, in rare cases, damage the electronic oscillator. Check the positive and negative markings in the battery compartment.
Pushing hands too close together. When you press the minute hand on, it should sit slightly above the hour hand with clearance for both to rotate freely. If they touch, they will snag and stop the clock. Gently bend the second hand upward if it scrapes the minute hand.
Forcing the hands by hand instead of using the set dial. Always set the time using the adjustment wheel on the back of the movement. Forcing the hands forward or backward by hand can strip the gears inside the movement.
FAQs
How do I know what size clock mechanism I need?
Measure three things: your dial diameter (for hand length), your clock face material thickness (for shaft length), and your center hole diameter (for shaft fit). Add 1/8 inch to your material thickness to find your minimum total shaft length. Choose hands whose minute hand reaches near the edge of your dial.
Is it okay to move clock hands backwards?
For most quartz movements, moving the hands backwards using the set dial is fine and will not damage the mechanism. However, never force the hands backwards by pushing them directly. Always use the adjustment wheel on the back of the movement to set the time, turning clockwise when possible.
What is the lifespan of a clock mechanism?
A typical quartz clock movement lasts 5 to 10 years with regular battery changes. Mechanical movements can last decades with periodic servicing, including cleaning and oiling every few years. Battery life in quartz movements averages 8 to 12 months per AA battery.
Why are my clock hands not moving after installing the battery?
Check battery polarity first, then confirm the hands are not pressing against each other or scraping the clock face. Remove the second hand to see if the hour and minute hands move. If the movement makes no sound at all, the battery may be dead or installed incorrectly. Rarely, the movement itself may be defective.
Wrapping Up Your Clock Build
Building a clock from a movement kit comes down to three measurements and ten assembly steps. Get the dial diameter, material thickness, and center hole size right, and everything else falls into place. The movement, shaft, and hands are all designed to work together when you choose the correct sizes for your specific clock face.
Remember to finger-tighten the hex nut, use the set dial for time adjustments, and confirm battery polarity before wondering why nothing is moving. These small details separate a smooth build from a frustrating one.
If you found this guide helpful, you now have everything you need to know about how to build a clock from a movement kit and choose parts that fit. Pick your clock face material, match your movement to the measurements, and enjoy the satisfaction of a clock you built yourself. Every time it ticks, you will know exactly how it works.