
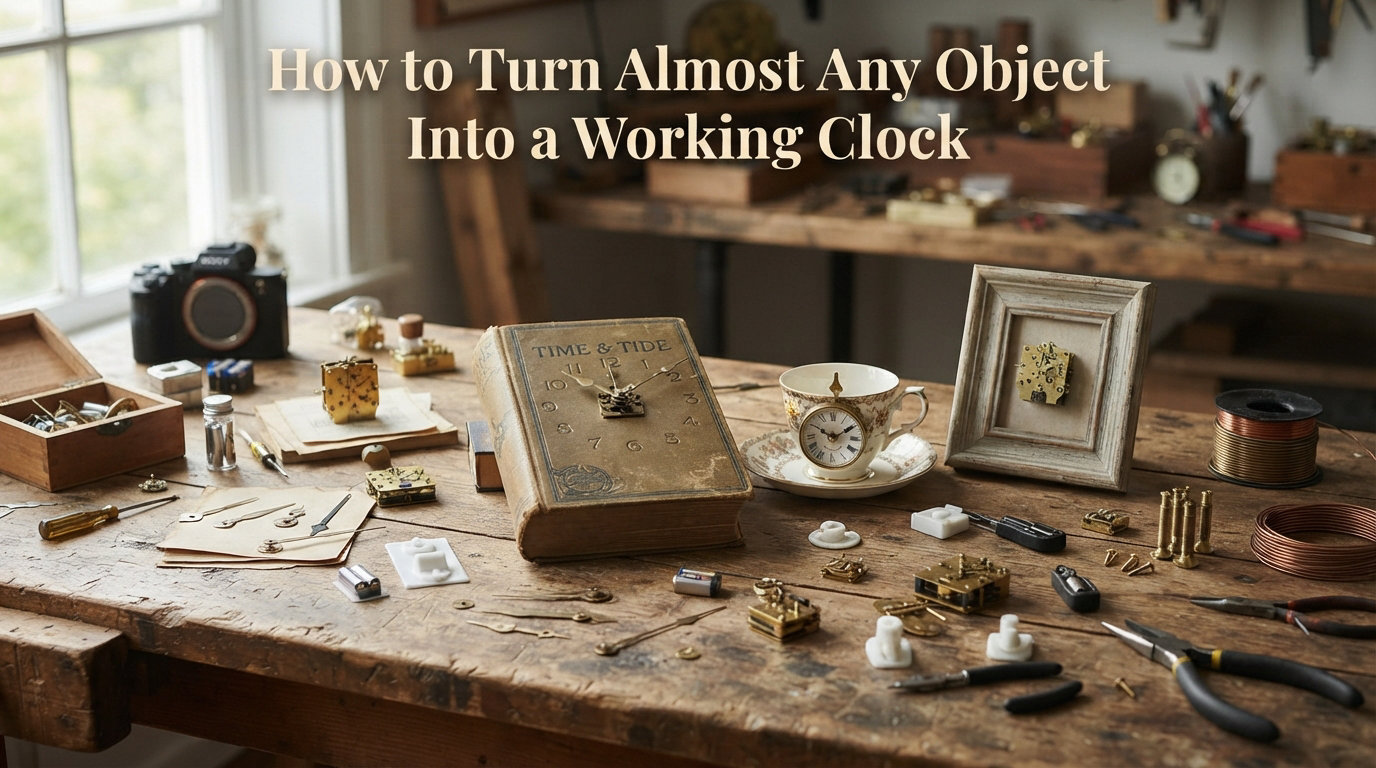
Two years ago I picked up a vintage bicycle wheel at a flea market for three dollars. I had no idea what to do with it. Today it hangs in my hallway, ticking quietly and telling time. That single project unlocked a whole new hobby for me: figuring out how to turn any object into a clock.
If you have ever looked at a vinyl record, a chunk of pallet wood, or an old license plate and thought “that would make a cool clock,” you are in the right place. I have built dozens of these over the past few years, and I am going to walk you through the entire process. You will learn the materials, the step-by-step method, the tools I actually use, and 12 creative object ideas to get your project started.
By the end of this guide, you will know exactly how to turn any object into a clock that works, lasts, and looks intentional. No woodworking degree required.
Table of Contents
What You’ll Need: Materials and Tools
Before you drill a single hole, gather your supplies. The great news is that this is a beginner-friendly DIY clock project, and most of what you need costs less than a coffee shop run.
Here is my standard shopping list for any clock conversion project:
- Clock mechanism (movement): Battery-operated with a long enough shaft for your object. Standard shaft lengths run 0.43 inches to 0.75 inches.
- Clock hands: A set that includes an hour hand, minute hand, and second hand. Styles range from classic black to ornate gold.
- AA battery: Most mechanisms run on a single AA battery.
- Drill with appropriate bit: A 5/16 inch bit works for most mechanisms, but the shaft diameter in your kit instructions will tell you the exact size.
- Pencil and ruler: For marking the center.
- Sandpaper (220 grit): For smoothing edges.
- Painter’s tape: Saves surfaces from scratches.
- Rub N Buff or metallic paint: Optional, for finishing clock hands or numbers.
If you are working with thicker materials like a wood slice or a thick pottery lid, grab a high torque clock mechanism. The added muscle prevents the hands from stalling under the weight of heavier hands.
How to Turn Any Object Into a Clock: Step-by-Step Process
Turning any object into a working clock comes down to six repeatable steps. I have used this exact process on records, pot lids, picture frames, and even a rusty license plate. Once you learn it, you can apply it to almost anything flat or drillable.
Step 1: Pick your object. Choose something you can drill a hole through without it cracking. Popular picks include wooden rounds, vinyl records, ceramic plates, and metal pans. Avoid glass unless you are ready to drill it slowly with a specialty bit.
Step 2: Find and mark the center. Use a ruler to draw two diagonal lines from corner to corner (or edge to edge through the visual center). Where they cross is your drilling point. Mark it with a pencil.
Step 3: Drill the hole. Place painter’s tape over the mark to prevent the surface from chipping. Drill slowly and steadily, keeping the bit perpendicular to the surface. Pull the bit out occasionally to clear dust. For ceramic or metal, use a lower speed and a little water or cutting oil.
Step 4: Test-fit the mechanism. Push the shaft of the clock movement through the hole from the back. The shaft should poke through the front by at least 1/4 inch. If it is too short, you need a longer shaft mechanism.
Step 5: Attach clock hands. Slide the rubber washer onto the shaft first. Then press the hour hand on, followed by the minute hand, and finally the second hand if you have one. Push each hand firmly but not so hard that you bend them. Make sure they can spin freely without touching each other.
Step 6: Add a battery and set the time. Drop in the AA battery. Turn the small time-set knob on the back until the hands read the correct time. Mount your finished clock on the wall and enjoy.
The whole process takes about 15 minutes once you have the materials. The longest part is usually deciding what to make.
Understanding Clock Mechanisms and Movements
You cannot turn any object into a clock without the right mechanism at the heart of it. The mechanism is the small motor that drives the hands, and choosing the right one saves you from headaches later.
There are two main types you will encounter:
- Standard torque mechanism: Drives hands up to about 5 inches long. Perfect for record clocks, smaller plates, and picture frames.
- High torque mechanism: Drives hands up to 12 inches long. Required for larger objects like bicycle wheels, big wood slices, and pot lids.
The shaft length is the second decision. Most clock projects call for a 0.43 inch shaft, but if your object is thicker than 0.5 inches, bump up to a 0.75 inch shaft. Measure twice, order once.
One of my favorite upgrades is the silent sweep mechanism. Instead of ticking once per second, the second hand moves smoothly around the face. It is a great option for bedrooms and offices where ticking gets old fast.
What Can I Turn Into a Clock: 12 Creative Object Ideas
This is the question I get asked most often. The honest answer is that almost anything flat with a drillable center works. Here are 12 ideas I have built or seen built, ranging from easy to ambitious.
- Vinyl records: Classic. A 12 inch record works perfectly with a standard mechanism. Add album art in the center for personality.
- Wood slices: Cut a log cross-section, sand it smooth, and finish with stain. The natural rings are gorgeous.
- Pallet wood squares: Reclaimed and rustic. Reassemble planks into a square before drilling.
- Bicycle wheels: One of my all-time favorites. Use a high torque mechanism and long hands to reach the rim.
- Pot lids: Old enamel or copper pot lids become stunning kitchen clocks. Use a metal-cutting bit.
- Picture frames: Remove the glass, add a printed clock face, and you have a custom clock in under an hour.
- License plates: Bend the plate slightly into a curve and mount on a stand. Pairs well with garage decor.
- Old trays: Metal serving trays with handles become great wall clocks with a farmhouse feel.
- Ceramic plates: Thrift store finds work beautifully. Use painter’s tape and a slow drill speed.
- Skeleton keys: A bundle of old keys arranged around a center creates a steampunk feel.
- Vintage spoons: Arrange three spoons in a fan pattern with a center bolt for a unique kitchen clock.
- 3D printed faces: If you have access to a 3D printer, the design options are endless.
My advice? Start with something simple like a record or wood slice. Once you have the process down, move to thicker or more unusual materials.
How to Choose the Right Clock Mechanism for Your Project
Choosing the right clock mechanism is the difference between a clock that runs for years and one that stops at 3:47 every single day. Here is the decision framework I use.
First, measure the thickness of your object. If it is under 0.5 inches, a standard 0.43 inch shaft works. If it is thicker, get a 0.75 inch shaft. Trying to force a short shaft through a thick object is the most common beginner mistake.
Second, match the torque to your hands. Standard hands (under 5 inches) work with a standard mechanism. Anything longer, or anything with heavy metal hands, needs a high torque clock mechanism. Skipping this step is why some clocks “stick” at certain positions.
Third, decide between ticking and sweep. Ticking mechanisms are cheaper and more common. Sweep mechanisms run silently with a smooth motion. For bedrooms, I always recommend sweep.
Finally, consider the style of the hands. Black hands disappear against dark backgrounds. Silver or gold hands pop. Match the hand finish to your object: aged copper hands for rustic wood, sleek black for modern metal.
Tips for Success: Common Mistakes to Avoid
I have made pretty much every mistake possible at this point. Here are the lessons so you do not have to learn them the hard way.
Always test the mechanism before you commit to drilling. Hold the object up to the clock kit and check the shaft length. Returning a kit is annoying; patching a hole is worse.
Mark the hand positions before you press them down. I draw a tiny pencil line at the 12, 3, 6, and 9 positions. If the hands ever come loose, you can realign them perfectly.
Keep the hands parallel. Slanted hands drive me crazy. After installing each hand, hold it next to a flat surface and adjust until it sits level. A small bend is fine; a 15 degree tilt is not.
Do not overtighten the mounting nut. The mechanism is held in place by a small nut on the shaft. Tighten it just enough to keep the clock from wobbling. Overtightening can crack thinner objects.
Use painters tape on delicate surfaces. It prevents the drill bit from slipping and protects painted or polished finishes from scratches.
Outdoor and Waterproof Clock Considerations
Outdoor clocks are a category I think more people should explore. Imagine a large wall clock on a covered patio, made from a galvanized metal tray or a slice of treated cedar.
The trick is to choose a sealed battery compartment mechanism. Standard mechanisms have open battery housings that will corrode in damp conditions. Look for movement units rated for outdoor or humid environments.
For outdoor wood, seal it with marine-grade polyurethane. For metal, a coat of clear enamel spray keeps rust at bay. Mount the clock under an overhang so it is not directly exposed to rain, and your DIY clock will last for years.
One more tip: bring the battery inside during winter in colder climates. Cold batteries drain fast and the mechanism can seize.
Frequently Asked Questions
How do you create a working clock from an object?
Drill a hole in the center of your chosen object, push the shaft of a battery-operated clock movement through the hole from the back, attach the hour, minute, and second hands to the shaft, and insert a battery. It takes about 15 minutes for most projects.
What can I turn into a clock?
Almost anything flat with a drillable center can become a clock. Popular options include vinyl records, wood slices, picture frames, bicycle wheels, pot lids, license plates, ceramic plates, old trays, and even bundled skeleton keys.
How do I choose the right clock mechanism?
Match the shaft length to the thickness of your object (0.43 inch for thin items, 0.75 inch for thicker ones) and choose high torque mechanisms for hands longer than 5 inches. Sweep mechanisms are quieter but cost slightly more than ticking ones.
Can you make a clock without a drill?
Yes, for thin objects like cardboard or foam board. Use a sharp awl or a thick nail to poke a hole, then widen it with a small file until the shaft fits. For wood or metal, a drill is much safer and more accurate.
What is a dummy clock?
A dummy clock is a clock that looks like it works but has no working mechanism. It is purely decorative. They are useful when you want the look of a clock without the ticking or the need to replace batteries.
How long do clock mechanisms last?
A quality battery-operated clock mechanism typically lasts 2 to 5 years before the gears wear out. The battery itself usually needs replacing every 6 to 12 months depending on the mechanism type.
Conclusion
Knowing how to turn any object into a clock opens up a craft that is genuinely fun, affordable, and personal. The core idea is simple: a battery-operated clock mechanism with a shaft can turn almost anything into a working clock, as long as you can drill a center hole and mount the hands.
Start with a straightforward project like a vinyl record or a wood slice. Use a standard mechanism at first, then move to high torque and sweep movements once you feel comfortable. Before long you will be looking at every object in your house and imagining it on the wall.
Pick something you love, gather a clock mechanism and a drill, and give it a try this weekend. If you build something cool, I would love to hear about it.