
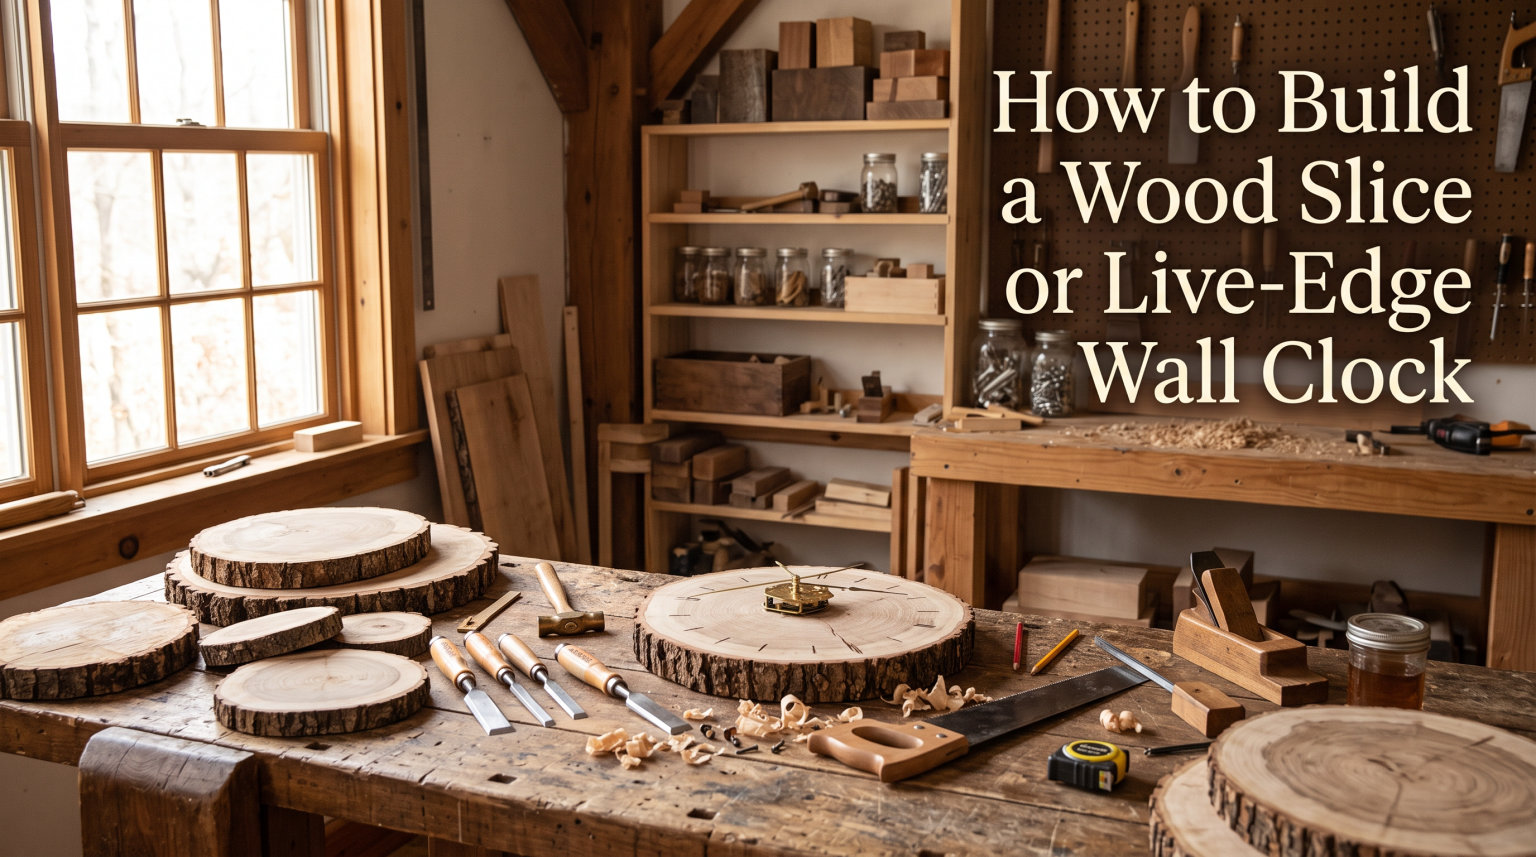
Learning how to build a wood slice clock is one of the most rewarding woodworking projects you can take on, even as a beginner. You turn a raw slab of wood into a functional piece of wall art that showcases natural grain patterns no factory could ever replicate. Over the years, our team has built dozens of these clocks using everything from salvaged cherry to store-bought walnut slabs, and we have learned exactly where projects go wrong and how to avoid those pitfalls.
In this guide, I will walk you through the entire process from selecting your wood slab to hanging the finished clock on your wall. Whether you want a rustic farmhouse look or a clean modern design with a metal ring accent, the steps below cover every variation. You will also find a troubleshooting section that no competing guide offers, addressing the cracking, mechanism fit, and bark issues that DIYers constantly ask about in woodworking forums.
Table of Contents
Materials and Tools Checklist
Gathering your materials before you start prevents frustrating mid-project trips to the hardware store. Here is everything you need, organized by category so you can check items off quickly.
Materials
Your wood slab is the centerpiece, so choose it carefully. You will also need a clock movement kit, which includes the mechanism box, shaft, hour hand, minute hand, and second hand. These kits are inexpensive and widely available online.
One wood slice or live-edge slab, approximately 1.5 to 2 inches thick and 12 to 24 inches in diameter
High-torque clock movement mechanism kit (make sure the shaft length matches your slab thickness)
Self-adhesive clock numbers or decorative elements (optional)
Wood finish: wipe-on polyurethane, Danish oil, or shellac flakes
Wood filler or epoxy for any cracks you want to stabilize
A D-ring hanger or keyhole slot bracket rated for at least 10 pounds
Sandpaper in multiple grits (80, 120, 150, 220, and 320)
Rubber bumpers for the back corners to keep the clock flat against the wall
Tools
The tools you need depend on how rough your starting slab is and whether you have access to power equipment. Beginners without a planer can substitute hand tools and elbow grease, though it will take longer.
Random orbital sander or oscillating belt sander
Cordless drill with a Forstner bit (typically 35mm) sized to your clock movement shaft
Band saw, track saw, or hand saw for trimming the slab
Hand router with a straight or pattern bit for the mortise recess
Chisel and mallet for cleaning up the mortise by hand
Wire brush or angle grinder with a flap disk for live-edge texturing
Tack cloth and clean rags for finish application
Masking tape and a pencil for marking drill points
Choosing the Right Wood Slab
Your wood choice determines the look, weight, and longevity of your finished clock. Walnut, cherry, maple, and oak are the most popular options because they have striking grain patterns and accept finish beautifully.
The single most important factor is moisture content. Many beginners grab a fresh-cut slice from a fallen tree, only to watch it crack within weeks. Green wood can take one to two years per inch of thickness to air-dry properly. If you are buying from a lumber yard or online slab dealer, ask whether the wood has been kiln-dried. A moisture meter reading below 12 percent means the slab is stable enough to work with.
Aim for a slab between 1.5 and 2 inches thick. Anything thinner risks warping or cracking under the drill pressure, while thicker slabs often exceed the shaft length of standard clock movements. If you fall in love with a thick slab, you will need to order a long-shaft high-torque movement to match.
Store-bought wood slices from craft stores can work for practice projects, but they are often thin and prone to splitting. For a clock you want to hang for years, invest in a properly dried slab from a reputable source.
How to Build a Wood Slice Clock: Step-by-Step Instructions
Follow these steps in order, and do not rush the drying and sanding stages. Patience is the difference between a clock that lasts decades and one that cracks within a month.
Step 1: Flatten and Square the Slab
If your slab has a slight cup or bow, flattening it first is essential for a professional result. The cleanest method is running it through a planer after jointing one face flat. If you do not have a planer, a long hand plane or a router sled built from scrap lumber works well.
For very warped slabs, trim the high spots with a track saw or band saw before sanding. Take light passes so you do not remove more material than necessary. The goal is two parallel faces with a consistent thickness across the entire slab.
Step 2: Trim to Final Shape
Decide whether you want a perfectly round clock or an organic natural shape. For a round clock, use a router with a trammel base to cut a clean circle. Leave the live edge intact for a wood slice look, or remove it for a modern geometric design.
For a natural-edge clock, simply trim any dangerously thin or unstable sections of the slab. Avoid cutting too close to cracks, as the surrounding wood may splinter.
Step 3: Remove Loose Bark and Clean the Edge
Not all bark stays attached over time. If your slab has loose or crumbly bark, decide whether to remove it entirely or stabilize it with thin CA glue. Many DIYers on woodworking forums report bark falling off after finishing, which ruins the look.
To remove bark cleanly, use a wire wheel on a drill or an angle grinder with a 60-grit flap disk. Work along the edge in a random pattern to avoid creating uniform machine marks. If you want to keep the bark, soak any loose areas with thin CA glue and let it cure overnight.
Step 4: Sand the Surface Progressive
Sanding is where your clock goes from rough to refined. Start with 80-grit to remove tool marks and flatten the surface. Work your way through 120, 150, 220, and finish with 320-grit for a silky smooth feel.
Use a random orbital sander for the flat faces and hand-sand the live edge where machines cannot reach. Always sand with the grain on flat surfaces to avoid visible scratches under the finish. Wipe the surface with a tack cloth between grits to remove dust that would otherwise scratch finer paper.
If you plan to use a metal ring around the edge, test-fit it during sanding. The ring should slide on with slight resistance after you have sanded to your final grit.
Step 5: Fill Cracks With Epoxy or Wood Filler
Natural slabs often have hairline cracks or voids. Fill these before finishing so they do not telegraph through the topcoat. Clear epoxy tinted with metallic powder creates a stunning river effect, while natural wood filler blends in invisibly.
Apply the filler slightly proud of the surface and let it cure fully. Then sand it flush with 220-grit paper. Small cracks can be left unfilled for a more rustic character if you prefer that look.
Step 6: Drill the Clock Movement Hole
Find the center of your slab by measuring across the widest point in two directions and marking the intersection. This is where the clock shaft will pass through.
Select a Forstner bit that matches the diameter of your clock movement shaft housing. Most standard movements need a 5/16 or 3/8 inch hole, but always check the manufacturer specification. Drill straight through from the front face to keep the hole clean on the visible side. Place a scrap board underneath to prevent blowout on the back.
Test-fit the movement shaft through the hole. If it is too tight, ream the hole slightly with sandpaper wrapped around a dowel. The shaft should slide through with minimal play.
Step 7: Create the Mortise Recess for the Mechanism Box
The clock mechanism box needs to sit flush against the back of the slab. If your shaft is short, you may need to create a shallow recess so the nut threads on properly. This is one of the most common problems beginners report.
Use a Forstner bit slightly larger than the mechanism box to drill a shallow recess on the back of the slab. Clean up the corners with a chisel. Test-fit the mechanism until it seats flat and the shaft nut threads completely.
If you bought a movement with a shaft longer than your slab thickness, you can skip this step entirely. The extra shaft length simply extends past the front, and you tighten the nut against the back of the slab.
Step 8: Apply Your Chosen Finish
Finishing protects the wood and brings out the natural grain. Wipe-on polyurethane is the most popular choice among forum DIYers because it is forgiving and durable. Danish oil is a close second for those who want a more natural matte look that deepens the wood color.
Apply three to five thin coats with a clean rag, waiting the recommended drying time between each coat. Lightly sand with 320-grit or 0000 steel wool between coats to knock down any raised grain. Build up the finish on the live edge too, since that exposed end grain absorbs moisture fastest and is most prone to cracking.
Shellac is another excellent option if you want a fast-drying traditional finish. It seals the wood quickly but is less water-resistant than polyurethane, so consider it for indoor clocks only.
Step 9: Install the Movement, Hands, and Hanger
Once the finish is fully cured, push the movement shaft through the hole from the back. Thread the brass nut onto the shaft from the front and tighten it gently with pliers. Over-tightening can crack the wood.
Press the hour hand onto the shaft first, then the minute hand, and finally the second hand if your kit includes one. Some DIYers spray-paint the hands a contrasting color for a modern pop. Set the time by turning the small dial on the back of the mechanism, then insert a fresh AA battery.
Screw a D-ring hanger or keyhole bracket into the back of the slab. Use screws long enough to grip solid wood, not just the bark layer. Add rubber bumpers to the bottom corners so the clock hangs flat and does not scratch the wall.
Finishing Options for Your Live-Edge Clock
The finish you choose changes both the appearance and durability of your clock. Here is a quick comparison to help you decide.
Wipe-on polyurethane is the most durable and beginner-friendly option. It builds a protective film that resists moisture and scratches. Apply four to five thin coats for a satin sheen that lets the grain show through clearly.
Danish oil penetrates deep into the wood fibers and enhances the natural color without forming a thick film. It gives a more organic, hand-rubbed look that many woodworkers prefer for rustic pieces. You will need to reapply it every year or two to maintain protection.
Shellac dries in minutes and gives a warm amber tone that looks beautiful on cherry and walnut. It is less water-resistant than poly, so it works best for clocks that will not be exposed to humidity.
Whichever finish you pick, pay extra attention to the live edge. End grain absorbs finish faster and needs additional coats to prevent moisture from seeping in and causing cracks.
Troubleshooting Common Problems
Even careful builders run into issues. Here are the most common problems and how to fix them, based on real experiences shared across woodworking communities.
The Slab Cracked After Hanging
This almost always traces back to using wood that was not fully dry. Cracks appear as moisture escapes and the wood shrinks unevenly. Unfortunately, once a crack opens, you cannot reverse it. Fill it with tinted epoxy to stabilize the piece and prevent further splitting. For future projects, always verify moisture content is below 12 percent before starting.
The Mechanism Shaft Is Too Short
If the nut will not thread onto the shaft because the slab is too thick, you have two options. Create a deeper mortise recess on the back of the slab, or buy a high-torque movement with a longer shaft. Measuring your slab thickness before ordering the movement prevents this entirely.
The Clock Hands Will Not Align or Move
Hands that rub against each other or the clock face usually means they were pressed on at slightly different angles. Remove them, straighten gently, and re-seat them one at a time. If the second hand binds, check that it is not hitting the glass cover if your movement has one.
Bark Is Falling Off the Edge
Loose bark is a sign that the wood was not stable to begin with. If bark starts peeling after finishing, remove it entirely and refinish the exposed edge. For future builds, stabilize questionable bark with thin CA glue before applying your topcoat.
The Clock Will Not Hang Flat Against the Wall
A clock that tilts forward usually has its hanger placed too high or the slab has uneven thickness. Attach rubber bumpers to the lower back corners to push the bottom out and level the piece. Position the hanger in the upper third of the slab for the best balance.
Design Variations and Customization Ideas
Once you master the basic build, there are dozens of ways to customize your clock. Adding a metal ring around the live edge creates a clean modern look that contains the organic wood shape. Use macrame rings from craft stores or have a metal ring custom-cut to your slab diameter.
Spray-painting the clock hands a bold color like gold, copper, or matte black adds personality without hiding the natural wood. You can also use roman numerals, minimalist line markers, or skip numbers entirely for a clean face.
For a truly unique piece, pour colored epoxy into natural voids to create a river-table effect on a smaller scale. Blue, copper, and black pigments contrast beautifully with walnut and cherry.
FAQs
How to make a live edge piece of wood?
To make a live edge piece of wood, cut a slab from a log lengthwise on a band saw, leaving the natural bark edge intact. Flatten both faces with a planer or router sled, remove loose bark with a wire brush, and let the wood dry until the moisture content drops below 12 percent before finishing.
What are the common problems with wooden clocks?
The most common problems are wood cracking from improper drying, clock mechanism shafts being too short for thick slabs, bark falling off after finishing, and clock hands misaligning or binding during movement. These issues are preventable with proper wood selection, accurate measurements, and careful assembly.
How to make a wall clock step by step?
Start by flattening and trimming your wood slab, then sand progressively from 80 to 320 grit. Drill a center hole for the clock shaft, create a mortise recess for the mechanism box, apply your wood finish, and finally install the movement, hands, and wall hanger.
How thick should a live edge slab be?
A live edge slab for a wall clock should be between 1.5 and 2 inches thick. This provides enough structural stability to resist warping while staying within the shaft length of most standard clock movements. Thicker slabs require a long-shaft high-torque movement.
How long does live edge wood take to dry before making a clock?
Air-drying live edge wood takes roughly one year per inch of thickness. A 2-inch slab needs about two years to season naturally. Kiln-dried slabs are ready immediately and are the safest choice for beginners who want to skip the waiting period.
How do you prevent a wood slice clock from cracking?
Use only properly dried wood with a moisture content below 12 percent, seal the end grain and live edge thoroughly with finish, and avoid placing the clock in areas with extreme humidity or temperature swings. Applying multiple coats of wipe-on polyurethane on all surfaces including the edges provides the best protection.
Conclusion
Building a wood slice or live-edge wall clock is a project that combines simple techniques with stunning natural results. Once you know how to build a wood slice clock, you can customize every detail from the wood species to the finish to the hand color. The key takeaways are simple: start with properly dried wood, measure your mechanism shaft before drilling, sand patiently through every grit, and seal every surface including the bark edge.
Your next step is to source a kiln-dried slab and a clock movement kit that matches its thickness. Pick a weekend, clear your workbench, and enjoy the process of turning raw wood into something you will look at every single day. When friends ask where you got that beautiful clock, you will have a story to tell.