
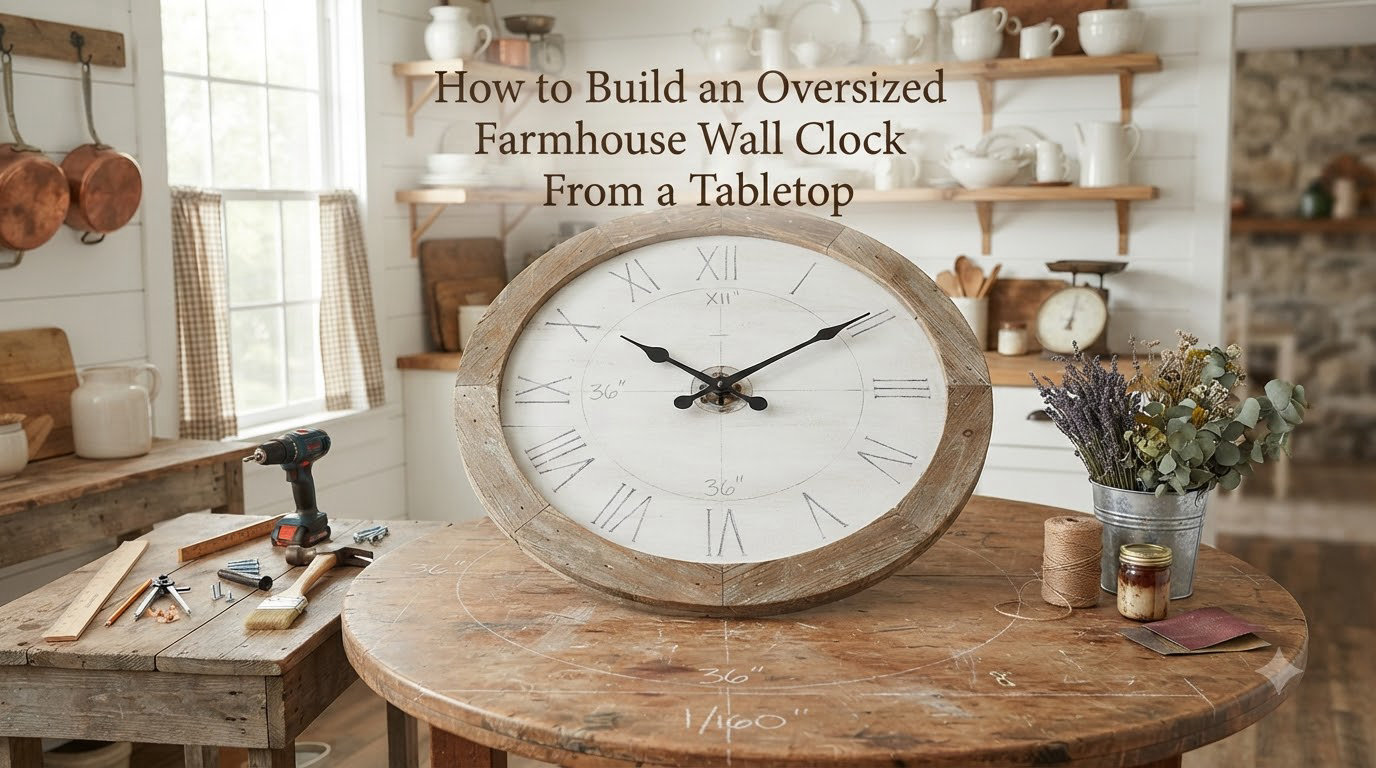
If you’ve ever stared at a blank living room wall and wished for a true statement piece, learning how to build an oversized farmhouse wall clock from a tabletop is one of the most rewarding weekend projects you can take on. I built my first one after watching a Fixer Upper marathon, and three years later, that same clock is still the first thing visitors ask about. The best part? It cost me about $85 total instead of the $400+ you’d spend on a comparable retail clock.
In this guide, I’ll walk you through every step I use when making these clocks for clients and family. You’ll learn how to source a tabletop, cut a clean circle, apply a weathered farmhouse finish, install a clock mechanism, and safely hang something that weighs 25-40 pounds. By the end, you’ll have a complete blueprint for your own DIY wall clock.
Table of Contents
What Is an Oversized Farmhouse Wall Clock?
An oversized farmhouse wall clock from a tabletop is exactly what it sounds like: a large decorative timepiece, typically 36 to 60 inches in diameter, built by transforming an ordinary round tabletop into a rustic clock face. The farmhouse style usually means distressed paint, weathered stain, Roman numerals, and visible wood grain. Think Joanna Gaines over Pottery Barn.
Large wall clocks are still very much in style for 2026. Designers keep leaning into oversized statement pieces, and the farmhouse clock category has only grown with the rise of upcycled and vintage-inspired decor. The advantage of building one from a tabletop, rather than plywood, is that you start with a finished, sanded, often beautiful wood surface that only needs minor prep before paint or stain. Plus, table tops come with pre-cut circles in a wide range of diameters, saving you the hardest cut.
Materials and Tools You’ll Need
Before we dive into cutting and painting, gather these supplies. I’ve built this list from the actual inventory I keep in my garage for clock projects. You can swap brands, but the categories stay the same.
- Round tabletop: 36 to 48 inches is the sweet spot. Unfinished wood, thrift store finds, or stain-grade rounds from Home Depot (about $18-45).
- Clock mechanism kit: Look for a high-torque movement with a 5/8 inch shaft. eBay and clockparts.com carry extra-long shafts for oversized clocks.
- Clock hands: Hour and minute hands sized to roughly 40-50% of your clock diameter.
- Roman numerals or stencils: Vinyl numbers, adhesive metal numerals, or a reusable stencil set.
- Chalk paint: Dixie Belle, Annie Sloan, or DecoArt in farmhouse whites (Antique White, Linen, or Cotton).
- Wood stain: Weathered Oak, Classic Gray, or Dark Walnut by Minwax if you prefer a stained look.
- Dark wax: For antiquing. Fiddes or Annie Sloan dark wax works well.
- Jigsaw with fine-tooth blade or router with circle jig if cutting your own tabletop.
- Drill with bits: 5/8 inch Forstner bit for the center hole, smaller bit for the hands.
- Sandpaper: 120, 220, and 320 grit.
- Liquid Nails or wood glue and 4 wood support strips for the back.
- Heavy-duty picture hanging wire and D-rings or a French cleat.
Total budget lands between $70 and $130 depending on whether you source a tabletop or buy one new. Most of my builds land right at $85.
Step 1: Find and Prepare Your Tabletop
The tabletop is the foundation of your oversized farmhouse wall clock, so choose wisely. My favorite sources are Habitat for Humanity ReStores, Facebook Marketplace, and thrift stores like Goodwill. Round drum tables from the 1960s and 1970s often have beautiful mahogany or oak tops that just need sanding. Prices range from $10 to $40 for something genuinely special.
If you’d rather start with raw wood, Home Depot sells stain-grade round table tops in 24, 30, and 36 inch diameters. Anything bigger usually requires a custom order or a circle jig cut from plywood. For my last project, I grabbed a 36 inch pine round for $22 and it was perfect.
Once you have your tabletop, sand it lightly with 120 grit to scuff the surface, then move to 220 grit for smoothness. Wipe away dust with a tack cloth. If you’re working with a thrift store find, check for deep scratches or water stains; these can usually be sanded out or embraced as character for a farmhouse finish.
Step 2: Cut the Perfect Circle
If your tabletop is already round, you can skip this step. If you’re starting with a square table or a plywood sheet, you’ll need to cut a clean circle. The trick is a homemade compass jig: screw a thin strip of wood at the center point of your board, measure out half your desired diameter, and attach a pencil at that distance.
Draw your circle first, then drill a starter hole just inside the line. Insert your jigsaw blade and cut slowly along the pencil line. A fine-tooth blade designed for laminate cuts cleaner and reduces splintering. For circles over 30 inches, I recommend having a second person hold the offcut steady so it doesn’t snap and tear the edge.
If you want a perfect circle without the work, look into getting a circle cut at a local cabinet shop. Most will charge $20-40 for a 36 inch round in plywood, which is still a huge saving versus buying a finished clock.
Step 3: Paint or Stain the Clock Face
For a true farmhouse look, chalk paint is the gold standard. It sticks to almost any surface without primer and gives that soft, matte finish everyone associates with Joanna Gaines style. Apply two coats with a synthetic brush, letting each coat dry for at least an hour. Sand lightly with 220 grit between coats for an ultra-smooth base.
Once dry, distress the edges and any details using 120 grit sandpaper. Focus on corners, edges, and raised areas where natural wear would occur. Wipe off the dust, then apply dark wax with a lint-free cloth using small circular motions. Buff the wax after 10 minutes with a clean cloth. The result is a beautifully aged farmhouse clock face.
If you prefer a stained look, use a weathered gray stain like Minwax Weathered Oak or Classic Gray. Apply with a foam brush, wipe off excess after 5 minutes, and seal with matte polyurethane. Stained clocks look stunning in modern farmhouse and rustic cabin interiors.
Step 4: Add the Clock Numbers (4 Methods)
Adding clock numbers is where your DIY farmhouse wall clock really comes to life. There are four popular methods, each with its own pros and cons. I usually default to adhesive metal Roman numerals for the most authentic Fixer Upper look, but here’s how the options stack up.
Method 1: Adhesive Metal Roman Numerals. The easiest and most popular choice. I buy mine from Hobby Lobby (40% off coupons help) or Amazon. They come with pre-applied adhesive, just peel and stick. Cost is around $25-35 per set.
Method 2: Vinyl Decals. Cut from a Cricut or Silhouette machine, or ordered custom from Etsy. Vinyl decals are crisp, easy to apply, and removable if you make a mistake. Best for a clean modern farmhouse aesthetic.
Method 3: Hand-Painted Numbers. Trace a template with chalk, then paint using a small artist brush. This method takes patience but gives you full control over font, color, and finish. Use a projector for perfectly even placement (more on that below).
Method 4: Plastic Stencils. Reusable stencils from Michaels or Amazon (around $12) paired with acrylic paint work well for beginners. Hold the stencil firmly with painter’s tape to prevent bleed.
Projector Tracing Tip: This is the secret I learned from inmyownstyle.com. Print your clock face template at the exact size you need, place your tabletop on the floor, and use an overhead projector or modern art projector to shine the image onto the wood. Trace with a soft pencil. The numbers will be perfectly proportioned and evenly spaced every single time.
Step 5: Install the Clock Mechanism and Hands
The clock mechanism is the heart of your oversized farmhouse wall clock. For clocks 36 inches and larger, you need a high-torque movement because the longer hands create more drag. Standard movements struggle past 14 inch hands. I use the 22mm high-torque movements from eBay ($18-25) for all my oversized builds.
Drill the center hole using a 5/8 inch Forstner bit. The hole needs to be just deep enough for the mechanism shaft to sit flush or slightly recessed from the front surface. Some clockmakers rout out a 3/8 inch deep recess with a 2 inch bit to fully hide the mechanism. If you don’t have a router, simply mount the mechanism on the back and let the long shaft pass through.
Hand sizing matters more than people realize. A good rule of thumb is that the minute hand should reach about 95% of the distance from center to the numbers, and the hour hand should reach about 70%. For a 36 inch clock, that means a 15 inch minute hand and an 11 inch hour hand. Bigger clocks need bigger hands; mismatched proportions make the clock look amateur.
Attach the hands by pressing the hour hand on first, then the minute hand, then the cap nut on top. Check that everything spins freely before mounting.
Step 6: Hang Your Oversized Farmhouse Wall Clock Safely
Hanging a clock that weighs 25 to 40 pounds is no joke. Reddit’s DIY forum is full of stories about clocks pulling drywall anchors out and crashing to the floor. Don’t be that person. Always mount your oversized farmhouse wall clock into wall studs or use a French cleat system rated for the weight.
First, attach four wood support strips (1×2 inch pieces, about 6 inches long) to the back of your clock using Liquid Nails and finishing nails. These strips run vertically and give you a stable surface to attach hanging hardware. Let the glue cure for 24 hours.
For clocks under 25 pounds, two heavy-duty D-rings with braided picture wire work fine. Install the D-rings about 4 to 6 inches from the top edge of the clock, then string wire between them leaving about 6 inches of slack for hanging. For anything heavier, use a French cleat: a 45-degree angled mounting bar that locks onto a matching wall-mounted bar. They’re available at Home Depot for under $10 and they hold 100+ pounds easily.
Find your wall studs using a stud finder, drill pilot holes, and screw the cleat or D-rings directly into the studs. Never trust drywall anchors alone for a heavy clock. Once hung, step back and use a level to make sure everything sits straight.
Where to Display and Style Your DIY Clock
Now that your oversized farmhouse wall clock from a tabletop is built and hung, where should you display it? The best spots are areas where the clock can serve as a true focal point. Above a fireplace mantle, in an entryway, behind a sofa, or in a dining room all work beautifully. The clock should hang at eye level when standing, typically 60 to 66 inches from the floor to the center.
Avoid placing a large clock in direct sunlight, above a heat source like a radiator, or in a high-humidity bathroom. All three conditions warp wood and damage paint finishes over time. Also skip walls with heavy texture or wallpaper patterns, since they compete visually with the clock face.
To style the surrounding wall, layer in complementary farmhouse elements: a weathered wood sign, a simple greenery wreath, or a pair of candle sconces. Resist the urge to crowd the wall. An oversized clock looks best with breathing room around it.
Frequently Asked Questions
How do you make a giant wall clock?
To make a giant wall clock, start with a round tabletop between 36 and 60 inches in diameter. Sand and paint or stain it in a farmhouse finish, add Roman numerals using stencils, vinyl decals, or adhesive metal numbers, then drill a center hole and install a high-torque clock mechanism with proportionally sized hands. Mount the finished clock into wall studs using a French cleat or heavy-duty D-rings for safe hanging.
Are large wall clocks still in style in 2026?
Yes, large wall clocks remain popular in 2026, especially oversized farmhouse designs inspired by Fixer Upper and modern rustic decor. Designers continue to recommend oversized statement clocks as focal points in living rooms, entryways, and dining rooms. Their timeless silhouette and customizable finish keep them relevant year after year.
Where should you not hang a wall clock?
Avoid hanging a wall clock in direct sunlight, above heat sources like radiators or fireplaces, in high-humidity bathrooms, or on walls with heavy texture. These conditions warp wood, fade finishes, and reduce clock mechanism lifespan. Also skip placement on walls with busy wallpaper patterns that compete with the clock face for visual attention.
How do you display a large farmhouse wall clock?
Display a large farmhouse wall clock as a single focal point on an otherwise simple wall, hung at eye level around 60 to 66 inches from the floor. Pair it with one or two simple farmhouse accents like a wooden sign or a greenery wreath, leaving plenty of empty space around the clock. Good rooms include entryways, above fireplaces, behind sofas, and in dining rooms.
What size clock hands do I need for an oversized clock?
For an oversized clock, the minute hand should reach about 95 percent of the distance from the center to the numbers, and the hour hand should reach about 70 percent. For a 36 inch clock, this works out to roughly a 15 inch minute hand and an 11 inch hour hand. For a 48 inch clock, plan on an 18 inch minute hand and a 14 inch hour hand. Properly proportioned hands make the difference between a custom and an amateur look.
Final Thoughts on Building Your Oversized Farmhouse Wall Clock
Learning how to build an oversized farmhouse wall clock from a tabletop is one of those projects that delivers far more than the cost and effort suggest. You end up with a custom, designer-quality statement piece for roughly $85 and a weekend of work. Along the way, you’ll pick up skills in cutting, finishing, and mounting that carry over to dozens of future DIY projects.
Start with a thrift store tabletop, follow the steps in this guide, and don’t skip the French cleat. Your wall, and your guests, will thank you.