
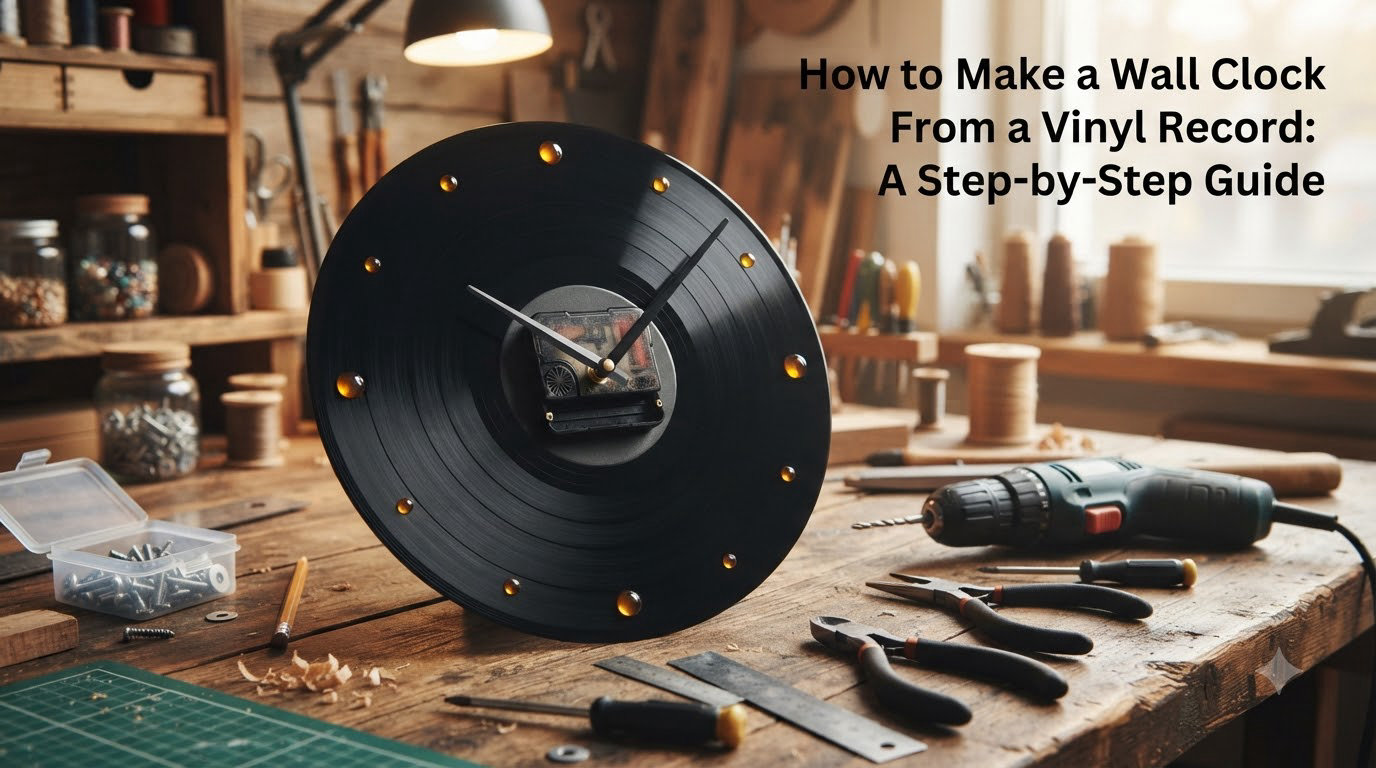
Making a vinyl record wall clock is one of the easiest upcycling projects I have ever completed. With a single old LP and a basic clock kit, you can turn forgotten music into functional wall decor in under an hour.
I built my first vinyl clock on a rainy Saturday using a $4 mechanism from a craft store. The whole thing worked on the first try, and it still keeps time two years later on my office wall. In this guide, I will walk you through every step so you can build one just as easily.
Table of Contents
What You Need: Materials and Tools for a Vinyl Record Wall Clock
Gathering your supplies before you start saves time and prevents mid-project frustration. Most of these items are available at craft stores, hardware shops, or online retailers.
Materials list
- One 12-inch vinyl record (LP) in good condition
- Clock mechanism kit with shaft, washer, nut, and hour/minute hands
- One AA battery
- Picture hanger or sawtooth hanger
- Clear-drying strong adhesive or hot glue (optional)
Tools list
- Power drill with a 3/8-inch bit
- Small flathead screwdriver (often included with the kit)
- Scrap cardboard or a small piece of wood
- Measuring tape or ruler
- Pencil or marker
Choosing the right vinyl record
Pick a record you no longer play but still love visually. Albums with bold artwork, colored vinyl, or sentimental value work best because the label becomes the center of your clock face.
Avoid records with deep scratches or warps. A flat record sits flush against the wall and prevents wobbling once hung. Standard 12-inch LPs at 33 RPM are ideal. Their center hole is usually 0.25 inches, which may need light widening for the clock shaft.
How to Make a Wall Clock From a Vinyl Record: Step-by-Step Instructions
Follow these 8 steps to build a clean, functional vinyl record wall clock. Set aside about 30 to 60 minutes for a first-timer, including setup and cleanup.
Step 1: Prepare your record and workspace
Lay your vinyl record flat on a scrap piece of wood or cardboard. This protects your table and keeps the record from spinning while you drill. Wipe both sides with a dry cloth to remove dust and static.
Mark the center hole with a pencil so your drill bit has a clear target. A small dot in the existing hole gives you a starting guide.
Step 2: Drill or enlarge the center hole
Attach a 3/8-inch drill bit to your drill. Hold the record firmly against the wood backing and drill slowly through the center hole at low speed.
Apply light, steady pressure. Pushing too hard can crack the vinyl. I learned this the hard way with my first attempt. Let the bit do the work, and pause every few seconds to let the plastic cool.
Step 3: Insert the clock mechanism through the record
Push the clock mechanism shaft through the back of the record so the body sits behind the vinyl and the shaft pokes out through the front label side.
The mechanism should lie flat against the back of the record. If it tilts, your center hole may be uneven. A small file or sandpaper can smooth the edges until the mechanism sits level.
Step 4: Attach the washer and secure the nut
Slide the rubber or metal washer over the shaft on the front side. Then thread the nut onto the shaft by hand and tighten it gently with pliers.
Do not overtighten. Too much pressure can warp the record or crack the label. The goal is a snug fit where the mechanism does not wobble.
Step 5: Attach the clock hands
Press the hour hand onto the shaft first, followed by the minute hand, then the thin second hand. Each hand has a small hole that fits over the stepped shaft.
Hold the hands near the base when pressing them on. Pressing from the tips bends them out of alignment. Many kits include a tiny spacer or nut to keep hands at the right height.
Step 6: Add a battery and set the time
Insert one AA battery into the mechanism. You should hear a soft tick right away. Set the time by moving the minute hand clockwise until it points to 12, then continue to the correct hour.
Setting the time first prevents stress on the internal gears. Some people recommend letting the clock run for 24 hours before hanging to confirm it works smoothly.
Step 7: Test the mechanism before hanging
Lay the clock face-up on a flat surface and watch the second hand for one full minute. Confirm all three hands move freely without catching on each other or the record.
If a hand sticks, gently lift it with a small screwdriver and reposition. This is easier to fix on a table than on a wall.
Step 8: Hang the clock on the wall
Attach a sawtooth hanger or picture hook to the back of the record using strong adhesive or hot glue. Position it near the top edge so the clock hangs evenly.
Drive a nail or screw into the wall and rest the hanger on it. Step back and check whether the clock sits level. A small piece of tape under one side of the hanger can correct a slight tilt.
Common Problems and How to Fix Them
Even simple projects run into hiccups. Here are the four most common vinyl record wall clock issues I see in forums and DIY groups, plus how to solve each one.
Clock wobbling or leaning away from the wall
A wobbling clock usually means the sawtooth hanger is not centered. Measure the back of the record, mark the midpoint, and reattach the hanger there.
You can also place a small cardboard wedge between the mechanism and the wall. Several readers in the r/maker subreddit use this trick to angle the clock perfectly flat.
Clock mechanism not fitting through the center hole
Most clock kit shafts measure about 0.35 inches wide. A standard vinyl center hole is 0.25 inches, so light drilling is almost always required.
If your hole is too tight even after drilling, use a round file to widen it gradually. Test fit the shaft after every few passes.
Cracking the record while drilling
Cracks happen when the drill runs too fast or pressure is uneven. Drill on the lowest speed setting and keep the record clamped flat against scrap wood.
Masking tape over the drilling area also helps prevent the bit from skipping across the slick vinyl surface.
Clock hands catching or sticking
Sticky hands mean they are pressing against each other or against the record label. Adjust the spacing washers between them so each hand clears the next.
If hands still stick, check that the shaft nut is not too tight. A compressed mechanism cannot move freely.
Design Ideas to Customize Your Vinyl Record Wall Clock
Once you have the basic clock working, the fun begins. Vinyl records are a blank canvas for creative decorating. Here are four ideas I have tried or seen in the wild.
Paint the record for a bold look
Spray paint turns a black LP into any color you want. Matte white, gold, and neon shades look striking on a wall. Hold the can about 10 inches away and apply thin coats.
Let each coat dry fully before adding the next. Most vinyl records need two to three coats for solid coverage.
Decoupage album art onto the surface
Cut the album cover into thin strips or shapes and glue them to the record with decoupage medium. This creates a one-of-a-kind mosaic clock face.
Seal the finished piece with two coats of clear acrylic spray to protect the artwork from dust and fading.
Add LED backlighting
Battery-powered LED strips mounted around the back edge of the record create a soft glow effect. Some crafters add an LED turntable kit from specialty suppliers to make the record slowly rotate while lit.
This upgrade takes a basic clock into statement decor. One Reddit user showed off their Endless vinyl clock with LEDs and a rotating base, and the result looked like a piece of art.
Swap the clock hands for colored ones
Most clock kits include silver or black hands. Painting them red, brass, or bright white adds personality without changing the record itself.
Use acrylic paint and let the hands dry fully before reinstalling. Two thin coats work better than one thick coat.
Frequently Asked Questions
How to turn a vinyl record into a clock?
To turn a vinyl record into a clock, drill out the center hole to fit a clock mechanism shaft, push the mechanism through the record, secure it with the included washer and nut, then attach the hour, minute, and second hands. Add a battery and hang the finished clock on the wall with a sawtooth hanger.
Do I need to drill the center hole on a vinyl record?
Yes, almost every vinyl record needs light drilling because the standard 0.25-inch center hole is smaller than the 0.35-inch clock shaft. Use a 3/8-inch drill bit at low speed to widen the hole cleanly without cracking the record.
What can I make out of old vinyl records?
Old vinyl records make excellent wall clocks, bowl-shaped decor, bookends, framed wall art, and party coasters. Clock projects are the most popular because they take only 30 minutes and turn a forgotten record into a useful, everyday item.
How long does it take to make a vinyl record wall clock?
A basic vinyl record wall clock takes 30 to 60 minutes for a first-timer, including drilling, assembly, and testing. Experienced makers can finish one in about 10 to 15 minutes once they have the process down.
Final Thoughts on Building Your Vinyl Record Wall Clock
A vinyl record wall clock is one of the most rewarding quick crafts you can make this year. It costs less than a dinner out, takes under an hour, and gives you a one-of-a-kind clock that no store sells.
Start with a record you love, grab a clock kit, and follow the steps above. If you hit a snag, the troubleshooting section covers the most common issues. Once yours is finished and ticking on the wall, you will wonder why you waited so long to make one.
For more clock ideas, DIY projects, and home decor inspiration, browse the rest of our guides at Exquisite Clock.