
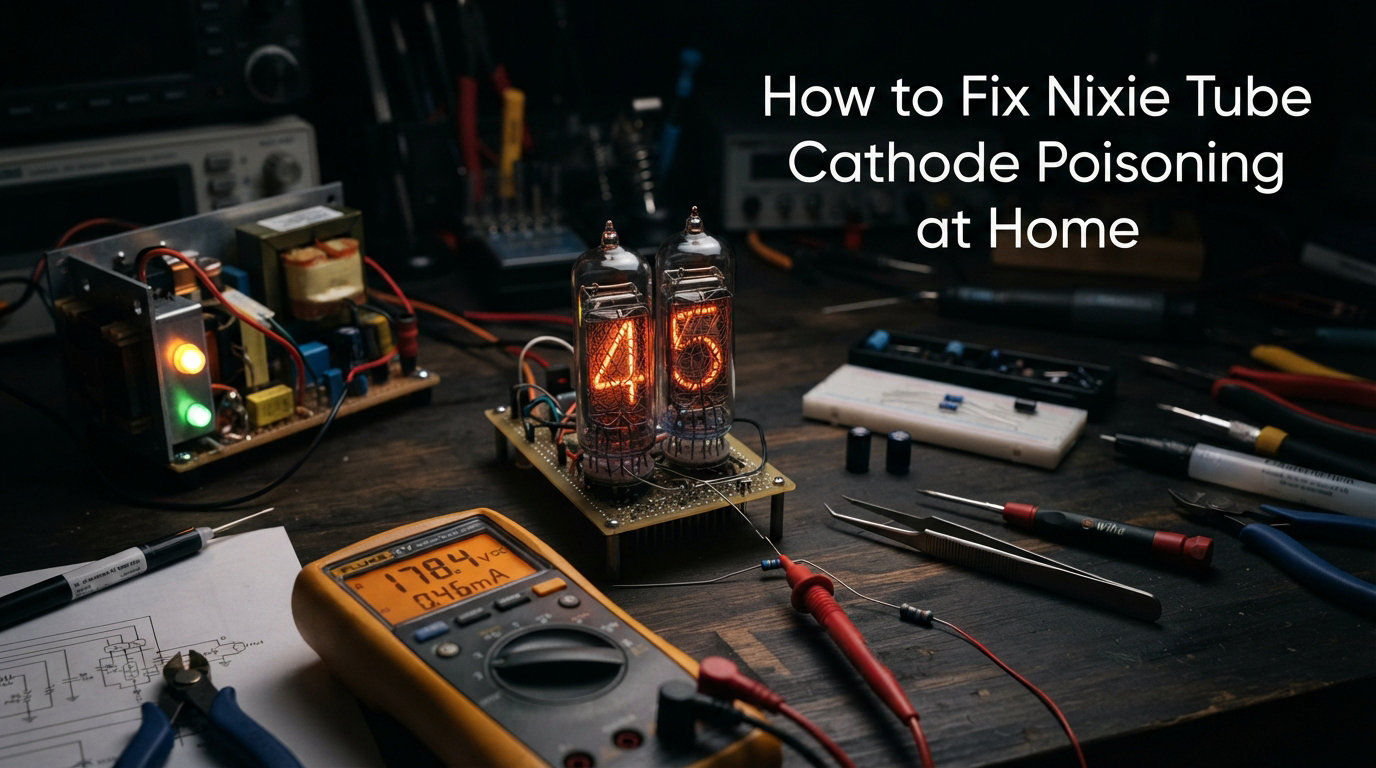
You built or bought a beautiful Nixie tube clock, and after months of running, one or more digits started looking dim, patchy, or completely dark. That uneven glow is almost certainly Nixie tube cathode poisoning, and the good news is you can reverse it without sending anything to a professional.
I have restored dozens of vintage Nixie tubes over the years, and this guide walks through the exact process I use to bring poisoned cathodes back to life. You will learn what causes the problem, what tools you need, and a safe step-by-step procedure to fix Nixie tube cathode poisoning at home.
None of this requires expensive lab equipment. With a adjustable high-voltage power supply or variac, a few resistors, and some patience, you can complete the healing process in an afternoon. Let me walk you through it.
Table of Contents
What Is Nixie Tube Cathode Poisoning?
Nixie tube cathode poisoning happens when sputtered material from the inside of the tube coats inactive cathodes with a resistive film. The coating blocks electron emission, so the affected digit glows dimly or not at all even when properly powered.
Every Nixie tube has ten cathodes shaped like the digits zero through nine, stacked inside a gas-filled glass envelope. When the tube runs, the active cathode glows orange as neon gas ionizes around it. But the inactive cathodes sitting nearby get slowly coated by sputtered atoms thrown off during normal operation.
The problem builds up whenever a tube displays the same digit for long stretches. If your clock shows hours and minutes, the digit that rarely lights up (like the tens-of-hours digit cycling between 0, 1, and 2) receives almost no ion bombardment. That means the coating never gets cleaned off naturally, and it thickens over weeks and months.
Forum users on Reddit and EEVblog frequently report the same pattern: digits like 6, 7, 8, and 9 go dark first because clocks spend most of their time showing lower digits. The poisoning is gradual, which is why people often do not notice until a digit is badly affected.
This condition is not the same as a dead tube, a leaky envelope, or a cracked pin. Those are hardware failures that require replacement. Cathode poisoning specifically means the cathode is intact and functional underneath its coating, which is why you can heal it.
How to Fix Nixie Tube Cathode Poisoning at Home
Healing cathode poisoning means driving the affected cathode with a higher-than-normal current to burn off the resistive coating. The process is straightforward but requires care, because Nixie tubes operate at 170 volts or more. I break it into five steps below.
Tools and Equipment Checklist
No competitor I found publishes a complete tools list, so here is everything you need before starting. Gather these items first:
Adjustable high-voltage DC power supply (0 to 250V minimum, or a variac with rectifier)
Current-limiting resistor bank (calculate value based on your tube, typically 10k to 47k ohm, rated for 2W or higher)
Digital multimeter capable of measuring 200V+ DC and milliamps
Insulated alligator clip leads
Breadboard or terminal strip for circuit assembly
Tube socket matching your Nixie type (or individual socket pins)
Tube datasheet for voltage and current ratings
Safety glasses and insulated gloves
Timer or clock for tracking healing intervals
One thing to note: you cannot use a standard bench supply that tops out at 30V. Nixie tubes need ignition voltages between 130V and 200V depending on the type, so the HV supply is non-negotiable.
Step 1: Power Down and Isolate the Tube
Start by completely disconnecting your Nixie clock from mains power. Wait at least 60 seconds for all filter capacitors in the power supply to discharge. If your clock has capacitors rated above 63V, verify with your multimeter that they read near zero before touching anything.
Carefully remove the affected tube from its socket. If the leads are oxidized or corroded, clean them gently with fine steel wool (0000 grade) before proceeding. Poor pin contact can mimic poisoning symptoms, so rule that out first. I have seen tubes that looked dead come back to life just from cleaning the pins.
Step 2: Identify the Poisoned Cathode
Mount the tube in your test socket and power the anode through your current-limiting resistor. Test each cathode one at a time by grounding it through your resistor circuit. Watch which digits glow normally and which ones appear dim, patchy, or completely dark.
Write down the affected digits. If multiple cathodes are poisoned, you will need to heal each one individually. Take a reference photo of the dim digits before you start so you can compare progress later. Forum users consistently say before-and-after photos help confirm whether the healing is actually working.
Step 3: Build Your Healing Circuit
Construct a simple series circuit: positive output of your HV supply connects to the anode pin, then through your current-limiting resistor, then to the specific cathode pin you want to heal, then back to ground on the supply. The resistor is what protects the tube from overcurrent damage.
Calculate your healing current based on the tube datasheet. The standard approach from Dieter’s Nixie Pages and confirmed by surfncircuits is to drive the poisoned cathode at roughly double its maximum rated operating current. For example, if your tube is rated for 2.5 mA per digit, your healing target is 5 mA.
To find the right resistor value, use Ohm’s law: R equals supply voltage minus tube maintaining voltage, divided by target current. For a 170V supply with a tube maintaining at 130V and a 5 mA target, you need (170 minus 130) divided by 0.005, which gives 8k ohms. Round up to the nearest standard value, so 8.2k or 10k ohms at 2W rating.
Always start with a higher resistor value and work down. You can always increase current, but overcurrent can permanently damage the cathode.
Step 4: Apply the Healing Current
Double-check your circuit wiring, then power on the HV supply at a low voltage setting. Slowly increase the voltage while watching the tube and your multimeter. The cathode should begin to glow as the gas ignites around it.
You will likely see the glow look uneven at first. The poisoned areas may glow dimly or not at all while clean areas glow normally. This is expected. The ion bombardment from the elevated current is actively breaking down the sputtered coating on the cathode surface.
Let the current flow continuously. Based on my experience and reports from Reddit users, expect the following timeframes: minor poisoning clears in 30 to 60 minutes, moderate cases take 2 to 4 hours, and severe poisoning may need 6 hours or more spread across multiple sessions.
Check the tube every 15 to 20 minutes. You should see the glow gradually become more uniform as the coating burns away. If the glow looks completely normal, the cathode is healed and you can move on.
Step 5: Monitor Progress and Cycle Digits
After healing each affected cathode, cycle through all ten digits to verify uniform brightness. Some builders prefer a weighted burn-in approach: spend more time on heavily poisoned digits and less on lightly affected ones. This ensures consistent glow across the full display.
If your clock firmware supports a healing or slot-machine mode (many modern Nixie clock controllers like Dalibor Farny’s Zen clock include this), enable it after the manual healing. The slot-machine mode rapidly cycles through all digits to maintain clean cathodes and prevent recurrence.
Once every digit glows evenly, power down the circuit, discharge the supply, and reinstall the tube in your clock. Run the clock through a full digit-cycling routine for the first 24 hours to help the cathodes settle.
Safety Precautions for High Voltage Work
This is the section that no competitor covers in detail, and it matters because Nixie tubes operate at potentially lethal voltages. The anode supply typically runs between 170V and 200V DC. That is enough current to cause serious injury or worse if you make contact.
Never work on a live circuit with both hands. The one-hand rule is standard practice in electronics: keep one hand behind your back or in your pocket whenever the circuit is powered. This prevents current from passing across your chest and through your heart if you accidentally touch a live point.
Always disconnect power before changing circuit connections, even something as simple as moving a clip lead. Discharge all capacitors with an insulated discharge tool or a high-value bleeder resistor before touching any component. Filter capacitors in Nixie power supplies can hold a dangerous charge for minutes after you unplug.
Wear safety glasses. A Nixie tube under stress can crack or implode, and while rare, glass fragments are a real hazard. Work on a non-conductive surface like a rubber mat or wooden bench, never on a metal table.
Use insulated tools and clip leads rated for the voltages involved. Cheap test leads with thin insulation can arc through at these voltages. If you smell ozone or hear buzzing, something is arcing and you should power down immediately.
Never leave a healing circuit running unattended. If you need to step away, shut it off. A resistor that overheats or a connection that loosens can lead to overcurrent and permanent tube damage in minutes.
Finally, keep a fire extinguisher rated for electrical fires (Class C) nearby. The currents involved are small, but HV supplies and homemade circuits deserve respect.
How to Prevent Cathode Poisoning
Prevention is always easier than repair. The single most effective strategy is digit cycling: make sure every cathode in every tube lights up regularly. This keeps ion bombardment cleaning the cathode surfaces before any coating can build up.
If your clock controller supports a slot-machine or anti-poisoning routine, enable it. These routines briefly cycle through all digits at regular intervals, typically every 10 minutes or every hour. The Dalibor Farny Zen clock and many Arduino-based controllers have this built in. It takes two seconds and prevents months of gradual poisoning.
Avoid static displays. If your clock always shows the same value (like a fixed timer or a temperature readout that rarely changes), those rarely-active digits will poison fastest. Either configure the display to cycle periodically or accept that you will need to heal those tubes periodically.
Run a weighted burn-in on new tubes. The surfncircuits guide describes a technique where you deliberately exercise each digit for equal time during the first 100 hours of operation. This evens out any manufacturing inconsistencies and establishes clean cathode surfaces from the start. I do this with every new tube I install.
If you store tubes, exercise them periodically. Pull them out every few months and run each digit for a minute or two. Stored tubes do not sputter, but if any contamination is already present, periodic exercise prevents it from thickening into a permanent layer.
Finally, monitor your tubes visually. Catch poisoning early when a digit is slightly dim rather than waiting until it is completely dark. Minor cases heal in under an hour; severe cases can take all day.
Troubleshooting Failed Repairs
Sometimes healing does not work, and it helps to know why before you give up. Here are the most common reasons a repair fails and what to do about each one.
If a digit stays completely dark after 6-plus hours of healing current, the cathode may be physically damaged. Check for an open circuit between the pin and the cathode itself using your multimeter in continuity mode. An open cathode means the internal wire is broken, and the tube cannot be repaired.
If the tube glows but the color looks wrong (purple, pink, or blue instead of orange), the gas fill is contaminated or the tube has developed a micro-leak. Reddit users report that microcracks around the pins from rough socket insertion can let air seep in over time. A leaky tube cannot be fixed at home and needs replacement.
If the glow is uneven but improving very slowly, increase the healing current slightly. Move from double to triple the rated operating current, but never exceed the tube’s absolute maximum rating from the datasheet. Going beyond that risks melting the internal structures.
If nothing lights at all, check your anode connection first. The anode pin is typically the one closest to the red dot or bump on the tube base, but always confirm with the datasheet. A wrong pin assignment means no current flows through the gas at all.
Watch for ghosting on adjacent digits. If you are healing digit 6 and digit 7 also glows faintly, you may be dealing with bi-quinary digit ghosting rather than simple poisoning. This is a circuit issue, not a tube issue, and it requires adjusting your bias resistor values or adding isolation diodes to the clock driver circuit.
Understanding Nixie Tube Lifespan and Construction
Nixie tubes are cold-cathode gas discharge devices filled with a Penning mixture, typically neon with a small percentage of argon. The argon lowers the ignition voltage, which is why the gas strikes at around 130V instead of requiring the full 200V-plus that pure neon would demand.
A well-maintained Nixie tube can last 20 to 40 years or more. Manufacturers like Burroughs and National Electronics rated their tubes for tens of thousands of hours of continuous operation. The tubes fail primarily through cathode poisoning and gas depletion, both of which are manageable with proper care.
New-old-stock tubes from the 1960s through 1980s are still widely available and often perform as well as they did when manufactured. Modern reproductions from makers like Dalibor Farny bring the same technology to builders who want reliable, new production tubes.
Understanding the construction helps you diagnose problems accurately. The stacked cathodes sit inside a cylindrical mesh anode. When you apply voltage, gas ionizes in the gap between the lit cathode and the anode. Sputtered material from the anode mesh and from active cathodes migrates to nearby inactive cathodes, which is the root cause of the coating buildup you are reversing.
FAQs
What causes cathode poisoning?
Cathode poisoning is caused by sputtered material from active cathodes and the anode mesh coating inactive cathodes inside the tube. When certain digits stay dark for long periods, the coating thickens because there is no ion bombardment to clean it off, eventually blocking electron emission entirely.
What is the life expectancy of a Nixie tube?
A well-maintained Nixie tube lasts 20,000 to 40,000 hours of operation, which can translate to 20 years or more in a typical clock. Lifespan depends heavily on how often digits are cycled and whether cathode poisoning is managed through regular exercise routines.
Do nixie tubes contain mercury?
Most Nixie tubes do not contain mercury. They are filled with a Penning mixture of neon and a small amount of argon gas. Some specialized indicator tubes from certain manufacturers included mercury vapor to reduce sputtering, but standard display tubes like the IN-12, IN-4, and B-5870 series are mercury-free.
Are nixie tubes radioactive?
No, standard Nixie tubes are not radioactive. They contain no radioactive materials in their construction. The glow is produced entirely by neon gas ionization, which is a non-radioactive electrical discharge process. Some unrelated cold-cathode tubes used in older instruments contained trace radioactive additives, but display Nixie tubes do not.
Conclusion
Knowing how to fix Nixie tube cathode poisoning at home saves you from buying replacement tubes and keeps your vintage clock running for decades. The process comes down to four things: gather the right tools, build a safe current-limited circuit, apply double the rated current to each poisoned cathode, and give it time.
Prevention is simpler than repair. Enable digit cycling on your clock, run a weighted burn-in on new tubes, and catch dimness early. Treat your tubes with patience and respect for the high voltages involved, and they will reward you with that unmistakable warm orange glow for years to come.