
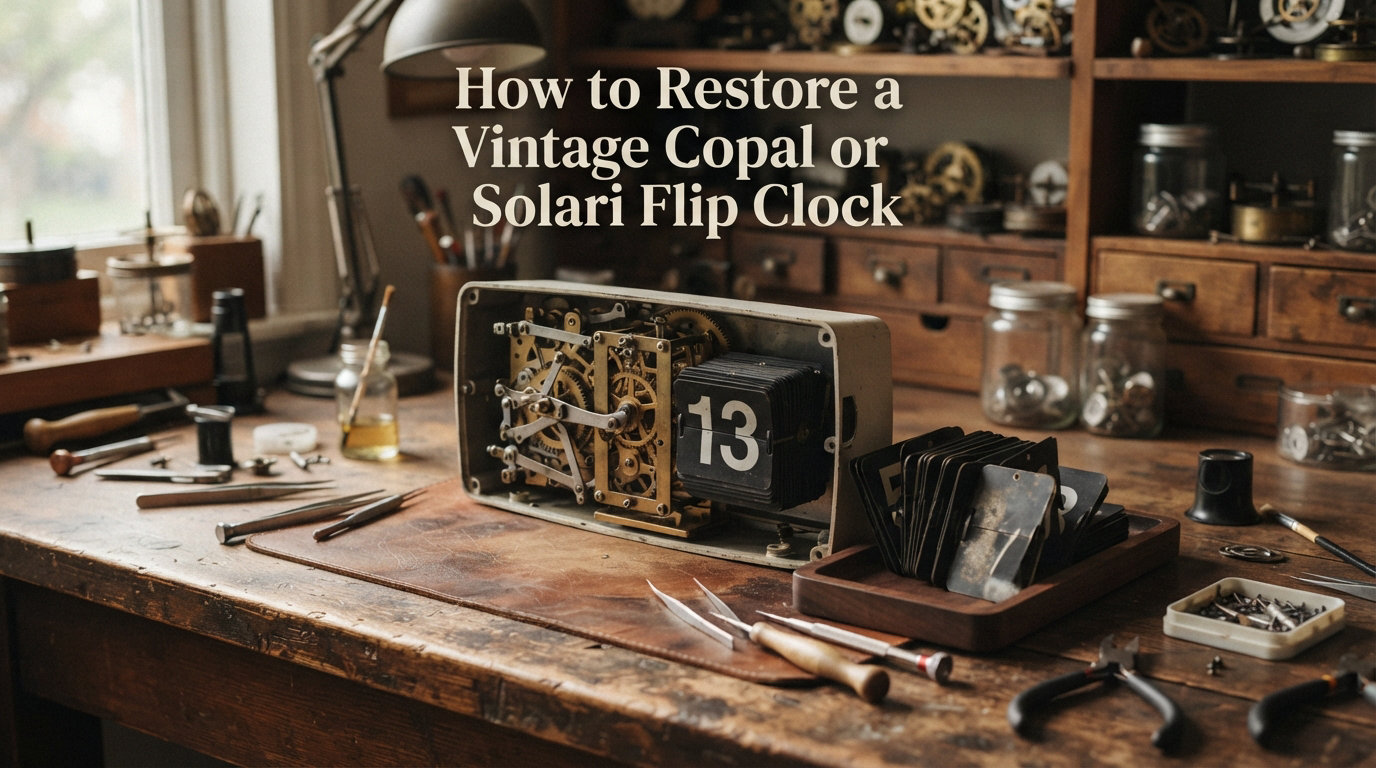
Restoring a vintage flip clock is one of the most satisfying repair projects a horology enthusiast can tackle. Whether you own a Japanese-made Copal or an Italian-built Solari Udine, the electromechanical split-flap display sitting on your shelf is a piece of industrial art from the 1960s through the 1980s.
I have restored over two dozen Copal and Solari clocks in my workshop, and the process never gets old. Each mechanism has the same beating heart: a synchronous motor turning a gear train that drives racks and pawls to flip split-flap panels at precise intervals. When you bring one back to life, you preserve a chapter of clockmaking history.
This guide, updated for 2026, walks you through the complete restoration process for both Copal and Solari flip clocks. You will learn how to safely disassemble the case, clean and lubricate the synchronous motor, repair electrical components, and synchronize the hour and minute wheels. By the end, your clock should be flipping like it did the day it left the factory floor.
Table of Contents
What Tools and Materials Do You Need to Restore a Vintage Flip Clock
Gathering the right tools before you open the case saves hours of frustration. I keep a dedicated tray on my workbench for flip clock projects so nothing gets misplaced between sessions.
- Precision screwdrivers: Phillips #0 and #00, plus a small flathead for pry points
- Tweezers and needle-nose pliers: For springs, pawls, and small levers
- Isopropyl alcohol (90%+): The single most important supply for dissolving old lubricant
- Clock oil (synthetic or natural): Use a quality brand like Moebius 9010 or American Clock Institute oil
- Cotton swabs and lint-free cloths: For cleaning gear trains and motor housings
- Soldering iron (low wattage): For electrical repairs and voltage conversion
- Multimeter: Tests voltage, continuity, and transformer output
- Compressed air or soft brush: Removes dust from pawl mechanisms
- Replacement bulbs: Match the original wattage and base type (often 4W or 7W)
- Magnifying glass or loupe: Inspects small springs and gear teeth
A few specialty items worth having: a step-down transformer if you are converting a 220V European Solari to 110V North American power, contact cleaner spray for oxidized switch contacts, and a small container to keep screws organized during disassembly.
What Safety Precautions Should You Take Before Disassembly
Unplug the clock from the wall outlet before you touch any internal component. Even a clock that appears dead can store a residual charge in its capacitor, and a Solari Dator with a 220V transformer can deliver a serious shock.
Work in a well-lit, static-free environment with a clean cloth laid down to catch small parts. I learned this lesson the hard way when a pawl spring bounced off my bench and vanished into the carpet, never to be found again. Magnetic project mats are a worthwhile upgrade for serious restorers.
Wear nitrile gloves if you have sensitive skin or are handling decades-old lubricant that may have oxidized into irritating residue. Photograph each stage of disassembly with your phone. Trust me, when you are reassembling at 11 PM three weeks from now, those photos will save your sanity.
How Do Copal and Solari Flip Clock Mechanisms Differ
Copal and Solari both use split-flap displays driven by synchronous motors, but their internal architecture differs in ways that matter during restoration. Understanding these differences before you start helps you diagnose problems and source the right parts.
Copal flip clocks were made in Japan and dominate the consumer market. Models like the Copal 227 and Copal 702 use a compact, modular design with a single synchronous motor that drives both the minute and hour flip mechanisms through a reduction gear train. The pawl assemblies are generally well-engineered and forgiving of small misadjustments.
Solari Udine clocks were built in Italy for commercial applications like train stations and airports. The famous Solari di Cugy and Dator lines are larger, heavier, and often have separate motors for hours, minutes, and seconds. The flip panels are also more numerous and heavier, which means the motor has to work harder and lubrication becomes even more critical.
For restoration purposes, the practical differences are these: Copal parts are easier to find through enthusiast forums and eBay, while Solari parts often require specialist suppliers or donor clocks. Solari mechanisms also tend to be more sensitive to lubrication quality, and the larger Dator models may need professional servicing if the motor is severely worn.
How to Disassemble a Vintage Flip Clock Safely
Disassembly is the most delicate phase of the entire restoration. Take your time, document everything, and never force a panel or case component that resists removal.
Step 1: Remove the External Case and Any Trim
Flip the clock face-down on a padded surface and locate the case screws. Most Copal models have four screws on the back panel. Solari units often have additional screws holding the brand badge or side trim. Remove these and set them aside in your parts container.
Step 2: Document the Wiring Before Disconnecting Anything
Before you pull any wire, take three or four close-up photos from different angles. Label each wire with masking tape if the connections are not obvious. I use a small notebook to sketch the wire routing, especially around the motor and bulb sockets.
Step 3: Separate the Front Display Panel from the Movement
The flip panel assembly usually sits on top of the movement frame, held by two or three screws. Lift the panel carefully and lay it on your cloth with the flaps facing up. Avoid touching the flap edges, which can be sharp and prone to bending.
Step 4: Remove the Synchronous Motor
The motor is typically mounted to the back of the movement frame with two screws. Disconnect the motor wires (after photographing them) and lift the motor straight out. Do not pry it from the side, as the mounting plate can bend.
Step 5: Inspect the Gear Train and Pawl Mechanisms
With the movement exposed, visually inspect every gear, pawl, and spring. Look for broken teeth, bent pawls, stretched springs, and hardened lubricant. This is your chance to identify all the parts that need attention before you start cleaning.
How to Clean and Lubricate the Synchronous Motor
The motor is the heart of your flip clock, and most restoration problems trace back to dried lubricant in the motor bearings or hardened grease on the rotor shaft. A proper motor service will make your clock run like new.
Disassemble the Motor Housing
Most Copal and Solari motors have a two-piece housing held by small screws or a press-fit design. Remove the screws (or carefully pry the housing apart) and slide out the rotor. Keep track of any shims or washers, which control the rotor’s axial play.
Clean All Old Lubricant with Isopropyl Alcohol
Dip the motor bearings in a small dish of 90%+ isopropyl alcohol and rotate them gently to flush out old oil. For the rotor shaft, soak a cotton swab in alcohol and clean it thoroughly until the swab comes away clean. Allow all parts to dry completely before reassembly, ideally for at least 15 minutes.
Re-oil the Bearings Sparingly
This is where most restorers go wrong. Clock oil is measured in drops, not puddles. Apply one small drop to each motor bearing and one to the rotor shaft where it contacts the upper bushing. Spin the rotor by hand to distribute the oil, then wipe away any excess.
Reassemble and Test the Motor
Reinstall the rotor, replace any shims in their original positions, and close the housing. Connect the motor to a low-voltage power source (or the clock’s own transformer) and listen for smooth, quiet operation. A properly serviced motor should run silently. Any grinding, clicking, or humming indicates a problem.
Never use WD-40 on a clock motor. This is the most common mistake beginners make, and it can destroy a movement. WD-40 is a water-displacement solvent, not a lubricant, and it leaves a sticky residue that becomes worse over time than the original problem you were trying to fix.
How to Repair the Electrical System
Electrical failures account for roughly 30% of the flip clock problems I see in my workshop. The good news is that most electrical repairs are within reach of a beginner with basic soldering skills.
Test the Transformer and Power Input
Set your multimeter to AC voltage and measure the output of the transformer while it is plugged in. Copal clocks typically run on 12V or 24V AC, while Solari Dator units may use higher voltages. If the transformer output is correct but the clock does nothing, the problem is downstream in the movement.
Replace Burned-Out Bulbs
Many flip clocks use small incandescent bulbs behind translucent panels. If the illumination is dim or dead, unscrew the bulb and inspect the filament. Replacement bulbs are available through specialty electronics suppliers, and the original wattage should be matched exactly. Going higher can melt the plastic panels.
Clean Oxidized Switch Contacts
Over decades, the small switch contacts that trigger the flip mechanism can oxidize and fail. A quick spray of contact cleaner, worked in by toggling the switch several times, often restores proper function. If the contacts are pitted or bent, they may need replacement.
Convert Voltage for Different Regions
If you imported a 220V Solari from Europe but live in a 110V country (or vice versa), you will need to swap the transformer and possibly the bulb. Replacement transformers are inexpensive and available with multiple input/output options. Solder the new transformer in place, match the polarity, and your clock will run on local power.
Inspect Wiring for Cracks and Brittle Insulation
Decades-old wire insulation becomes brittle and can crack, exposing conductors and creating short circuits. If you see any cracked or frayed wires, replace them with modern insulated wire of the same gauge. Heat-shrink tubing over the new connections prevents future failures.
How to Reassemble and Synchronize the Flip Clock
Reassembly is the reverse of disassembly, with one critical extra step: synchronizing the hour and minute wheels so the clock displays the correct time when you plug it in.
Reinstall the Motor and Test the Movement
Mount the motor back onto the movement frame and reconnect the wires exactly as photographed. Before installing the flip panel, plug the clock in and watch the gear train operate. The hour and minute flip mechanisms should advance smoothly without binding or hesitation.
Synchronize the Hour and Minute Wheels
This is the moment of truth. Most flip clocks have an internal time set that lets you manually advance the display. Turn the minute wheel until the displayed minutes match a reference clock, then continue advancing until the hour flips at the correct moment. The hardest part is the midnight transition, when multiple panels must align perfectly.
If the hours are flipping a minute early or late, the hour wheel needs fine adjustment. Look for a small screw or eccentric cam on the hour mechanism that controls the flip timing. Loosen it slightly, nudge the wheel, and retighten. Repeat until the transition is precise.
Reinstall the Flip Panel and Case
With the movement synchronized, carefully place the flip panel back on top of the frame and secure it with its screws. Route the wires exactly as they were originally, then attach the back panel and any external trim. Plug the clock in and watch it operate for a full minute cycle before declaring victory.
Run a 24-Hour Test
A flip clock that runs for five minutes can still fail at hour transitions. I always leave restored clocks on the bench for at least 24 hours before considering the job complete. This catches any timing drift, lubrication issues, or weak electrical connections that only show up over time.
What Are the Most Common Flip Clock Restoration Problems
Even with careful work, certain problems appear again and again. Knowing the symptoms in advance helps you spot issues before they become bigger failures.
The Clock Runs but the Panels Do Not Flip
This usually points to a broken pawl spring, a bent pawl, or a stripped gear tooth. Open the movement, identify which flip mechanism is not engaging, and inspect the corresponding parts. Replacement springs and pawls are available from flip clock enthusiast forums.
Motors Getting Stuck Due to Old Dried Lubricant
The most common flip clock problem, period. Old oil oxidizes into a varnish-like substance that locks up bearings. The fix is the cleaning process described above, but if the bearings are scored from years of dry running, you may need a donor motor or professional re-bushing.
Hours Wheel Not Syncing Properly After Midnight
Synchronization issues cluster around the midnight and noon transitions because multiple digits change at once. If the hour flips but the AM/PM or 24-hour indicator does not, the issue is usually a small lever or cam that needs adjustment. Refer to the original service manual if you can find one.
Difficulty Opening Sealed Cases Without Damage
Some Solari models have cases that appear sealed but are actually held by hidden clips or screws under the rubber feet. Lift the feet carefully with a flathead screwdriver, and you will often find the screws you need. Never pry a case open by force.
Difficulty Finding Skilled Repair Professionals
Honest truth: vintage flip clock repair is a vanishing skill. Most professional clockmakers focus on mechanical movements, not electromechanical split-flap displays. The flip clock community on Reddit, the FlipClockFans forum, and the vintage-radio.net forum are your best resources for finding someone who knows these mechanisms. Many enthusiasts offer repair services for the cost of shipping.
Frequently Asked Questions About Flip Clock Restoration
Is WD-40 good for clocks?
No. WD-40 should never be used on clock movements. It is a water-displacement solvent, not a true lubricant, and it leaves a sticky residue that hardens over time. Use proper clock oil, such as Moebius 9010 or a similar product designed for fine mechanisms, applied sparingly to bearings and pivot points.
What are common challenges in restoring an old clock?
The most common challenges include dried lubricant in motor bearings, broken pawl springs, stripped gear teeth, burned-out bulbs, and brittle wiring. For flip clocks specifically, synchronization of the hour wheel at midnight transitions is also a frequent issue. Original replacement parts can be difficult to source, so many restorers rely on donor clocks from the same model.
How do you fix a vintage clock?
To fix a vintage clock, start by documenting the disassembly with photos, then clean every component with isopropyl alcohol to remove old lubricant. Inspect gears, pawls, and springs for damage, replace any worn parts, lubricate sparingly with clock oil, and reassemble while carefully synchronizing the time wheels. Always test the clock for 24 hours before considering the restoration complete.
Is it okay to move clock hands backwards?
On most modern and quartz clocks, moving the hands backward is fine, but on vintage mechanical and electromechanical flip clocks, you should only move hands forward. Backward movement on a flip clock can misalign the pawl mechanism and cause synchronization problems. Use the time-set function instead of manually turning the hands backward.
How to Keep Your Restored Flip Clock Running for Decades
Restoring a vintage flip clock is the beginning, not the end. A few simple maintenance habits will keep your electromechanical timepiece flipping smoothly for another forty years.
First, run the clock on a surge protector. Power surges are the leading cause of motor and transformer failures in restored clocks, and an inexpensive surge protector is cheap insurance. Second, place the clock away from direct sunlight and humidity, both of which degrade the plastic flaps and metal components over time.
Third, oil the motor every five to seven years, even if it seems to be running fine. Preventative lubrication is far easier than waiting for the motor to seize and dealing with the cleanup. Finally, keep the original service manual and your disassembly photos in a safe place. If you ever need to service the clock again, that documentation is irreplaceable.
Whether your project is a Japanese Copal 227 from the 1970s or a magnificent Italian Solari Dator from a decommissioned train station, the restoration process is the same: document everything, clean thoroughly, lubricate sparingly, and synchronize carefully. Take your time, and you will be rewarded with a flip clock that brings joy to everyone who watches its panels tumble into place.